Laminated ceiling yourself
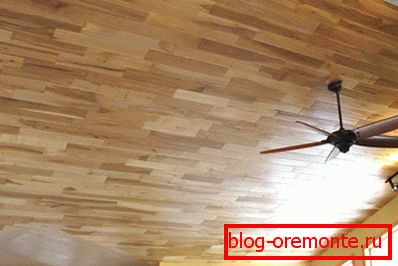
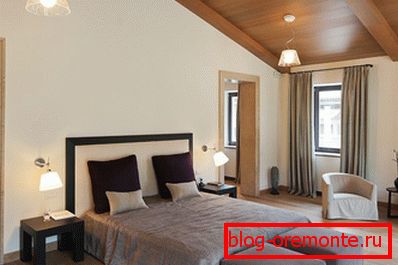
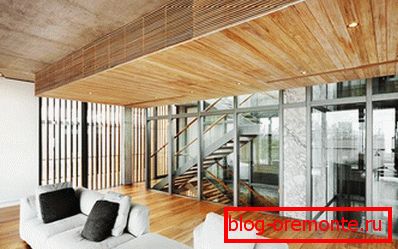
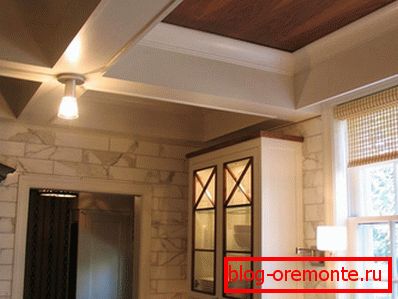
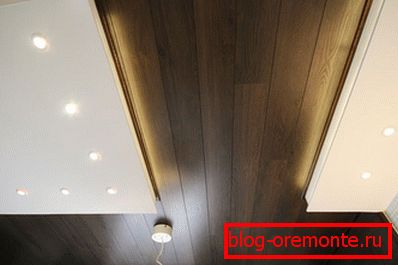
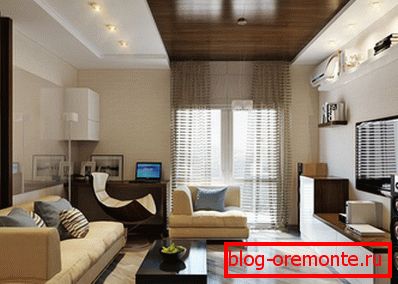
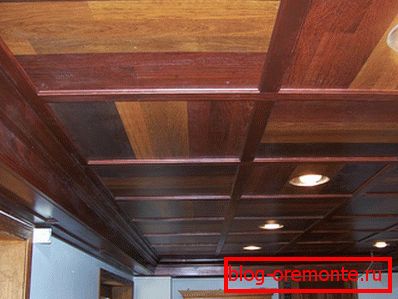
To create comfort in your own home, it is not always necessary to use the services of a designer, but some of their techniques can be borrowed. Laminated board on the ceiling looks original, even extravagant. Wood perfectly harmonizes with almost all interior styles. With a laminated ceiling, your room will have a unique look. If you make the installation of the ceiling of laminate quality, it will serve you for a very long time.
In the article we will tell you how to make the ceiling of the laminate with your own hands, as well as show photos.
The perfect smoothness of the laminate looks good from any angle, besides you will be pleased with a wide choice of colors and textures of the laminated board. The undoubted advantage of the laminate ceiling is ease of maintenance. It is enough to wipe the surface, and it is already clean.
Since there is no such thing as a ceiling laminate, you need to choose with special care. Many of the characteristics of the coating when laying it on the ceiling will be secondary. These include wear resistance and durability. In addition, hard laminate will create difficulties when installing on the ceiling.
Note! If you live in a house with a flat roof, and even on the last floor, then make sure that the roofing is reliable and made of modern materials. It is not recommended to make a ceiling from laminated board, if you live in a house with a ruberoid roof on bitumen.
The choice of laminate for ceiling

Depending on the parameters of the room, the ceiling of which will be finished with laminate, the choice of the length and width of the source material depends, and it, as we know, can be different: from square tiles to overall panels 200x20 cm. The smaller the thickness of the laminated ceiling board, the better.
Note! It is necessary to buy laminate from one manufacturer and from one batch to avoid texture, size and color differences. Buy laminate flooring with a minimum margin of 15% of the total square.
Choose a ceiling laminate to cover the room with the minimum number of additional joints. If you choose a board width of more than 15 cm, this will only complicate the installation, because each element will have a rather large weight. For example, when finishing the ceiling of a narrow balcony, having parameters of 2 × 6 m, it is better to buy panels of 200 × 20 cm, because they will need to be sawed from one edge. If we are talking about a room of 3–6 m, then it is better to buy a 1.5 m plank, which will make it possible to confine one decorative joint. After you decide on the choice of laminate in size, you can begin to choose the texture and color of the material.
Ceiling marking
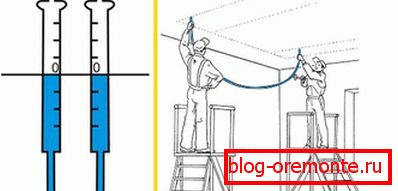
For laying laminate need a perfectly smooth surface, but in practice, no ceiling is no different with this feature. To successfully level the ceiling, you can use the hydraulic level. After you fill it with water, check for air plugs that can distort the measurement. To begin, make a small indent from the ceiling, make a mark on the wall in the corner with a pencil.
Now attach one end of the hydraulic level to the label and adjust it so that the water level is exactly at the level of the line marked on the wall. The other end of the hydraulic level at this moment should be kept by the assistant. Make a mark in the opposite corner. In this way, mark all corners. Then mark the place of attachment of the frame with a chopping thread. To do this, pull the thread between the marks on the wall, gently pull and release it. You should have a flat line along which you will attach the frame for fixing the laminated board to the ceiling.
Frame installation
If you decide to install laminate on the frame, you can avoid the long and wet process of leveling the ceiling. In addition, you can hide electrical wires, recessed fixtures fittings, air ducts and other communications under the decorative surface.
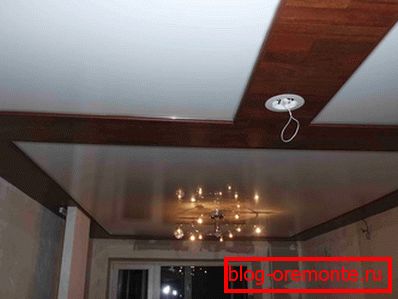
Note! Before installing the frame, clean the base ceiling from the old plaster and prime it. This is important because, otherwise, the old plaster will crumble onto the laminate when it is installed.
In order to make a durable and beautiful laminated ceiling, you need to install 3 types of frame elements:
- Butt bars having a width of 7 to 10 cm.
- Side skirtings having a shelf width of 5 cm.
- The bars are 5 × 5 cm.
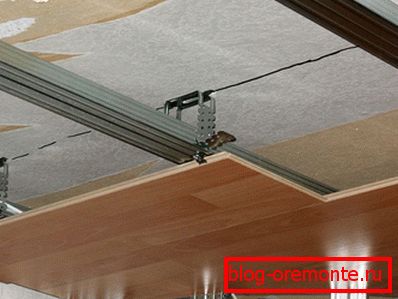
In order to most accurately expose the elements of the frame, it is better to use a laser level. To do this, hang the device to the center of the ceiling and use the red rays to mark the horizontal lines. If necessary, adjust the height of the ceiling, circling the perimeter in length. Fasten the side skirting along the stroke lines. At the same time, install the rear plinth separately; this should be done after the main assembly has been completed. Calculate in advance what should be the size of the saw cut. It must correspond to the size of the last element of the laminate. In the baseboards it is necessary to cut the grooves, a depth of three centimeters. Laminate should be inserted into the grooves freely, without much effort. To drill the grooves in the baseboards, use the jigsaw or mini circular compass.
After installing the plinths around the perimeter, stretch a fishing line between its edges and carry out the installation of butt strips. Every 80-100 cm attach the strips to the ceiling. The depth, location and width of the grooves in these slats should correspond to the parameters of the grooves of the side plinths.
Note! The skeleton beam should be mounted transverse to the direction in which the laminate is laid.
Installation of laminated panels
Installing laminate on the ceiling should be done with a half centimeter indentation, as when installing the flooring. This should be done for the reason that the laminate changes its size when the temperature drops and the level of humidity. If there is too much space, then at resizing the panel will disperse, and slots will appear. As a result, you will have to remove the laminate and re-install the panels. If the panels are laid on end, then over time the ceiling may collapse.
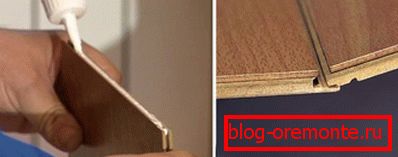
There are two ways of mounting a laminated board on the ceiling:
- The tongue-and-groove laminate is fixed with kleimers or small nails. This should be done obliquely, falling into the groove of the tongue before mounting the next laminated panel. It should be noted that asymmetry is highly visible on the ceiling, so laying the laminate should be carried out with all care. When making measurements for trimming, take into account all the indents around the perimeter.
- Laminate with a simple edge fastened with small studs at a distance of 15? 25 cm from each other. Places for driving in studs are tagged in advance. Nails drive on the thickness of the laminated panel. Do not be lazy before beginning the installation of each subsequent panel to lubricate the corresponding section with liquid nails. If imitation of the beams is not foreseen, then cross the seams with liquid nails, selecting the tone beforehand.
Final finishing work
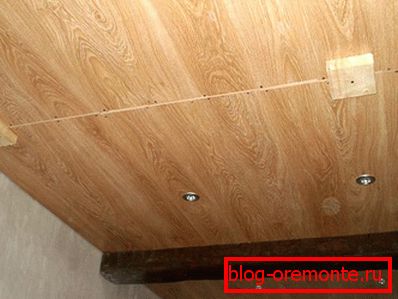
At the last stage, you will need to border the laminate around the perimeter with plinths, using liquid nails of the corresponding color. If you close the seams beams, then it's time to do it. Beams fix with screws, having a length equal to the thickness of the beam plus the thickness of the laminate and batten slats. The caps of the screws can be left as is, or sealed with liquid nails.
Maybe you have questions on the topic? Or do you want to share your own experiences with readers? Then write comments to the article!
A photo

