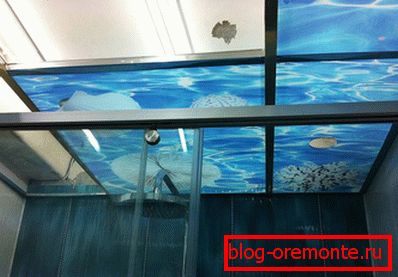
Installation of a suspended ceiling armstrong most
Armstrong suspended ceiling is quite simple and concise. But it is this simplicity that attracts. Such structures can often be found in office buildings and in private homes and apartments. Armstrong's laconic ceiling fits easily into almost any interior. Moreover, such a finish is affordable for any family, and its installation is unlikely to cause great difficulties. And it is about this and will be discussed in this article. We will talk about how to make installation of a suspended ceiling Armstrong do it yourself.
Basic installation steps
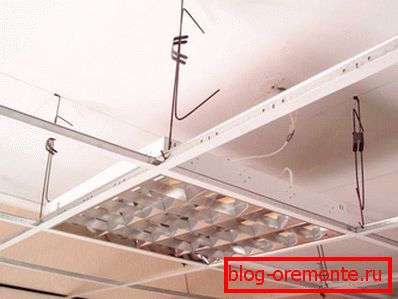
When installing the Armstrong suspended ceiling, it is necessary to go through several stages:
- prepare the base (draft ceiling);
- markup;
- mount wall profiles;
- install carrier rails;
- lay the tiles.
Various methods are used to calculate the amount of materials needed. But in most cases, independently everything is quite difficult to calculate correctly. But this is not a big problem. In almost all stores that sell such products, there are special computer programs. With their help, you can quickly and more accurately calculate the required amount of materials.
Preparatory stage and markup
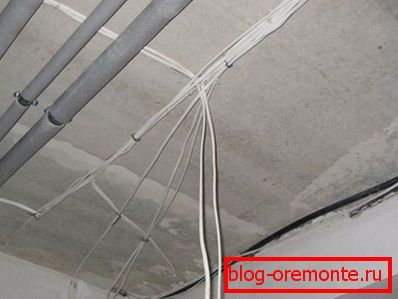
First prepare the surface of the draft ceiling. All unstable areas that may fall off are removed from it. You can also treat the surface with an antiseptic. This procedure will prevent mold.
Note! It is better to install the ventilation system and electrical wiring in advance. Of course, this work can be done after installation (the tiles are easily removed and then put in place), but this can be a little inconvenient. On this basis preparation can be considered complete.
We proceed to the next stage - markup. First we find the lowest point of the ceiling. To do this, in different places of the room we make marks on the wall, located at the same distance from the floor. Measuring the distance from them to the ceiling, we will find the lowest point, we start the markup from it.

The first mark set just below the lowest point of the ceiling. Then, using a laser level, mark the other walls and draw a line. Experts recommend keeping a minimum of 15 cm. This distance will be sufficient to cover all communications and install virtually any lamp. But you can set higher. The main thing is that there is enough interstitial space for everything that you will put there.
Now from the corners of the room we draw diagonals. The point of their intersection will be the center of the room, through it we draw a line on which the central guide will be located. This procedure is necessary so that the number of guides is the same on each side of the room.
Note! Installation of the ceiling is best carried out from the center. So each wall will remain the same tiles (cut into equal pieces), which will improve the appearance.
Now at a distance of 120 cm from the central guide we make marks for the rest. At this point, the markup is complete, and you can proceed to the remaining stages.
Installation of profiles and carrier rails

Now let's talk about how to do everything correctly when installing the supporting structures. At the very beginning wall or L-shaped profile is mounted. It is attached to the wall by a previously marked line. Installation is carried out using dowels-screws (or other suitable materials) in 40 cm steps.

The next step is to mount the suspensions for the support rails. Their installation is carried out using anchor bolts or driven expansion plugs. The main suspension of the suspension is attached to the ceiling (it can be recognized by the presence of the “ear”). Then it is secured with a hook with a hook on which the carrier rails will be mounted.
Now the hangers attach carrier rails with a length of 3700 mm along the long walls of the room. The distance between them should be 1200 mm. These slats can be shortened or lengthened as needed.

Now we take the transverse rails with a length of 120 cm and fasten them to the carriers in steps of 60 cm. The installation itself is carried out without using any tools. On the carrier rails there are slots in which they are inserted (up to the characteristic click) transverse.

The last step is to install the rails in 60 cm. They connect the transverse rails with a length of 120 cm. They are mounted in the same way as in the previous case (in the slot to the characteristic click).
End of installation
After the frame of the future suspended ceiling Armstrong is mounted, you can proceed to laying tiles. This work begins to produce from the center. Tiles are laid out in the right order (depending on the picture), holes are made for the installation of lamps. Along the edges (at the walls) the size of the tiles may not coincide with the free cells. In this case, they are simply cut off.
The completion of the work can be considered installation and connection of lamps. They are inserted into the prepared holes and are connected to the power supply. This work is considered completed.
Video
Everything is clearly shown in this video instruction. Looking at the fact that it is in German, even beginners will understand:
See also:
How to make a suspended ceiling with drywall do it yourself
The ceiling of the plastic panels do it yourself
Rack ceiling do it yourself
How to install a suspended ceiling
A photo
