How to paint the ceiling with acrylic paint
Among the wide range of finishing materials offered to customers, acrylic paint is becoming increasingly popular. Undoubtedly, its great advantage is that before painting the surface does not need to be treated with antiseptics and antifungal solutions. This type of paint has a high moisture resistance, it does not fade under the influence of ultraviolet rays, and is also insensitive to rapid temperature changes. That is why acrylic paint is ideal for repairs in areas such as the kitchen. On top of that, this material is convenient and easy finishing works are carried out with it. However, before painting the ceiling with acrylic paint, it is necessary to determine in which sequence the various stages of repair should be carried out.
Necessary tool

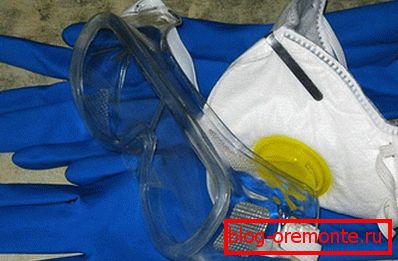
First you need to determine what kind of tool you might need. First of all, you need to pay attention to clothing - it is important to purchase:
- Protective glasses.
- Gloves.
- Clothes that should protect the skin from various chemical compounds.
After that it is necessary to stock up the tool necessary for painting. Need to prepare:
- Several paint brushes.
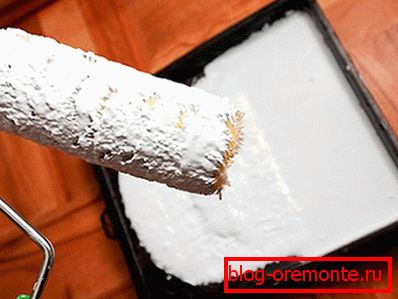
- Roller.
- Tray to work with acrylic paint.
- Spatulas of various sizes.
- Masking tape.
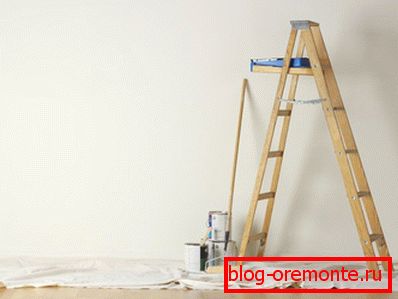
- Stepladder
Acrylic Selection

Today, a variety of manufacturers from many countries produce a huge variety of different colors and shades. Such abundance allows you to show your design and artistic tastes.
It is worth noting that the choice of white color may be some difficulties. This may be due to the fact that this color of paint in one can may differ from the color of the contents of another container. This is due to the fact that different manufacturers of white paint has special shades. Therefore, in order not to be mistaken with color, you need to take an ordinary white sheet of paper with you to the store. If possible, you can ask the seller to slightly open the paint and make a small smear on the sheet - you will immediately see shades of yellow, cream or another tone.
Note! You need to carefully choose the shade, which should be marked on the package. In addition, when repairing the surface of the ceiling, in order to apply a uniform coating, you only need to buy paint from one manufacturer, because even equally marked shades may differ from different manufacturers.
Paint safety

At carrying out of any repair work it is necessary to pay special attention to safety measures. This is especially true of the finish, for the application of which paints and varnishes are used.
As already described above, you will definitely need:
- Goggles, especially at the stage of preparing the surface of the ceiling for painting, as cleaning the surface involves a large selection of different microparticles - therefore, the eyes must be well protected.
- It is also recommended to use a special construction respirator, which protects the respiratory organs from construction dust.
- Clothing should protect the skin well, so you can use a jacket or a long-sleeved tight shirt. The palms should be protected by gloves.
If paint gets into your eyes, they should be immediately washed with clean running water. You may have to consult a doctor.
Ceiling surface preparation

Painting the ceiling with acrylic paint begins with surface preparation. If there is whitewash on the ceiling, or the surface is painted, then the finish must be removed. Apply an acrylic coating on the old paint is not recommended.
After the surface has been cleaned, the ceiling should be carefully inspected to reveal irregularities and cracks. If such defects exist, they must be eliminated. This can be done with putty and spatulas. To do this, several layers of putty are carefully applied to the ceiling before painting.
The next step is applying a primer. The surface treated with it should dry well, and it is not recommended to use different heaters or heat guns to accelerate drying. Much better when this process occurs naturally at room temperature of about 20 ° C.
Note! Before you start painting the wall is better to cover the film, and lay the floor with cardboard. At the junction with the ceiling on the wall around the perimeter it is necessary to glue the masking tape. It will help to paint the ceiling gently, without blurring the edges of the walls.
Ceiling painting

Painting the ceiling start from the corners to the center. It is better to apply paint in two layers, and the second layer can be applied using an airbrush. It is better to apply the paint evenly and not too thick. When working with a roller, the strokes must be overlapped. In the process, you can periodically inspect the ceiling from different angles, in time to see what is wrong and correct deficiencies.
Note! Surface at the junction with the wall, you can paint over a paint brush small size, and the rest area for the roller handle acrylic paint.
After applying the first layer, you need to wait a little time to allow it to dry well. Typically, the room temperature is maintained at about 18 ° C. If painting work is done in the summer season, periodic airing is allowed, for 10 minutes once an hour.
The process of painting the ceiling with acrylic paint is not as complicated as it may seem at first glance. It is not necessary to search for this team of specialists, all the ceiling can be done independently. These tips will help to easily perform the entire amount of work on painting the ceiling, you just follow the above recommendations.
Video
This video shows how to properly paint the ceiling: