How to make a suspended ceiling of plastic panels
In recent years, newer ways of finishing ceiling surfaces have become increasingly popular, involving the use of special plastic panels with the following remarkable characteristics:
- ease of installation of decorative material;
- its excellent water repellency;
- increased resistance to aggressive environments;
- relatively low cost.
Before you make your own suspended ceiling with plastic panels, you need to familiarize yourself with some samples of finishing materials that are widely represented on the domestic market. With the existing variety of different types of plastic panels to make it will be very difficult.

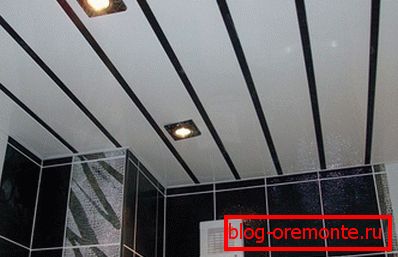
A huge choice of commercially available material is associated with a variety of its decorative designs, allowing for the possibility of implementing any style decisions. In this case, the advantages of ceilings made of PVC panels should also include their compatibility with other finishing materials.
With proper approach to solving this issue, as well as assuming the correct choice of the source material, the process of its installation should not take you too much time.
Preparatory activities
Tools and materials

Before installation, you will need to prepare the following tools and materials:
- screwdriver;
- a set of hacksaws for the manufacture of blanks of the desired configuration;
- a set of profiles used as a frame for a hinged ceiling.
Note! A distinctive feature of plastic panels, ensuring ease of installation, is the ability to perform finishing work without first preparing the ceiling surfaces themselves.
Antifungal treatment

When we deal with ceilings in the bathroom (or in the kitchen) - the base surface must be treated with a special antifungal agent or antiseptic before finishing. So, the design of the ceilings in these rooms should begin with surface preparation for applying a protective preparation, which involves removing paint residues or an old coating from it.
And only after drying of the applied preparation, it will be possible to proceed with the laying of communications, which you will need to “hide” behind the fragments of mounted structures.
Note! With a significant amount of communication lines to be laid, the ceiling level can noticeably decrease (it is especially important to take this fact into account in the presence of low ceilings in the apartments of old buildings). In this case, it is not recommended to place something more voluminous in the subceiling space than ordinary electrical wiring.
Frame

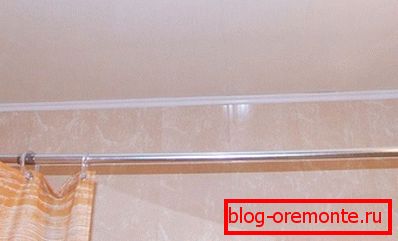
 Before starting work, it is advisable to accurately determine the level of the future ceiling construction. It is easiest to mark it up using a laser level or any other similar tool (water level, for example). At first, the marking is applied along one of the walls of the room with a distance of not less than 5 cm from the communications. And only after that it can be transferred with the help of the same level to all other walls.
 The mounting profile of the future ceiling is mounted along the marking line perpendicular to the intended location of the PVC panels with a step of 50? 60 cm. Separate profile elements (longitudinal slats, cross-beams) are mounted on the walls and ceiling using self-tapping screws.
Upon completion of all preparatory operations, you can proceed directly to the installation of the panels themselves.
Installation of panels

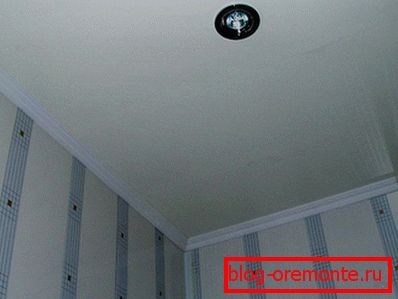
Before fixing the panels with your own hands, it will be necessary to mark the installation points of the room lamps, after which it will be possible to arrange holes in the panels according to the size of the embedded products.
Note! If massive lighting devices are to be used - the places of their attachment should be strengthened with the help of metal profiles, mounted at the preparatory operations stage.
Upon completion of the arrangement of the ceiling frame, select the wall with the most complex profile and proceed, starting from it, to the direct installation of the blanks. To fix the panels on the frame elements, special screws are used, screwed along the edge hidden by the next panel.
Strictly sequentially, one after another, the panels are mounted until the unclosed space to the opposite wall becomes equal to their standard size (or slightly less). The last panel in the row is neatly trimmed from the side adjacent to the wall, after which it can be fixed on the longitudinal profile. How this all happens, you can see in the provided video.
Video
In this video you will see the process of fixing plastic panels on the ceiling:
A photo