How to insulate the ceiling on the balcony
For a long time, weatherization of balconies and loggias, in particular, of their ceilings, is a popular and practical event, as it allows to increase the living space of the premises. Such insulation will give a positive result even in the absence of heating. Let's figure out how to insulate the ceiling on the balcony with your own hands.
Surface preparation, materials and tools

In order for the ceiling insulation to be of high quality, all the gaps and joints need to be sealed with foam. Excess foam is carefully cut off after drying. So that the fungus does not appear in the future, the ceiling is treated with copper sulphate or other anti-fungal agent.
As a rule, thermal insulation is carried out with polyfoam, polystyrene foam or other insulation. The thickness of the insulating layers and their number depends on the climatic conditions of the region of residence. In addition to insulation, you will need construction foam, various dowels, flat-head self-tapping screws, adhesive tape on a metal base, wooden sheathing of bars and slats for decorative finishing. Sometimes metal profiles are used instead of wooden obreshetka elements. This is convenient, but the metal easily gives off heat, which will create cold bridges. As a result, the efficiency of balcony warming will decrease.
For work you will need:
- electric jigsaw;
- drilling drill;
- drill with nozzle;
- construction knife, level and gun for pouring foam;
- ordinary hammer;
- pencil and tape measure;
- ladder.
The first layer of insulation

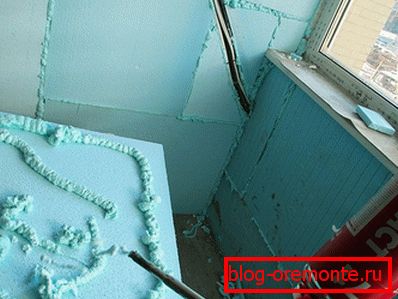
To insulate the ceiling of the balcony was of high quality, you need to monitor the density of the junction of insulation boards to each other. You can choose Penoplex plates, or you can use regular foam plastic, in which connecting spikes are cut by themselves. Thermal insulation plates of small thickness are applicable, which are laid in two layers with the condition that the seams will not be above each other. Heat insulation materials are fixed to the ceiling in two ways:
- special glue or polyurethane foam is applied to the insulation, which should not destroy the insulation material, and the insulation plate is glued to the ceiling;
- A hole for a special dowel is drilled through the slab in the ceiling with a margin of about 5 mm. A plastic sleeve with a hat is hammered through it until it stops; a metal rod, in turn, is driven into it.
In practice, use both methods simultaneously. Glue is applied to the material at key points. If the plates are thin, then the operation is repeated with the second layer, not forgetting the displacement of the connecting seam, which is then sealed with foam and then lined with a construction knife. If the slab needs to be shortened, it is cut in the right place and broken.
Note! When working with foam, be sure to wear a hat and gloves, as it is very difficult to wash it.
The second layer of insulation

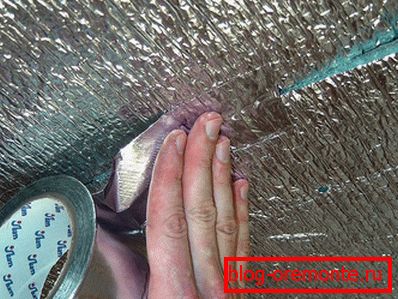
The second layer of insulation, firstly, increases the insulation, and secondly, prevents the ingress of heat between the ceiling and the first layer of insulation. Penophenol and isolon foil are best suited for such work. When installing this material, you must follow the mandatory recommendations:
- when insulating loggias, penophenol must overlap not only the ceiling, but also fall 30 cm to walls;
- thermal insulation, which is produced in rolls, needs to be fixed to the plates with self-tapping screws with a cap of wide width, without scrolling;
- heat insulating material of the second layer should be installed face to itself;
- installation is made butt, without overlaps;
- after completion of work on all the joints, you need to walk with duct tape on a metallized basis.
Installing crates

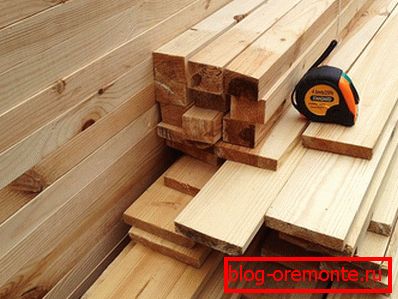
At the final stage of ceiling insulation, the organization of the batten will be provided, which will allow to create a ventilation gap between it and the insulating layers. The most suitable material are planks made of well-dried wood with a thickness of about 3 cm.
- First you need to stick the strips around the perimeter of the ceiling with the distance between each other up to 50 cm.
- C using the level you need to determine the lowest bar that you want to fix the dowel-nails of the desired length. If necessary, you can use a punch.
- The level, starting from the fixed bar and using wedges need to put the rest of the slats.
- It remains only to revet the construction with drywall, which has moisture-resistant properties, PVC plates or other suitable materials.
Warming the ceiling of the loggia with their own hands is finished, you can use the room in the cold season.
Video
This video not only shows how to insulate the balcony yourself, but also describes many of the mistakes that are often made and have a significant impact on the quality of the insulation.