How to glue baguettes on the ceiling
Today, one of the most popular design moves to create a beautiful interior of an apartment or house is the installation of decorative items on the ceiling, called baguettes. They look really good. In the article we will tell how to glue baguettes on the ceiling, as well as show illustrative photos of this process.
Tools
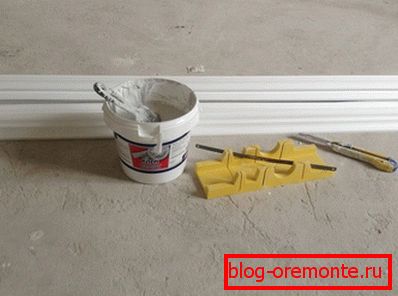
Since it is very difficult to glue baguettes to the ceiling without the appropriate tools, it is worth preparing:
- stuslo,
- sharp knife
- putty knife,
- brush.
Note! Before purchasing baguettes in a store, you need to take into account the particularities of the interior of the room, because the decorative element must be in harmony with the repair of the apartment and its furnishings. It is always necessary to buy material with a reserve, because in the process of work that is being performed for the first time, it is not known how many meters of the product will go into a marriage.
Working materials
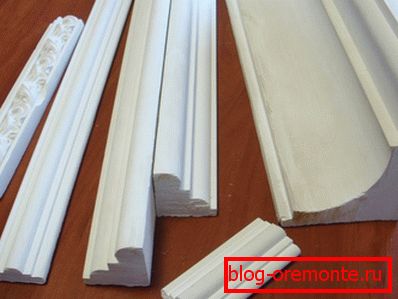
To work on the sticker of decorative products need the following materials:
- baguette,
- primer,
- polymer glue
- finishing putty,
- water,
- pins.
Обратите внимание! Если стоит вопрос, на какой клеящий состав сажать baguette, то можно выбрать между специальным клеем на полимерной основе или финишной шпаклевкой. Нужно учитывать, что клей долго сохнет и багет придется прижимать руками к поверхности необходимое время. Чтобы проделывать работу по наклеиванию багета было удобнее, лучше купить специальный пистолет, которым можно наносить на поверхность силиконовый клей.
Cutting ceiling baguette

For cutting material, you can purchase a special tool that is called a musk. But it should be noted that even when using a cutting tool, baguettes do not necessarily fit in the corners perfectly evenly. The explanation for this is simple - in apartments you rarely find walls and ceilings that would be located at a 90 ° angle to each other. In any case, the use of the cloth will reduce the possibility of a gap between the ends of the baguette to a minimum.
If there is no such device at home, any rectangular box can play the role of a fitting sample. Using its geometric characteristics, it is possible to avoid frequent fitting under the ceiling and then repeated trimming of the baguette at the right angle. It is much easier to apply, try on and cut building material using a three-dimensional model at hand than to climb up the ladder each time to the ceiling for repeated monotonous action in the hope that the last time the baguette ends to close without a gap.
Ceiling baguette sticker

After cutting the ceiling baguettes, which are ready to properly fit in the corners, you need to clean the walls and the ceiling from dust. After cleaning the working surfaces with an emery paper, the places of the future sticker should be primed.
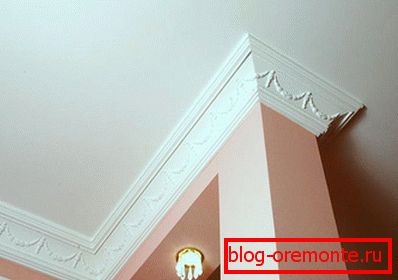
After priming, fixing baguettes to the ceiling will be much better. You can glue a decorative product with glue or putty. The choice of fastening material will not make a big difference on the quality of the joint, since baguettes are very light, especially foam or polyurethane products.
Wooden багет можно закрепить саморезами.
Now let's talk about how to glue baguettes on the ceiling correctly, so that they qualitatively complement the interior of the room.
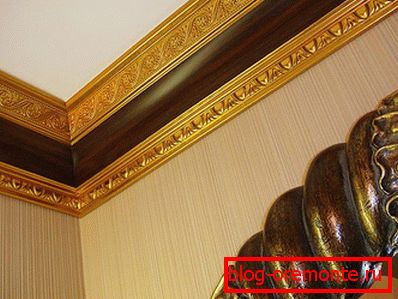
Baguette sticking starts from the left corner of the room. For the correct installation of the product, the connecting mixture is applied on its surface with a solid, even line. The adhesive must be applied in an optimal amount. If you overdo it - when pressing the baguette to the surface, the mixture will be squeezed out from under the product, if you use an insufficient amount of the mixture - the area of gluing surfaces will decrease and the connection will be less reliable. Further, the baguette must be firmly pressed to the place where the wall converges with the ceiling and forms a right angle. If the connecting mixture has gone beyond the baguette, it must be removed with a spatula or a brush dipped in water.
After pasting the ceiling baguettes, small cracks will be visually noticeable at the junction of the ends on straight sections and in the corners. If the surfaces of the walls and ceiling are uneven, gaps between the baguette and the planes will also be visible. In this case, again, you need to use adhesive. For this work, the most convenient to use will be a special gun, with which you need to close up the existing slots. Again, the excess adhesive must be removed in a known manner, otherwise, after painting the baguettes, it will spoil the look of the decorative element.
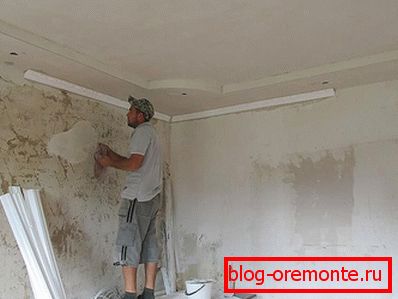
Note! With large gaps and gaps, you need to apply putty and give it time to dry a little. Otherwise, it will be cleaned with water, and you will have to putty again.
So that the joining of individual fragments in horizontal directions was not so noticeable, the ends of the baguettes are connected with pins, which allows you to create a temporary stationary flat joint, which will not be affected by the movement of the parts during the setting of the adhesive composition. After some time, the pins are removed, and small punctures are filled with a putty.
After completion of the work, the mounting framing construction is left for 12 hours in a calm state until the putty and glue have completely set. Upon completion of this time, you can proceed to the following work.