How to fix drywall to the ceiling
During repair work it is often necessary to level the ceiling. The modern construction market offers a fairly extensive selection of materials with which this task can be solved, and one of them is the use of drywall. However, novice builders who do not know how to fix drywall to the ceiling may experience some difficulties.
general description
Drywall is a building material, which is a flat sheet of pressed gypsum, covered on both sides with layers of cardboard that give rigidity. This material is usually used when carrying out finishing work indoors with normal humidity and temperature. Along with the usual, in the construction market can be found and moisture-resistant drywall, which can be used when finishing bathrooms.
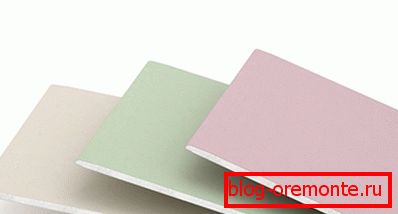
It should be noted some of the positive qualities that this material possesses.
- Easy installation. In the sale of drywall comes in the form of flat sheets that are easy to handle. In order to give the sheet the required size and shape, it is simply sawed. Using a construction knife, you can easily cut the drywall in a straight line, the jigsaw is used to give a complex shape (in this case there will be a lot of dust). Sheets of material are usually attached with screws.
- Versatility. Drywall can be used as when carrying out repairs in urban apartments, and in a wooden house. Typically, the material is used in order to level the surfaces, while it is used in the decoration of the walls of the premises, and in the alignment of the ceilings. It should also be noted that drywall sheets are an excellent basis for further finishing.
- A wide range of applications. Here it is meant that drywall can be used and is successfully used to create various complex structures. For example, arched doorways, decorative columns or multi-level ceilings.
In addition to the above, we can recall that the material has noise insulation properties, as well as resistance to fire. In general, as mentioned above, drywall is a fairly versatile material suitable for a wide variety of purposes, but the ceiling finishing process is proposed for consideration.
Mounting technology
Before turning to the description of the drywall ceiling mounting technology, it should be said that this process, although it requires careful attention, is not particularly complex, which makes it possible to mount the plasterboard to the ceiling with your own hands, without the involvement of specialists.
Preparation for work
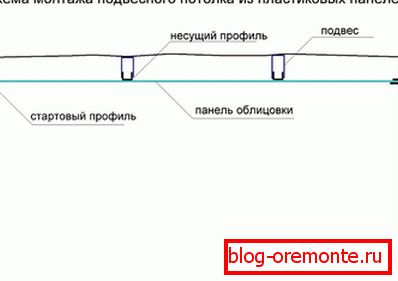
It is necessary to begin any work with preparation. In the case of installing drywall to the ceiling, first of all, you need to prepare the surface. All chandeliers and lamps should be removed and pre-marked. The markup will be required in order to determine the future level of the ceiling. The most convenient way to do this is using a water or laser level and a tail cord. To do this, at a height of about 1.5-1.7 meters, draw a horizontal line on one of the walls. After that, the line must be continued around the perimeter of the entire room. Then, using the resulting markup as a guideline, you need to raise the level of the future ceiling up to the optimum height.
It should be remembered that there are at least three mounting options, and depending on this, it is also necessary to determine the height:
- Installation on metal guides.
- Mounting on wooden rails.
- Installation directly on the ceiling.
Note! If you intend to install drywall on any batten, then when calculating the level of the ceiling, you need to take into account its thickness.
Mounting the frame
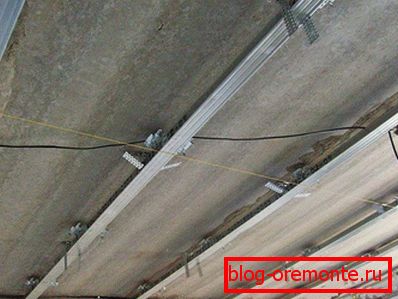
Perhaps one of the most versatile options for fixing drywall can be called mounting on a frame of metal profile rails.
- Installation begins with the installation of special guides that are screwed to the wall so that their lower plane is a few millimeters above the previously marked line indicating the ceiling level. Need to retreat to the thickness of a sheet of drywall.
- After this, you need to mark a number of lines parallel to each other using a tipping cord. They should be located across the ceiling of the room, at a distance of about 40 cm from each other.
- Then along these lines it is necessary to make a series of marks that will indicate the places where U-shaped fasteners will be installed. It is important to remember that the first mark needs to be done, departing about 30 cm, the rest can be marked at a distance of about a meter from each other.
- Once the markup is done, you can begin the installation of fasteners. If the floor is made of concrete, this is done by pre-drilling holes and dowels, and if the base is made of wood, then the fasteners are simply screwed with screws.
- After installing all the mounts, you can begin mounting the profile. The profile is measured on the width of the room and cut with scissors for metal. After that, the rails are inserted with the ends into the guides and fixed along their entire length in the prepared fasteners. To fix the slats you need, attracting them with screws.
- When all the bearing rails will be installed, at a distance of about 40-50 cm from each other, short transverse elements of the frame are mounted.
Thus, the frame is mounted on the entire ceiling area. It is worth remembering that the location of the rails in the same plane must be constantly monitored using the construction level. And also at the stage of installation of the batten it is necessary to take into account the future location of the lighting elements of the room.
Drywall fastening
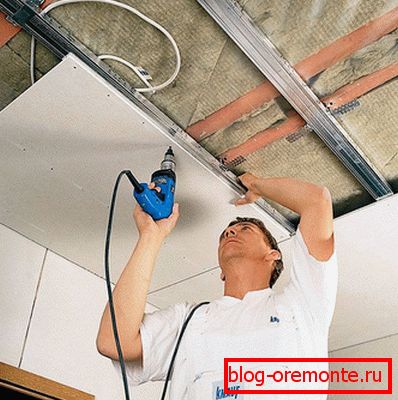
Before proceeding to the next stage of work, you need to take into account that it is better not to mount the plasterboard to the ceiling immediately, as soon as the sheets are brought into the room, but after a while. It is best to bring them inside even at the stage of installation of the frame. This is done so that the material adapts to the humidity conditions of the room.
Then drywall sheets are cut with a construction knife to the size that is most convenient for installation. As a rule, these are squares with sides equal to the distance between adjacent longitudinal slats and sheaths. As soon as the material will be procured in sufficient quantity, you can proceed to its installation. You can start arbitrarily, but it is most logical to do it from one of the corners of the room, securing the sheets in rows, one after the other. To fix the drywall to the crate need with screws. Twist them should be at a distance of 20-30 cm from each other, slightly embedding the cap into the surface of the drywall. But here it is worth being careful not to overdo it.
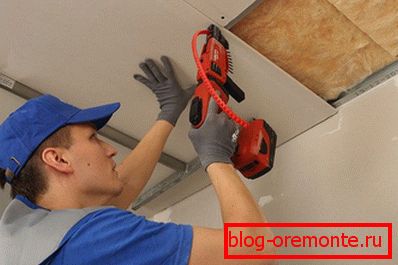
So rows of drywall fit and secured throughout the ceiling.
Note! All the necessary technological holes in the sheets (for example, under lighting) are best done before mounting the corresponding sheet to the ceiling.
After all the sheets are laid, between them may remain, and most likely remain, small cracks that need to be filled. In this process of finishing the ceiling with drywall can be considered complete.
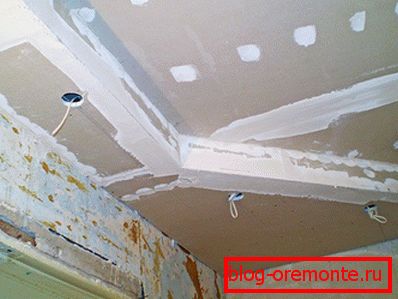
Concluding the above, we can say that the described process is not particularly complex and (if there are certain basic skills and knowledge) even a beginner can.
Video
For a better understanding of the process, it is recommended to familiarize yourself with the video on this topic, because there is not much information.