How to align the wooden ceiling
When planning a major overhaul in the house, inevitably a lot of questions arise about how to trim the walls, what kind of flooring to choose for the floor and with what you can level the ceiling. The last question is especially relevant if the ceiling in the room is made of wood. It is not so easy to do this job with your own hands, especially where it is easier to use the services of a repair team. At the same time, if you follow some useful tips, you can do everything yourself, moreover, quickly and inexpensively.
Preparatory work

To understand how to align the wooden ceiling, it is recommended to take into account many different nuances. By creating a plan for performing a certain sequence of work, and following it, you can expect that the whole process will be completed successfully.
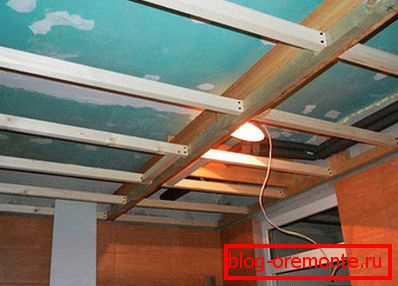
The alignment of the ceiling is the preparation of its surface for finishing. Of course, if the height of the room allows, then you can make a suspended ceiling, and you don’t have to level the old base, but if the home surface is not so curved and you need only a little effort, then you should align. At the same time, the better it is done, the better the result will be. These works include wiring and insulation of the ceiling.
Ways to align the ceiling

First of all, using a small spatula and emery cloth, you need to clean the surface of the layers of old paint. Some cavities can be putty, and the protrusions, if it is not knots, try to cut a plane.
The criteria affecting the way the ceiling is leveling are its height differences in different parts of the room. If the height varies within 5 cm, but no more, then the most suitable option would be a dry leveling method.
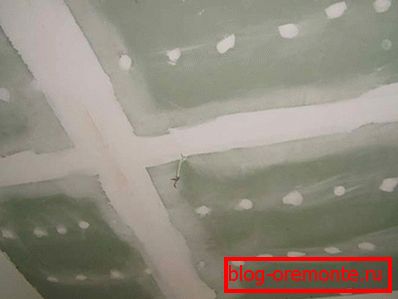
Note! The dry method is considered to be work when drywall or other sheet building material is used, which will easily hide the disadvantages.
If this method is used, the use of putty may be undesirable, since a large layer of the applied coating may come off the ceiling and fall to the floor, which is dangerous for people in the room. If the difference in height is 4 cm or less, then you can apply putty, that is, the wet method.
Removal and prevention of fungus

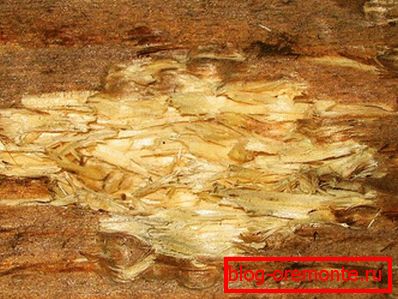
Particular attention is paid to areas where there is moisture. The reason for its occurrence may be evaporation from a gas stove, condensate collected or just lack of ventilation. Humidity can cause fungus, which is unsafe for human health and simply spoils the tree.
The affected area must be removed to dry wood, after which it must be treated with antifungal agent. Before use, be sure to read the instructions, also take into account the time required for drying.
Primer поверхности

After the work has been done to remove the old paint and fungus, the surface is primed, which is carried out several times. The best option is the use of deep penetration primer. Its task is to ensure optimum adhesion of the material to the surface, filling in microcracks and pores, as well as protection from moisture. A roller is used for large areas. In hard-to-reach places where it does not capture the surface, for example, the corners of a room or a place near a heating pipe, a brush is applied. By applying the second layer, you can proceed only after the first layer has dried.
Gap elimination

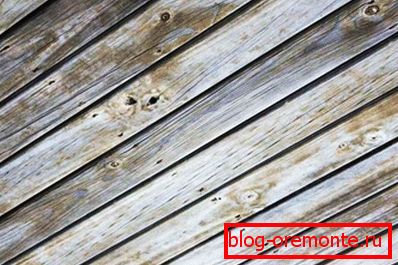
Over time, the wooden ceiling cracks, and the deformation of the boards. How to eliminate these defects?
It is necessary to purchase a putty for rough work, which has a good density, necessary for leveling, as well as tow. A small amount of this material must be mixed with kneaded putty, after which they can clog the gap. In order to prevent further expansion of cracks, you can attach a grid and putty to the joints.
Final work

Puttying is done after the ceiling has been plastered. It is kneaded as follows - water is poured into the container (a bucket or other container), and afterwards there is a little dry putty poured from the bag. The resulting composition is mixed - using a drill with a nozzle or manually.
Note! Putty should be mixed in a small amount, as it tends to dry quickly. For this reason, you need to try to work it out as quickly as possible.
For putting putty it is recommended to use a set of spatulas. For small ones, it is convenient to apply the mixture to the ceiling, and to stretch it with wider ones. When putty hardens, it can be treated with sandpaper and, if necessary, apply another layer.
The time that must elapse before complete solidification can be from 5 to 7 hours. After the surface of the ceiling is ready, you can paint it with water-based paint.
Video
This video shows how to level the wooden ceiling with drywall: