We will build a house of timber: a detailed guide to
We want to offer you educational information, but it will be useful to those people who are familiar with tools such as a hammer, handsaw and drill, and they must also have a desire to work. We will try to briefly explain to you where to start building a house from a bar and how to continue it, in other words, you will learn how to make a box that includes a foundation, walls and a roof.

This training will be sufficiently generalizing, so that you can understand the essence of this method of construction, and in addition you can watch the video in this article on the subject being discussed.
Construction stages for the construction of the box

All construction of a house from a bar can be divided into four main stages and although this is not a complete completion of the installation work, the box will be ready in this case. The very first thing is the planning and drafting of a project that meets not only your wishes, but also the technical conditions possible in the area. When the drawing is ready, then the foundation is laid on its base, then the walls are covered with a roof.
Planning

Any construction project begins with planning and this is not only a drawing on paper, but also careful planning on the location of the building with reference to the terrain. That is, we will need to bind not a ready house plan, but draw up this plan, focusing on a variety of features of the site. First of all, these are the sides of the world and those rooms that need heating the most (children's room, bedroom) should be located on the south side.
You can insulate the north side of the house in a natural way by substituting the belt from the veranda, glazed terrace, boiler room or storage room with cold. Acting in this way, you create favorable conditions for energy savings, which are spent on heating the house. But is it possible to have a room most in need of heating, on the south side, if it is upwind?
There are areas of the area where the winds blow constantly, then this factor should be taken into account first. That is, the warmest rooms should be placed on the leeward side, even if it is north, and on the windward side it is better to plan the so-called “cold rooms”. Such a plan will allow in the winter not to spend excessively resources for home heating.
Another important factor is the location of windows for ventilation of the room or those that will most often open during the operation of the room. Near them it is better not to plan any outbuildings associated with an abundance of odors, as well as baths or smoke houses.
It is also worth paying attention to the neighboring courtyards so that such buildings do not end up next to the open window and instead of airing the room they did not bring unpleasant odors into the house.
Council Choosing a place for construction on the site, try to make it the highest in the entire courtyard area. This will reduce the effect of groundwater on the foundation.
Foundation selection
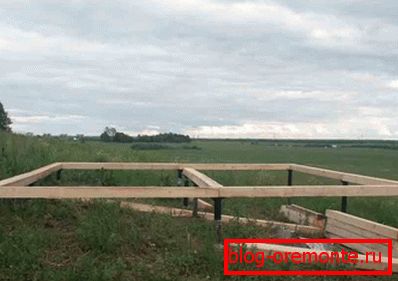
There are three main options for choosing a foundation for a bar-shaped house - pile, column and strip foundations. Each of them can be divided into some subspecies that are most applicable in certain conditions or different in cost and labor intensity.
Pile screw and bored foundations are mainly used for buildings of light type, such as, for example, a bath or even a small residential building. The piles in the first case are mounted by screwing into the ground, but the second option involves pioneering drilling of wells and installing casing in them, which are subsequently poured with concrete with pre-installation of a reinforcement cage.
The columnar foundation is very similar to the pile foundation in its capabilities, only the columns are made of brick or masonry, as well as of reinforced concrete slabs. Step piles or columns for wooden buildings is usually from 2 to 2.5 m, with their mandatory installation at each corner and intersection (walls, partitions). Rostverk or salary in such cases more often this made of wood, although it is possible to use metal profiles and reinforced concrete.
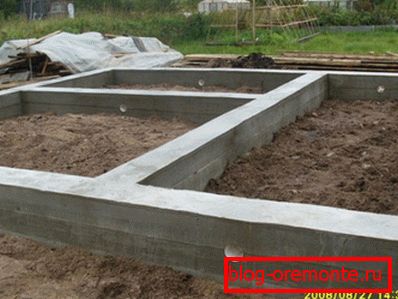
For a large wooden house most often provides for the installation of a tape base, the main factor in the variety of which is the depth of the ground level.
Thus, strip foundations can be buried and shallow, but the instruction does not indicate the exact dimensions - here the starting point is the freezing point of the soil. If the tape is deepened to this point, then it is considered to have a shallow depth, and if lower, then this is already a deep foundation.
Also, the tape can be either monolithic or team - this only changes the price of the foundation, and the quality with the correct installation remains the same. Monolithic bases can be supplemented with a brick base, but this base can also be a part of a ribbon that rises above the ground.
Council For some reason, it is assumed that for a shallow foundation for a house from a bar it is enough 30-35 cm, but this view is deceptive and the truth is usually opened a few years after installation, and then after one or two years - the tape begins to deform. The minimum depth of the ground level in such cases may be anywhere from 50 cm or more.
The walls of the wooden house
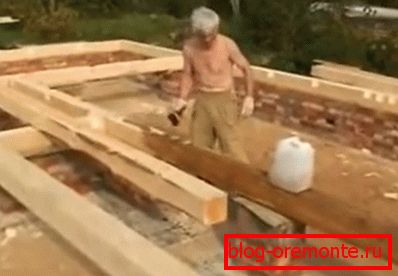
- First of all, a salary is put on the foundation, but it must be treated with antiseptics in order to at least partially block the natural process of wood decay. Under the timber you need to put a shut-off waterproofing, in the role of which usually serves the usual ruberoid. As a rule, various antiseptics for such needs do not have color and in order to prevent gaps in the coating, you can mix the stain on the composition, as was done on the top photo and you will see all possible bald patches.
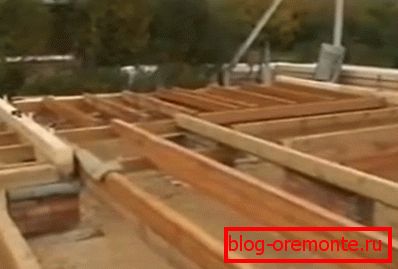
- Before building walls, you need to install floor logs, and in those places where the load is greater, for example, in a large room, logs can be double. On this basis should lay the boards, as a temporary floor, so that you feel more comfortable working. Moreover, such a flooring can be built, both before laying the lower crown, and after several rows, while there is enough growth of craftsmen to raise the bar to its place.
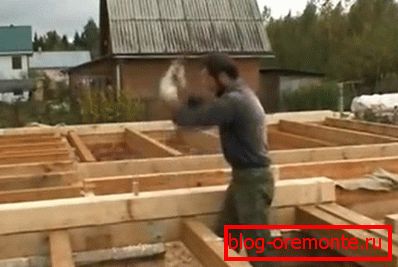
- Between themselves, the timber is fastened with the help of dowels, which are driven into pre-drilled holes having at least 20 mm diameter. Shkant themselves are made their own hands, and they should be a few millimeters thicker than the hole itself. The pitch of such anchorages can be observed with a value of about one meter.
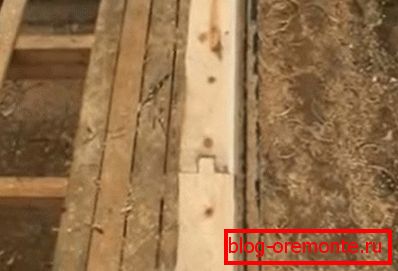
- If you do not have enough length of the bar (with the exception of the upper and lower crown), then it can be increased in the end of the butt with a crest, as shown in the photo above. Weak points when joining a bar are successfully compensated by the lower and upper rows, it is only important that the docking of all rows (and even two nearby ones) does not occur on the same vertical line.
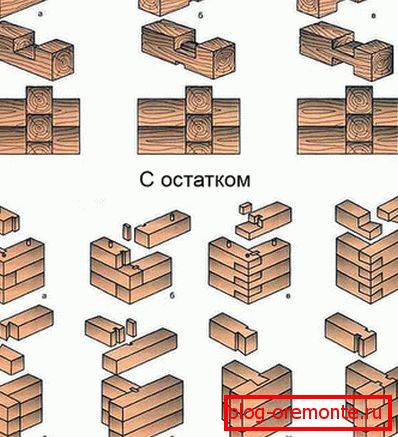
- Now let's find out how the timber joins with the adjacent walls, that is, it means docking the corners along the perimeter and attaching partitions to the main walls. In the picture above, you can see the main types of locks for the outer corners (along the perimeter), and usually use an "oblique paw" for such connections. After fastening the lock on top for durability, a metal bracket is hammered, applying it to each row.
Council Many builders advise for the “oblique paw” type castle to use tow, laying it with joints.
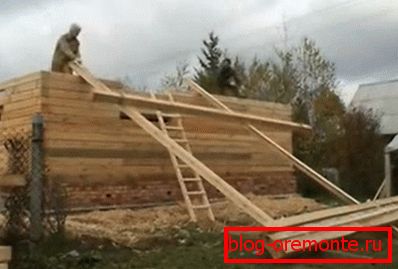
- It is rather difficult to lift the profiled timber of natural moisture without drying to the upper rows, because it has considerable mass. Therefore, for such transportation they make a kind of ramp from the same bar, as you can see in the top photo and on it, with the help of ropes, raise another profile. The number of rows for wall construction is practically unlimited, so the height of the building will mainly depend on the pre-planned design plan.
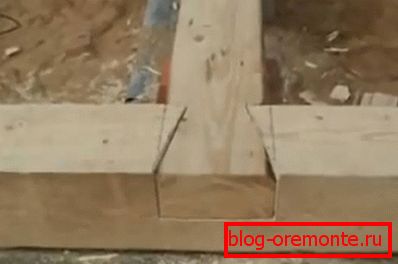
- Partitions, as a rule, are made of a bar of a smaller section, because such walls are no longer responsible for thermal insulation. designs.
- From the solid-mass timber do mainly buildings with regard to the subsequent decoration, since such walls do not have the appearance of a completely finished modern building. Another thing is when a sheet groove is used for this purpose, in which spikes and grooves are made in advance. In this case, the entire construction is similar to the assembly of the designer, where all the parts are prepared in advance and are connected to each other without preliminary processing.
Roof
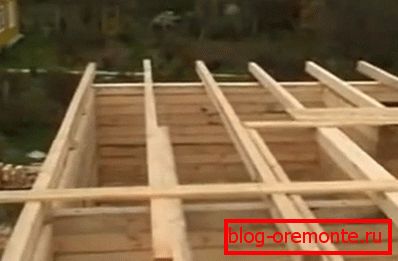
After the walls are erected, beams are laid on them, which will serve as the basis for the roof frame and, naturally, will also hold the entire weight of the roofing material on themselves. The pitch of the beams will depend on the pitch of the rafter legs, which, in turn, depends on the length of the rafters or the height of the ridge. So the higher the frame, the smaller the step of the rafter legs and most often this parameter fluctuates between 0.4m and 1.0m.
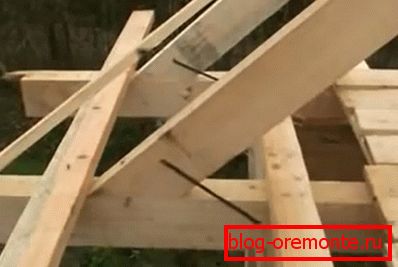
The rafters are attached to the beams with nails and metal brackets, as shown in the top photo. To fix the leg in a strictly horizontal position, you need to install stretch marks from any slat with a thickness of 20-25 mm, which will be removed after installing the ridge beam, struts and struts.
Для стропил и стоек обычно используют брус 150×50 мм или 200×50 мм (точно такой же материал можно использовать и для лаг на полу). А вот для подкосов можно воспользоваться брусками, но это лишь в том случае, когда каркас низкий, не более одного метра. Для коньковой балки используют либо точно такой же брус, который идёт на стропильные ноги, либо кругляк, диаметром не менее 120 мм.
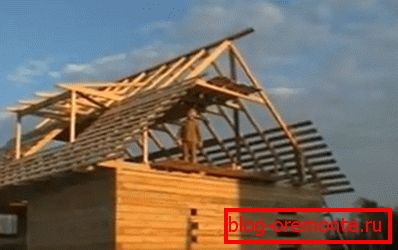
The crate of the frame for the roofing material is cut or unedged board with a thickness of 20-25 mm - the main thing is that its step coincides with the dimensions of the roofing sheets. Nowadays such roofs are covered mainly with corrugated metal and metal tiles, although sometimes slate is found.
Conclusion
If we talk about the price, then build from timber, which is a solid solid wood, is much cheaper than from its glued counterpart. But such a solid-mass profile after installation requires sludge for shrinkage and the house built from it cannot be trimmed for 10-12 months. As you can see, the decrease in the cost of materials does not always turn into a decrease in price as a whole, since we all know that time wasted is money lost.