Pouring the floor with concrete: a detailed description of
Concreting – это наилучший способ создания прочного и ровного чернового или даже чистового пола. Такая конструкция прослужит вам долгие годы и сможет стать подходящим основанием для любого декоративного покрытия. В этой статье мы разберём все этапы её создания.
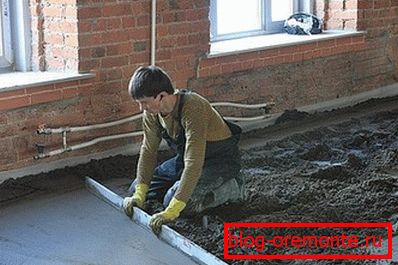
General provisions
What are the benefits of using concrete when creating floors? Let's get a look:
Virtues
- High strength. Only cutting reinforced concrete with diamond circles can inflict tangible damage.
- Surface evenness. Even capricious finishing materials, such as ceramic tile or laminate, can be mounted on the cement screed.

- Affordable price.
- The lack of processes of decay and the danger of attack of pests.
- Moisture resistance.
- The possibility of implementing their own hands.
- Long operational term.
disadvantages
But you should also have an idea about some negative aspects of concreting:
- High thermal conductivity. Compensated by additional installation of insulation materials.
Advice: if the financial situation allows, the installation of the floor heating system will be the best way to warm the concrete. This will not only give you the opportunity to move barefoot around the house, even in winter, but also make it possible to refuse less effective heating of the building with the help of radiators.
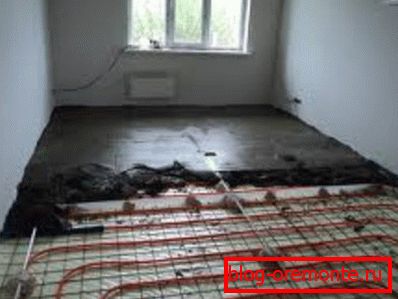
- The dirt that accompanies the preparation and pouring of the concrete solution.
Concreting
The cost of concrete pouring the floor is quite high, therefore, having mastered this technology on your own, you can save a lot.
The technology of pouring concrete floor in a private house is carried out in several stages:
| Serial number | Title |
| 1 | Foundation preparation |
| 2 | Warming and reinforcement |
| 3 | Installation of beacons |
| 4 | Pouring concrete |
And now we analyze them in more detail.
Foundation preparation
The technology of pouring concrete floor over the ground suggests a number of the following activities:
- We remove a layer of soil twenty centimeters thick.
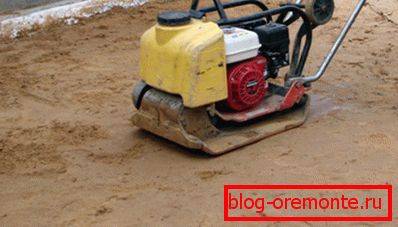
- Fall asleep sand mixed with gravel and thoroughly ram.
Tip: It is recommended to use a vibrating plate for sealing the pillow. It will allow to achieve the best result in the shortest possible time.
- Fill everything with cement mortar to get a solid foundation for further work.
- After the concrete layer hardens, we create a waterproofing with the help of a polyethylene film, which with an overlap of the overlap and glue the joints with an adhesive tape.

Warming and reinforcement
As we have already mentioned, the most significant disadvantage of concrete is its high thermal conductivity, that is, the thermal energy it receives from the room quickly goes into the ground. To avoid this, you can use several ways. The most common of these is laying the insulation material under the cement layer.
Suitable insulants for concrete are discussed in the following table:
| Title | pros | Minuses |
| Mineral wool | Low thermal conductivity, environmental friendliness, sound insulation | Hygroscopicity, lack of rigidity, rather high cost. |
| Styrofoam | Remarkable thermal insulation quality, low price | Fragility |
| Extruded polystyrene foam | Higher performance than foam, including strength | |
| Керемзит | Availability, availability of sufficient level of rigidity, fire resistance, environmental friendliness | Big rise of floor level |

Having decided on a suitable heater we act like this:
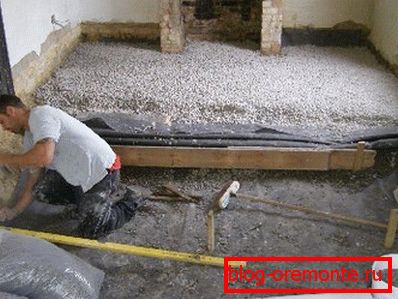
- We lay tightly over the entire floor area.

- From above we cover with a polyethylene film to prevent ingress of water contained in the concrete to the insulation material. The joints, as well as in the bottom waterproofing, are glued with mounting tape, and we also glue both layers together. As a result, you will form a sealed pocket with insulation.
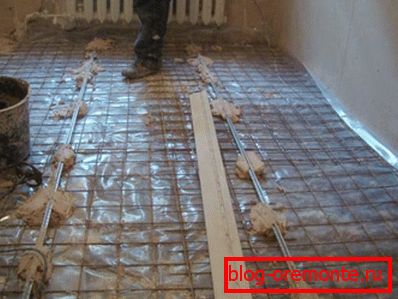
- Now we reinforce the future screed with a metal grille.. This will significantly increase the strength of the concrete pavement. After that, the floor screed can be poured with concrete.

When using expanded clay, it can even be simply added to the solution as an additional filler.
Installation of beacons
If you want to get a flat surface, then you should install special beacons immediately before concreting.
The instruction of this process looks like this:
- We find the highest point on the floor and project it onto the wall.
- From it we lay five centimeters up and draw a line around the perimeter of the room with the help of a spirit level.
- To check we tighten the paint cord at the marked level and run them through the whole room. If he does not cling to anything, then proceed to the next step.
- In a few centimeters from one of the walls we drill holes and screw in the screws with dowels in one line every 20 cm. Diamond drilling of holes in the concrete is not required, but you will need a drill.

- The caps of the screws are set flush with the marks made earlier and we attach a special beacon to them, fixing them with asbestos cakes.
- We perform a similar procedure every 80 cm.
Pouring concrete
We proceed to the final stage:
- Knead the concrete to fill the floor of cement and sand in the ratio of one to three with the addition of water.
Tip: It is recommended to use a concrete mixer for the implementation of the kneading. So you simplify your task and improve the quality of the solution.

- Fill the solution, starting from the far corner of the door.
Tip: if you have sufficient funds, you can order foam concrete for the screed. Its structure has a much lower thermal conductivity.
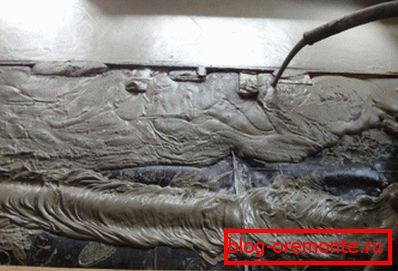
- Level the mix with a beacon rule.
- So fill the whole room.
- Do I need to water the concrete after pouring? Yes, after completing the work, cover the surface of the screed with plastic film and sprinkle with water so that it will gain a large fortress.
Conclusion
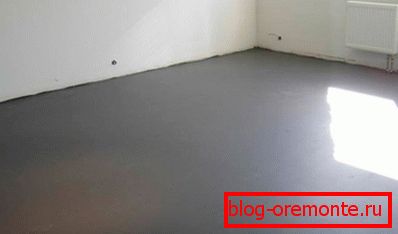
Concrete screed allows you to achieve a reliable and even floor. All work on concreting can be done independently. The main thing is to adhere to the above rules and recommendations.
The video in this article will provide additional material. Good luck to you concreting!