Plaster concrete walls: the choice of composition.
Despite the fact that in recent times there has been a huge selection of finishing materials, plaster is still the most popular. However, when choosing this finishing option, it should be borne in mind that the plaster of concrete walls has a number of features. Therefore, we recommend that you first get acquainted with this process in detail, which we will discuss below.

General information
First of all we will consider whether it is necessary to plaster concrete walls in general? There are several reasons why this procedure is performed. The main one is, of course, the curvature of the walls.
As a rule, concrete walls have irregularities and other flaws that cannot be fixed with concrete putty. In addition, the plaster somewhat warms the room.
The popularity of this type of finish is associated with the following advantages:
- The material has vapor permeability, i.e. "Breathes." Thanks to this property, a favorable microclimate is formed in the room.
- Good moisture resistance, so that the plaster can be used for any premises or even for external walls.
- Plastering walls can be your own.
- Plastered walls can be covered with any kinds of finishing materials.
- Unlike plasterboard walls, heavy furniture or household appliances can be fastened on top of the plaster.
- Low material cost.
Thanks to all the above properties, in some cases, this finishing option is the only one possible.
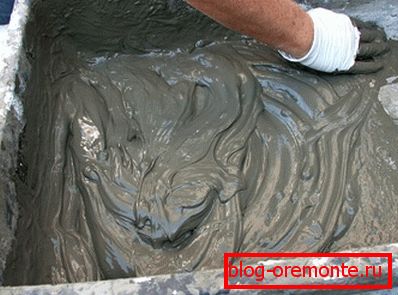
Choice of plaster
Before starting work, it is necessary to decide what to plaster concrete walls.
There are quite a few different types of solutions, however, the most optimal for these purposes are only two:
- Cement-sand mortar - great for rooms with a high level of humidity or for exterior walls.
- Gypsum-lime - is a good option for finishing dry rooms.
To prepare a cement-sand mortar is not difficult. To do this, mix one part of the cement with three parts of sand and mix with water until a creamy consistency is obtained.
To prepare a lime-gypsum mortar, mix the gypsum with water to obtain a pasty consistency and then add 3 parts of the lime mortar (lime diluted in water in a 1: 1 ratio).

Остракуатривание
Foundation preparation
The technology of plaster concrete walls, as well as any other type of finish, involves working with a prepared base.
This procedure is performed in the following order:
- First of all, it is necessary to remove from the walls the obviously visible defects - nodules, hillocks, etc.
- If communications, for example, electrical wiring, pass through the wall, a channel should be built. To do this, you can use a punch with a chisel, cutting reinforced concrete with diamond circles is also suitable.
- Next, the surface must be cleaned from dust and any contamination that can impair adhesion. To do this, the surface can be washed with warm water, you can even use detergents. At the end of the cleaning, rinse the wall with clean water and dry it.
- The next step is priming. This procedure should not be missed, as it allows to improve the adhesion between materials, which will increase the reliability and durability of the repair, as well as prevent the appearance of mold on the walls. Before applying, the ground should be shaken well and pour into a flat container. Then it is necessary to dip the paint roller in the liquid and process the walls with it. The primer should lay down a uniform thin layer, without stains. After drying, the wall should be treated with the composition again.
- After the primer is dry, wiring and other cables should be placed in the walls, if any.
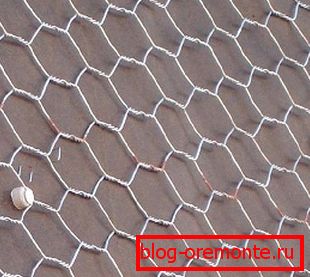
- At the end of the work you need to attach to the wall plaster grid. It can be fastened with dowels with washers.
Tip! Sometimes it is necessary to make a hole in the wall for pipes or other communications. In such a case, diamond drilling of holes in concrete is usually used.
This completes the surface preparation process.
Installation of beacons
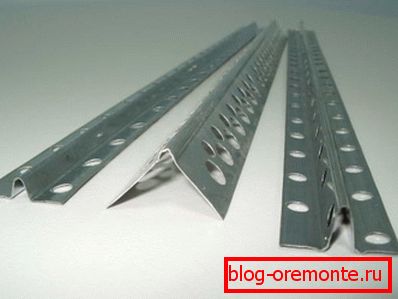
This stage is very responsible, because it depends on how smooth the wall will turn out, strictly speaking, for the sake of which plastering is performed. A special metal or plastic profile is used as beacons.
The installation instructions for the beacons are as follows:
- First of all, screw the screw under the ceiling or install a “quick-fit” dowel, at a distance of about 15 centimeters from the corner. The distance from the cap to the wall will determine the thickness of the plaster.
- Further, near the floor opposite to the first screw the second screw is installed. It should be on the same vertical line as the first.
- Then between them are placed lumps of plaster mortar, which should be slightly higher than self-tapping screws.
- After laying the mortar, you should attach the profile to the tapping screws, drowning it in the gypsum mortar. The position of the batten should be checked with a building level. In the event of a deviation from the horizontal, you should slightly tighten or unscrew one of the screws and check the position again. This manipulation is performed until the rail is installed strictly vertically.
- Further, the extreme beacon on the other side is set in the same way.
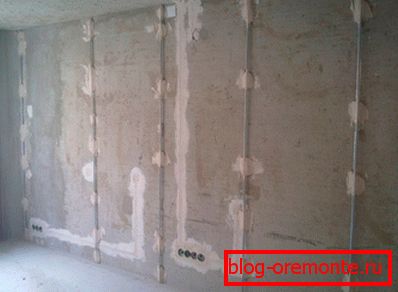
- Then, between the lighthouses, you need to tighten the thread and install the remaining rails between them. The step between beacons should be less than the length of the rule that will be used to level the walls. As a result, all the slats should be located in the same vertical plane.
Plaster
After all the preparatory work is completed, you can proceed directly to the plastering:
- First of all, before plastering concrete walls, you need to prepare a mortar. For the first layer it should be more liquid than for the subsequent ones.
- Then spray is done - the solution is poured onto the walls with a plastering bucket.. Throw it sharply to plaster stuck to the wall and did not spread. In this way, the entire area of the base should be processed, without gaps. The thickness of the first layer should be about 10 mm. If in some areas the solution will protrude beyond the limits of the lighthouses, the surplus should be removed using the rule.
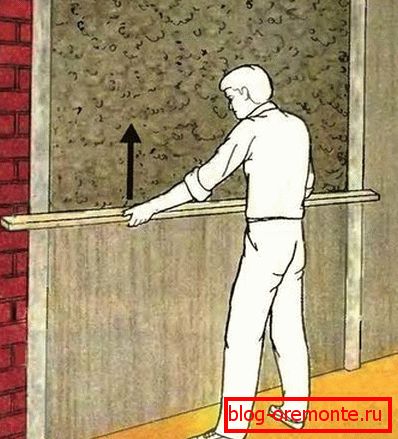
- After the first layer of plaster dries well, you need to mix a thicker solution. It can be applied to the walls as well as a spray, or with a trowel. As a rule, two layers of plaster is enough. The alignment of the walls is carried out by the rule, which is drawn along the beacons from the bottom up. At the same time, the instrument should be slightly rocked from side to side, without taking it away from the lighthouses.
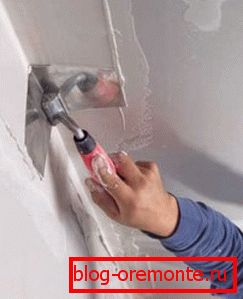
- After the walls are aligned, you need to do the corners. To align the inner corners using a special angular spatula. For finishing of external corners, a special profile is used, which allows not only to level them, but also to protect them from chipping.
Tip! When mixing the solution, it is better to add water to the dry mixture, and not vice versa. Otherwise it will be difficult to get rid of lumps.
This completes the plastering procedure. It must be said that the plastering of the walls of foam concrete is almost exactly the same. The only difference is that you will have to use special anchors to fix the mesh, as the screws will fall out of a porous material. (See also the article Aerated concrete facing: how to do.)
Conclusion
Plaster concrete walls - this is an affordable procedure for every home craftsman. The only thing you need to exactly comply with the technology and perform the work carefully. In this case, the finish will be able to serve for many years.
From the video in this article, you can get more information on this topic.