Leveling the concrete floor with a dry, cement-sanding
Not every one of us wants all the furniture in the garage to be twisted, and he constantly had to put something under it so that it would not fall. Even less we want to tuck the ankle or just fall right in the middle of it. From this material, you will learn how to properly level the concrete floor in the garage and other places.
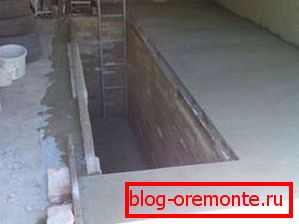
A durable, even, well-insulated floor can be obtained by screeding or by using specially designed mixtures. Before dwelling on one of these methods, one should pay attention to what material for this will be used, also on the difference in irregularities.
In cases where the latter figure is 3-4 cm, a concrete screed will show itself more effectively. If your floor is more or less even, but sometimes there are various cracks on it, the use of self-flowing mixtures is ideal for you. According to the type of laying, the screed can be divided into dry or with additions of liquids.
Tip: you can make the device leveling layer of asphalt mix, but in this case the cost of repair work will be very high.
Types of screeds
Dry screed
Подобную процедуру легко осилит даже начинающий строитель. Кроме того, у нее более доступная цена, а также она имеет хорошие теплоизоляционные свойства (см.также статью «Крышка для бетонного кольца: материалы и варианты исполнения»).
Fillers for this type of leveling can be either expanded clay or dry quartz sand, or a more complex material - polystyrene foam.
For laying on top of the filler, you can take:
- ordinary plywood;
- DSP;
- Fiberboard;
- Gypsum fiber moisture resistant sheets.
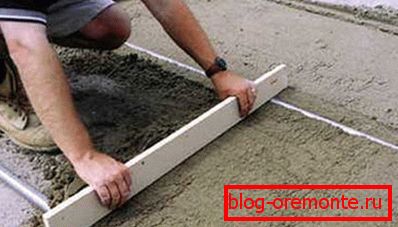
The following is the instruction:
- Before starting work, the floor must be thoroughly cleaned and primer applied, which will strengthen its surface.
- After it is completely dry, it is necessary to lay a thick (at least 50 microns) polyethylene film on it. At the same time, the cloths themselves must be joined with an overlap of 180-200 mm, and then glued together with tape.
- Along the walls, it is necessary to leave 120-150 mm overlap, and then make a sizing with damping tapes.
If your experience in this matter is zero, U-shaped profiles should be placed all over the floor. They need to turn the edges up to serve as lighthouses.
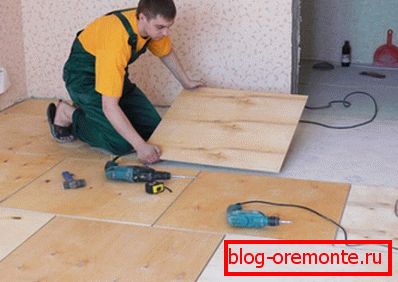
After a part of the filler is poured into the received cells (the profiles should be installed according to the level), you can proceed to the installation of the future floor. At the same time, it is desirable to glue the joints with glue, and for additional fixing, to screw in the screws every 18-20 cm. Edges of sheets adjacent to the walls will need to be cut off.
Cement-sand screed
Однако большинство из нас производят выравнивание бетонных полов цементно-песчаной стяжкой, считая это наиболее эффективным вариантом. Она прочная и ровная, что позволяет использовать любое финишное напольное покрытие (читайте также статью «Крышки бетонные на столбы – особенности данной группы изделий»).

It should be remembered that such a screed must have a thickness of at least 30 mm, then the base will be strong.
- Before starting work, it is also necessary to clean the concrete base.
- Apply a coat of primer to it, and wait until it dries.
- Then you need to put down on the base of the lighthouses, which are most often used T-shaped profiles or metal slats. But the option of using pipes, boards or timber is not excluded.
To install the rails, it is necessary to apply a thick solution on the floor, while between them it is necessary to observe a distance of up to 1 m.
- After the installation of the beacons, it is necessary to give time to the solution to harden, so that during the alignment of the screed they do not move.

Next, the longest and most patient part of the work begins - laying out the solution:
- The procedure must start at the far corner, and gradually move to the center, leveling the floor.
- For greater compaction of the solution and to fill it with voids, it is necessary to move not only along the rails, but also along the circumference.
The most optimal cement for such a solution is brand M500. At the same time it is necessary to strictly observe its proportion with sifted sand, which is 1: 3. Also for each 1 kg of cement requires 1 liter of water.
In addition, the market is filled with ready-made mixtures - M150, M200, M400, etc. All instructions on the use of such mixtures are indicated on the packaging.
Tip: remember that the number after the letter in the name of the mixture depends on its strength (the higher the number, the more it is).
After this, the solution needs a certain time that is finally solidified. The next day, the screed should be slightly moistened. A similar operation is repeated on the second day. If the screed stiffens so that it can walk on its own, gently pull out the beacons and fill the seats with freshly prepared solution.
Then cover the screed with foil and is moistened daily for a week. For its complete hardening, you must wait from 2 weeks to a month.
Self-leveling compounds
The previous version gives a good effect, but requires a long time of work. At the same time, self-leveling mixtures or self-leveling floors, as they are called, have no such disadvantage. Finishing flooring can be installed 12 hours after pouring, and the full acquisition of strength characteristics occurs within 12-14 days.

The use of self-leveling floors is possible with a height difference in the room of no more than 30 mm. If there are deep cracks in the floor (more than 60 mm), they must be sealed with cement mortar before starting work.
Next, you must follow the instructions on the packaging of self-leveling mixtures.
- Before working, the floor must also be cleaned and primed.
- After that, the diluted mixture is poured onto it, which you will need to level with a spatula.
- Then it is necessary to use a needle roller, by means of which air bubbles that reduce the strength of the floor are removed.
Advice: since it is rather difficult to manage one with such a work, since it takes about 10 minutes to harden the mixture, so it’s better to use someone’s help. Otherwise, it is possible to moisten the floor with cold water before applying the mixture, which will slightly slow down the hardening process.
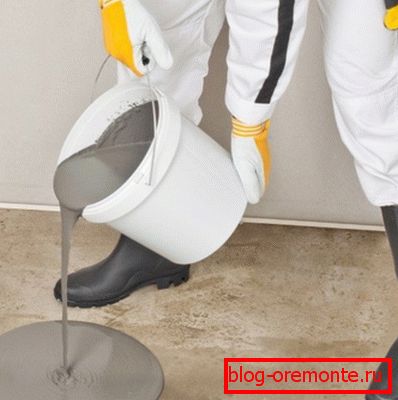
Such a floor will have a small thickness, so it is ideal for low rooms. However, it has its drawbacks, and the main one is the high cost.
Also, each type of mixture is characterized by weak resistance to various influences, for example:
- epoxy - to low temperatures and mechanical effects;
- polyurethane - to chemicals;
- methyl methacrylate - to abrasives.

Tile glue can be used to seal small cracks in the floor, but it will not work to completely level the floor.
Before you finally stop on any type of leveling the floor, you should consider the following factors:
- average room temperature;
- room humidity;
- estimated floor loads;
- financial aspect of repair.
Conclusion
Выравнивание бетонного пола своими руками может происходить несколькими способами. Например, используется сухая или цементно-песчаная стяжки, а также специальные наливные смеси. Этот процесс несложный, но трудоемкий, справиться вы с ним можете даже самостоятельно (см.также статью «Методы склеивания таких материалов, как пенополистирол и бетон, с целью создания качественного утепления»).
The video in this article will help you find additional information on this topic.