Laying parquet on concrete: requirements, preparation,
Laying parquet on a concrete screed is one of the most popular ways to finish the floor in a residential area. We will tell how to lay the floorboard on a concrete floor and make a beautiful floor covering with your own hands.
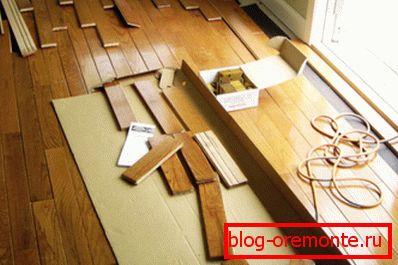
Preparation for work
Requirements for materials and base
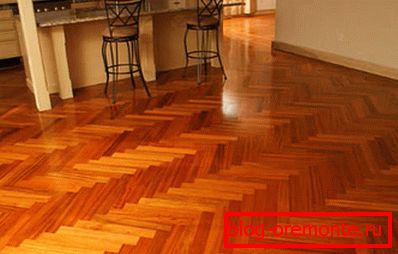
Parquet is able to turn your floor into a luxurious element of the decor of the room, provided that the technology of laying the floorboard on concrete is observed. It includes a number of rules and requirements that must be taken into account.
The classical parquet board is made of massive wood of a certain breed:
- oak,
- beech,
- grab,
- maple and some others.
And as we all know, wood is a very fastidious material, as it is more susceptible to the effects of climate change and temperature changes.
In addition, it is important to comply with the requirements for the base. In our case, the base is a concrete screed, so we will only talk about it.
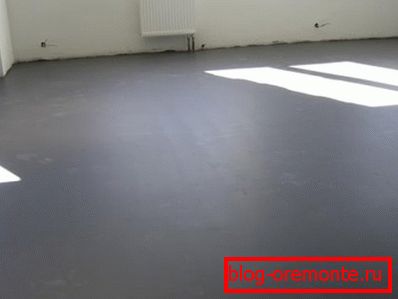
Note! Regardless of the quality of the floorboard, the method of its installation, the glue used and the method of fixing the coating, the base must be even, durable and have acceptable moisture.
Based on this, you can list the basic requirements for materials and base:
- The rate of deviation of the surface of the base from the horizontal plane. This is one of the main indicators of the quality of the preparation of the coating, which will depend on the result of floor finishing. Maximum deviations of no more than 2 mm per two meters in any direction are allowed;
- The maximum slope of the plane of the base surface to the horizon. This parameter is also important for ease of operation and normal floor operation. It is allowed to have a slope of no more than 0.2% of the length of the room in this direction, however, no more than 50 mm of the total differential;
- Humidity concrete screed base. If the concrete does not have time to dry, it can not be covered, in addition, moisture can go into the wood and spoil its quality. The normal humidity of the base should not exceed 5% by the start of work;
- The temperature and humidity of the room in which the work is done. Microclimate affects the parameters of wood, and therefore it should also be standardized. The optimum humidity is from 40 to 60% and the air temperature is between 18 and 23 degrees Celsius;
- Tensile strength of the material for compression. This parameter defines the minimum strength that concrete should demonstrate. Acceptable can be considered concrete strength of at least 150 kgf / cm2, which corresponds to concrete grade M150 and higher.

Note! The screed must have time to gain design strength, for which it is necessary to wait for at least 28 days from the moment of pouring the floor. To accelerate the process by heating or additional ventilation of concrete is impossible.
Foundation preparation
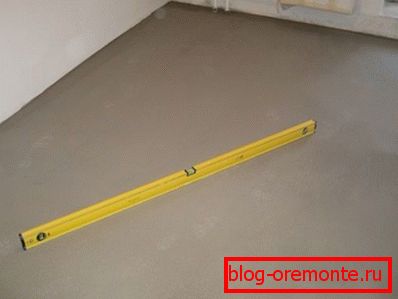
As already mentioned, special attention is paid to the preparation of the base for parquet. Because we want to make out this topic in more detail.
There are two options - the old screed and the floor requiring concreting. In the first case, it is necessary to inspect the old floor and, if necessary, bring it into compliance with the requirements listed above. In the absence of a screed, it will have to build independently or with the help of specialists.
As a rule, the draft screed is present in the apartments. Now you need to check its quality and evenness.
The first step is to check the floor by a two-meter rule for differences in level from the plane. For this, the rule is applied to the floor in different places and different positions, measuring the appearing gaps between the ruler and the surface. We remind you that the norm is 2 mm by 2 meters.
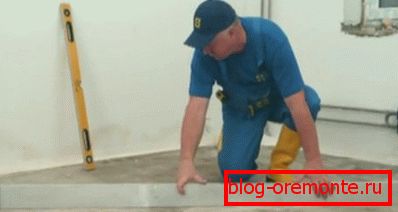
If abnormal drops occur occasionally and are caused by local bumps or potholes, then you can limit yourself to sanding or grinding the surface of the concrete in these places with a large abrasive. You can use a grinder with an emery wheel.
If the drops are numerous, then it will be more expedient and easier to level the floor using a self-leveling mixture, which can be purchased at any hardware store. Before using the mixture, the floor is cleaned of dust and dirt, ground with a special compound to increase adhesion, prepare the solution according to the manufacturer's instructions and pour it onto the floor, leveling it with a needle roller.
The minimum layer thickness, depending on the composition of the mixture, can be from 1 to 3 cm. The leveling layer must also have time to gain strength and dry out. The period of maturation of the material is indicated on the package and is usually from one to several days.
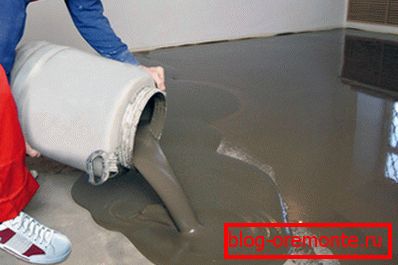
It is also possible to level the floor using log and plywood, however, we consider laying on concrete, and therefore we will leave this method for another article.
Note! When the surface material has fully matured and gained the calculated strength, it is necessary to make sure that its moisture content does not exceed the permissible value. To do this, it is better to use a special hygrometer, and if not, attach a piece of plastic film to the floor for a day, and then look at the surface that came into contact with the floor (the presence of condensate will indicate increased humidity).
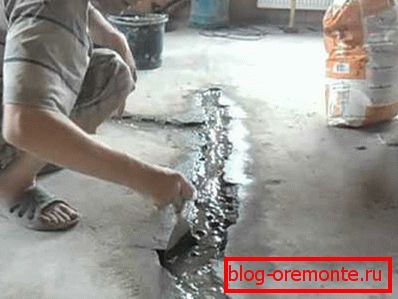
If the old screed has significant defects - cracks, gouges, pits - they should be repaired. Cutting reinforced concrete with diamond circles will allow you to remove illiquid areas of concrete around the defective area, which can then be filled with a new solution and leveled. If you need to lay new pipes or risers, use diamond drilling holes in the concrete with special crowns.
Parquet laying
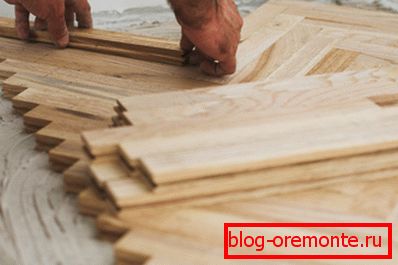
The price of the work of a professional paver is quite high, and therefore we offer to mount the cover yourself.
This will help you our instructions:
- The prepared surface of the floor is cleaned of dust and dirt, foreign objects and furniture are taken out of the room;
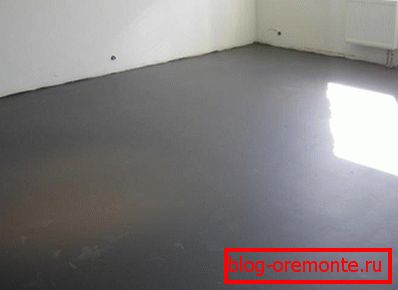
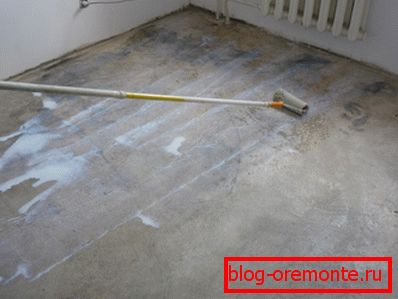
- Screed primer special primer, as a rule, glue. Often the optimal material for the primer is indicated on the package with glue. Primer is applied with a brush or roller on the entire surface and waiting for it to dry;
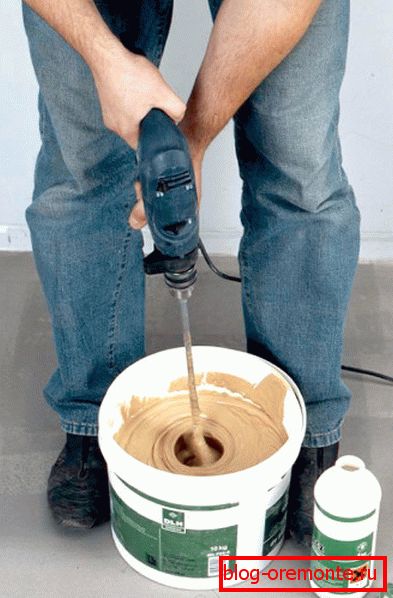
- Then glue should be prepared according to the manufacturer's instructions. As a rule, a hardener is added to the oil substance and mixed;
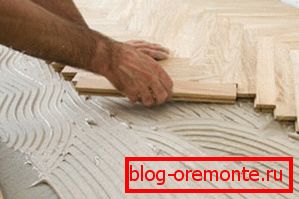
- Glue is applied to the surface of the floor with a notched trowel, as when laying tiles. Then the parquet board is pressed into the layer of glue and put it on a level. For convenience, you can pull the beacons in the form of threads at a distance of the thickness of one board from the floor;
- After laying two to three rows, the glue is allowed to dry, then work continues on. Boards should be adjusted to each other as tightly as possible using a mallet and tightening;

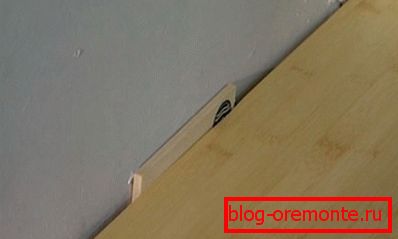
- A deformation gap of 10 to 15 mm should be left between the coating and the walls for future temperature expansions. After laying the coating gaps filled cork compensator or elastic sealant;
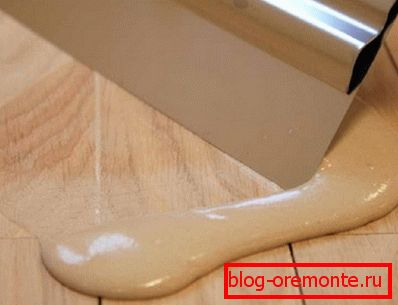
- When the installation is complete, the floor surface is scrubbed, sanded and puttyed with a special putty, which closes the gaps between the boards;
- Finally, the floor is primed and opened with three layers of lacquer. Sometimes you can limit the impregnation of wood with oil or waxing, but the varnish is considered to be more durable and resistant to wear.

Note! The floorboard should be brought into the room in advance, so that she has time to acclimatize. A few days or a week is enough.
Conclusion
Laying wood flooring on a concrete screed - a popular and common method of finishing the floor, used throughout the world. With the help of our guide and video in this article you can understand the technology of such styling.