Laying linoleum on a concrete floor: leveling, substrate,
Recently, in modern construction to create floors using concrete. This material is quite durable, has a long service life and perfectly tolerates the effects of moisture and heavy loads. Therefore, the question of how linoleum is laid on a concrete floor with a substrate is very interesting for beginners.
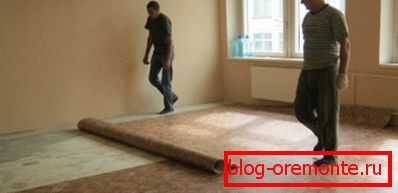
Phased process
Some experts believe that if the substrate is used, the surface leveling can be avoided. However, one should not forget that this area has very large loads, which, in the presence of even a small defect, will cause a reduction in the lifetime of both types of material.
Given this, the technology of laying linoleum on a concrete floor necessarily involves the creation of a small screed.

Alignment
- First of all, it is necessary to inspect the surface for defects in the form of cracks or dents. They can even appear on a fresh screed if the manufacturing process was disrupted during its manufacture.
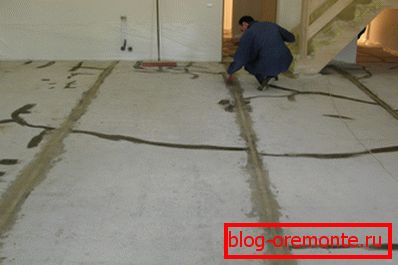
- If damage has been detected, then reinforced concrete is cut with diamond circles in order to widen these defects, thus removing the coating tension. It should be said that this tool does not create strong vibrations and does not allow the cracks to disperse further.
- In the next stage, the floor is covered with a layer of primer, especially in places of damage. When it hardens, all seams and cracks are sealed with cement mortar.
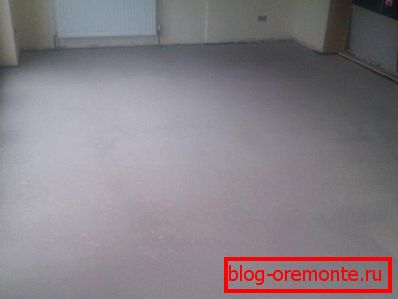
- The leveling of the surface of the concrete floor is carried out if there are obvious drops or defects on the surface that exceed 2 mm per square meter.
- Screed professional masters recommend doing with the use of leveling mixture. It is quite easy to use, applied in a thin layer and creates a perfectly smooth surface.
Tip! After the floor hardens it should be further treated with a primer. This is especially important when using cement mortar for screed. The fact is that the primer creates a kind of film and binds small particles, preventing them from crumble, forming dust.
Pad
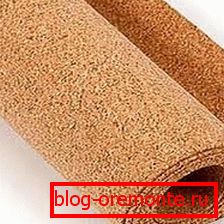
- When you are laying the linoleum with your own hands on the concrete floor, the craftsmen recommend using rolled cork materials as a substrate.
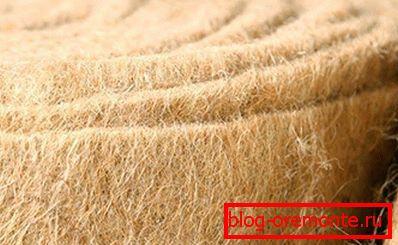
- This additional coating perfectly withstands almost any load that is permissible in a residential area, excellent moisture transfer and creates a cushioning effect.
- The use of such a substrate greatly increases the life of the linoleum itself and warms the concrete floor.
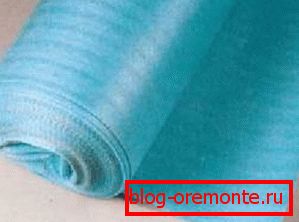
- It is worth remembering that before installing a pre-coating it is necessary to lay a waterproofing layer on the floor. It is best done from a special film, which also comes in rolls.
- The film is placed with a small run on the wall, then the excess will be figuratively, and between the wall and the substrate it is worth leaving a small distance of a few millimeters.
Tip! It is worth noting that there are a lot of different materials to create a base for linoleum. However, the cork substrate is considered the most practical and reliable.
Piling
- At the moment there are many different types of linoleum. At the same time, they all have different qualities and technical characteristics.
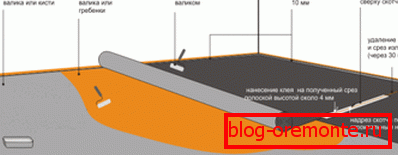
- The choice of the necessary material is carried out on the basis of the loads that are peculiar to a particular room and its impact factors.. At the same time, the price of the product will depend on such parameters.
- After linoleum is brought into the house, it must be allowed to stand for 24 hours.. This is necessary in order for the material to take its optimum size, based on the working temperature of the room.

- Then it is rolled out on the floor, pressing it to the surface with heavy objects so that it is leveled and assumed the correct shape. This may also require a day.
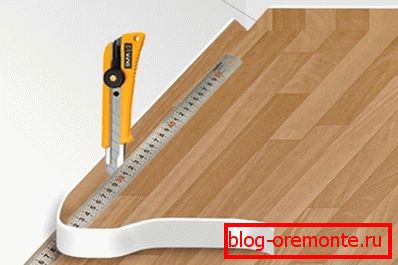
- In the next step, you need to prune based on the dimensions of the room.. It is best to use a metal ruler or a corner with a mounting knife.
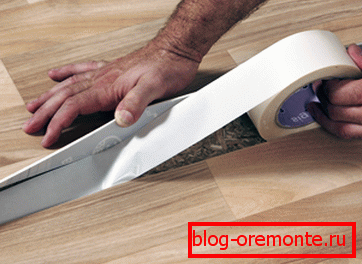
- If it is planned to create joints, the installation manual advises using a special soldering iron for this job.. In this case, it is necessary to purchase a solder of the corresponding color in advance.
- It should be said that there are glue joints. They are less practical, but with the right approach will have a good appearance and will last for quite some time.
- Linoleum pruning is done right under the wall.. Then give the coating a little more lie and then make adjustments, leaving a clearance of 5 mm. At present, there is practically no such product left, which dries out after a certain period, which means that the coating faces only a slight expansion and only under the influence of temperature.
Tip! If disposable work is done, then a soldering iron can be rented. This will save a lot of money.

Plinth
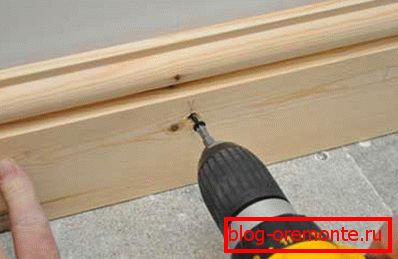
- The final stage of this installation is the fixation of the material using a plinth. At the same time, professionals recommend mounting the product to the wall.
- To facilitate the work, you can perform diamond drilling of holes in the concrete, of which some walls consist, in order to obtain the seats for impact dowels.
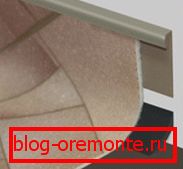
- The plinth should completely cover all gaps between the wall and the floor and have a tight fit in both planes.
- If the installation used wooden products, it is necessary to make their coloring. It is best to use masking tape to protect the linoleum from paint.
Tip! Before you start work, you need to make sure that the walls are also smooth. If they are curved at the bottom, then between the wall and baseboard there will be cracks.
Conclusion
Watching the video in this article, you can get more detailed information about how the data is produced, and what difficulties will be faced. Also based on the article proposed above, it should be concluded that such installation has no complicated elements and even a beginner can cope with it.