How to put aerated: material characteristics. masonry
This material is one of the most affordable in the price range. It is relatively easy to use during construction. We will talk about aerated concrete today.
We will not go deeper into all of its advantages, since there are a lot of them, let's try to better understand how to put aerated concrete blocks with all the details. The process has some features, the knowledge of which will help to make the work really high-quality.
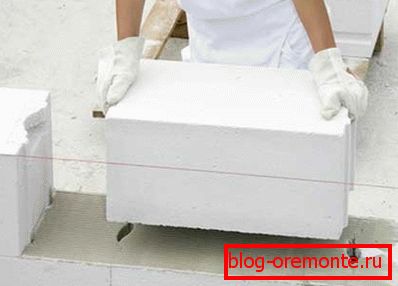
Characteristics of aerated concrete
At the beginning of the article we propose to dwell on all the nuances of the building material.
The size
Aerated concrete blocks can sometimes have significant tolerances. Although visually they may look identical in size, but this should not confuse you.
The process of their production implies the existence of certain tolerances, moreover, on all faces. Everyone who works with this material should know this feature.

Before the beginning of the laying, it is desirable to process all the blocks with a special plane, which will make their geometrical dimensions truly identical. Therefore, when buying such blocks, you are offered to purchase a plane, you should not refuse, it may be useful to you in the future.
Tip: only purchase products that have the appropriate certificate confirming its quality.
You should not try to save money by buying cheap blocks. In the future, this can lead to even greater costs of money and time.
In fact, the process of manufacturing blocks is quite complicated and not all "handicraft" manufacturers fully comply with it. For example, they can use shapes that differ in size for casting. Therefore, you need to be extremely careful to avoid further difficulties during construction work.
Tip: to fit the block, you do not need a service - cutting reinforced concrete with diamond circles, as it is sawn with ordinary hacksaws.
Moisture absorption
Since the material has a huge amount of pores in its structure (it belongs to cellular concrete), it tends to absorb moisture.
Tip: during laying should provide cut-off waterproofing.
And although many consider this process not important enough, it is not. In fact, a liquid can penetrate into the blocks in a capillary way and even go up to the level of the second, or even the third floor.
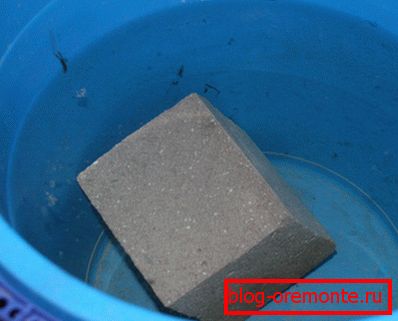
In addition, you should not save on waterproofing. Many make their choice in favor of the well-known and affordable roofing felt, but not everyone knows that it can provide a decent level of protection against moisture for a maximum of 5 years. Therefore, it is recommended to acquire a water-repellent film, the price of which is not much more expensive than roofing material, and it will serve much longer.
The form
Aerated concrete walls are made using various configuration blocks. This is especially evident in their side surfaces. Therefore, you should not save on high-quality adhesive composition - the main factor that will depend on the reliability of the adhesion between the blocks.
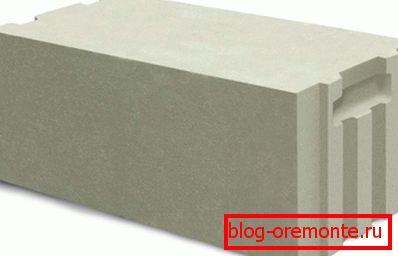
Tip: the most suitable for the walls will be blocks with notches. To give the structure additional strength, it will be sufficient to fit such products tightly.
Technology
Having dealt with the basic properties of the material, you can begin the process of its laying.
Below is a guide to help you figure it out yourself:
- Prepare the surface - remove the rubbish from it with your own hands and everything that may interfere with further work.
- Many articles recommend laying at the highest part of the foundation.. It turns out that in such cases the lowest part also exists, therefore, it can be assumed that the foundation has a slope. A logical question appears here - how can a rectangle be obtained from ideal blocks in this situation? No, it means that the side faces will be bevelled relative to the horizontal surface.
Immediately it should be noted that using a strip foundation can not achieve a perfectly flat base for laying. It turns out that in this case it is impossible to achieve the strict geometry of the entire building. What to do in such cases? Abandon such a foundation?
Tip: if you can not make a channel for communications in the foundation, you will be helped by the service - diamond drilling holes in concrete.
- Cement screed is used to solve this problem.. With it, you can even out all the irregularities of the floor surface and achieve perfect horizontal position. To control this process, you should use a quality and accurate level.
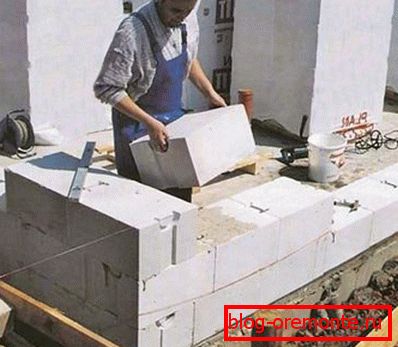
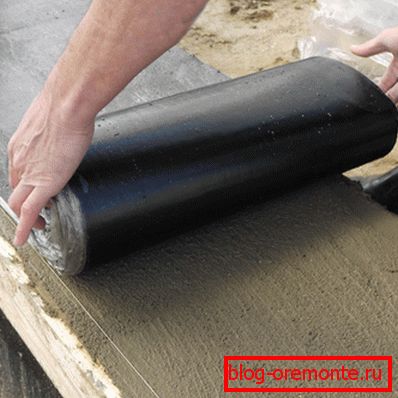
- After that, on the screed make a waterproofing layer of roll material, the width of the stripes on each side must be 100 mm greater than the width of the foundation.
- Only now can proceed directly to the process.. And what to put aerated? For their joining used adhesives, sold in the form of a dry mixture. And although they are more effective, some home craftsmen opt for the usual cement mortar.
Of course, you can choose what to put aerated concrete blocks, but still I would like to describe the advantages of glue for aerated concrete:
| Piling | It fits in a thin layer (about 2 mm), which can significantly reduce the likelihood of "cold bridges". |
| Installation | It will take less time to install the blocks, as the glue only needs to be filled with water, and the cement is made much longer. |
| Glue manufacturing | It requires only water and a small amount of space, but the cement mixture is made from sand, cement and water, which not only occupies a large area, but the process itself is “dirty” and “dusty”. |
Recommendations
Blocks always need to start laying with corners. When the extremes are set and aligned with the level, between them should be tightened the string, which serves as a reference level during further work.
Tip: To prevent the string from sagging, it is better to use a thick fishing line or a capron cord. In addition, do not forget to apply glue to the side faces of the blocks.
When installing the first row of blocks, make sure that all the upper cut was located on the same level. If this is not the case, the fit can be done with a plane.
The second row is put on a similar technology. However, it is worth remembering that the joints in the vertical rows should not coincide. In this case, it will be necessary to cut the block in half, and carry out this procedure through each row.
Tip: for reliable "setting" of the adhesive between the laying of each row should take breaks of one and a half to two hours. Therefore, there is no need to prepare the entire adhesive solution at once.
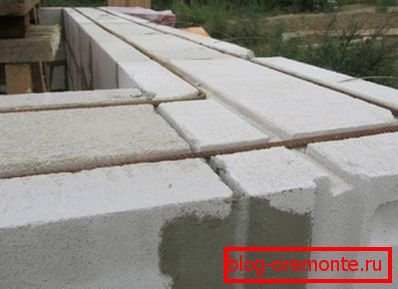
It should not be forgotten that it is necessary to strengthen the places left for windows and doors. The most effective for this is to use bars of reinforcement, which will need to be mounted in the grooves of gas blocks. In addition, each such rod should "enter" to a depth of about 150-200 mm.

The laying of walls from gas-concrete blocks comes to the end with their polishing. This type of work is used in cases where you do not plan to carry out the external surface finish. If you want to apply plaster in the future, sanding the wall is not necessary.
However, you should remember to polish the blocks in the places that were left under the doors and windows. To do this, you had to cut the material, so it may be slightly damaged.
Advice: is it possible to put aerated concrete in winter on glue - yes, but it is better to wait for more favorable conditions.
And the last - at the same time make laying of blocks for external walls and internal partitions. This will simplify the process a little.
Conclusion
From the article, you learned not only what aerated concrete is, but also how to properly put aerated concrete blocks, and working with them is considered “clean”, since there is no dust and dirt accompanying the cement mortar. In this case, it is best to give preference to a special adhesive composition.
During laying do not forget to reinforce the door and window openings. The video in this article will help you find additional information on this topic.