How to lay laminate on a concrete floor: a detailed guide
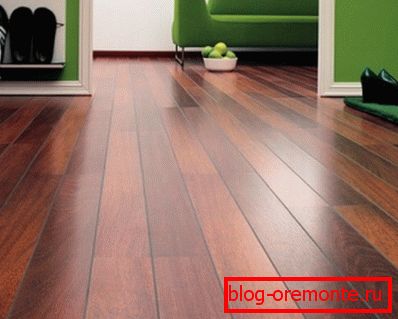
Laminate and concrete is one of the most successful combinations. It guarantees an excellent ratio of quality and price, beauty and practicality. And especially very simple installation instructions, which we will consider in this article, are pleased.

General provisions
But before talking about how to lay laminate on a concrete floor, let's look at some of the features of this material:
- A wide range of all sorts of colors and imitations. Decorative paper, located under the protective outer layer, can have almost any ornament.
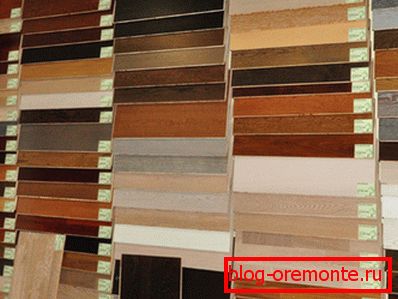
- Affordable price. Natural types of flooring are much more expensive.
- Moisture resistance. On top of the water-repellent properties provides melamine film, and the bottom - soaked in a special solution of paper.
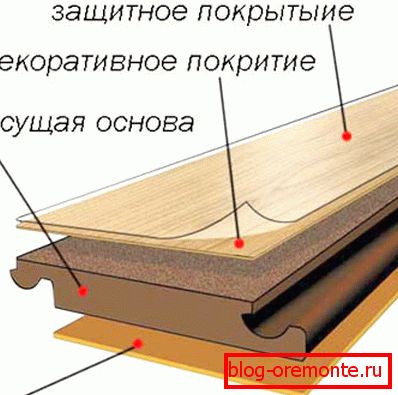
- High strength, which provides a carrier base of chipboard increased density.
- Abrasion resistance. It is guaranteed by the layer of melamine already mentioned above.
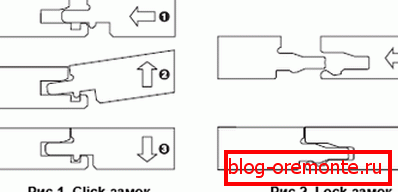
- Easy do-it-yourself installation. Each product at the ends has a special locking system, which greatly facilitates assembly.
- Светостойкость. Do not lose their color saturation, even constantly being under the direct influence of the sun's rays.
Concrete is ideal as a base due to its strength properties, lack of hydrophobicity and ease of leveling.
Mounting technology
Как правильно постелить ламинат на бетонный пол? Начинать стоит с подготовки основания (читайте также статью «Штукатурка по бетону: классификация отделочного материала и особенности нанесения»).
Preparatory work
- Investigate the surface for the presence of irregularities using a spirit level.
- All found hollows are poured with a liquid cement solution, and cut off the protrusions. In this case, it is only possible to cut reinforced concrete with diamond circles, since ordinary ones will not cope with such a task.
- When revealing a differential of more than two millimeters, we make a leveling tie. Diamond drilling holes in the concrete or any other processing methods in this case will not help. If the floor is left as it is, then in the future there will be complications with the correct operation of the lock joints, and the connecting seams will become too noticeable.
Tip: It is recommended to use a thin layer of self-leveling floor for leveling. This will help achieve the best effect.

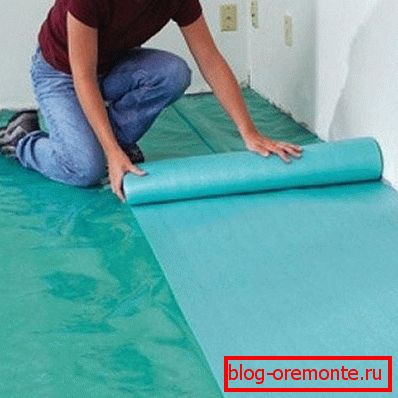
- Next you should take care of waterproofing. To this end, cover the concrete with polyethylene film overlap. At the same time, the joints are sealed with building tape in order to achieve the greatest possible sealing.
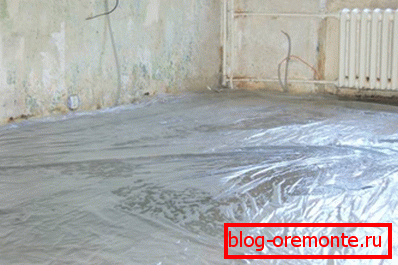
Tip: use only a film that is at least 200 microns thick. Otherwise, there will be no guarantee of a sufficient level of protection against moisture.
- What to lay under the laminate on the concrete floor yet? A polymer backing that provides sound insulation and protects laminate strips from hitting the concrete while walking on them. Her canvases are laid end-to-end and also sealed with mounting tape.
Piling
Now let's look at how to lay the laminate on a concrete floor:
- We choose the method of installation: along the room, across it, diagonally or with a Christmas tree. The simplest is the first method. Also in the case when the panels will be directed away from the window, their connecting gaps will become less noticeable.
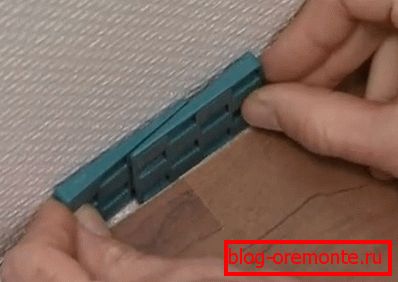
- The first bar is set in the corner of the room farthest from the door, and between it and the wall we insert special wedges to maintain the technological gap of one centimeter.
- We bring the following product to it and, depending on the type of lock connection, we proceed as follows:
- "Click" - we substitute at an angle of 45 degrees and, lowering, snap into the groove.
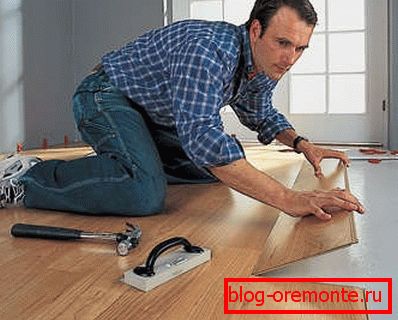
- "Lock" - we put close and parallel to the floor, insert into the lock. If necessary, we help with a hammer, after substituting a plate.

- When the whole row is assembled, proceed to the next. We assemble it next to it, after which we attach the entire strip to the already laid laminate.
Tip: move each row of sections to the side so that their joints do not match. Such a chess order will give more strength to the entire floor structure.
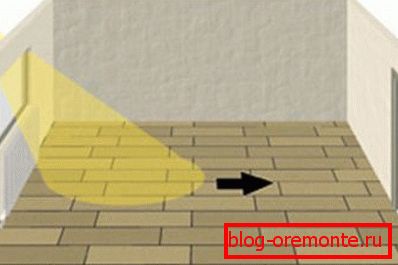
- And so we continue to gradually fill the entire floor.
- The final touch set the fillets, fixing them to the surface of the wall. They will close the technological gaps we left earlier.
Conclusion
Laminate helps to realize the dream of a beautiful and practical flooring with a limited budget. The ideal foundation for it is a flat concrete floor. The very process of laying laminate flooring on a concrete floor is a separate topic for admiration, since, due to the presence of a special locking system, it is incredibly easy and does not require any special skills.
The video in this article will provide you with additional information directly related to the materials presented. Successful to you installation works!