How to install the outlet in a concrete wall: the necessary
Installing sockets in a concrete wall requires special tools, the ability to use them and an understanding of the intricacies of the process itself. It is better, of course, for a professional electrician to do this, since the security level of the whole house directly depends on the condition of the wiring. But with due care and accuracy with all the necessary work can be managed independently, which will be discussed in this article.
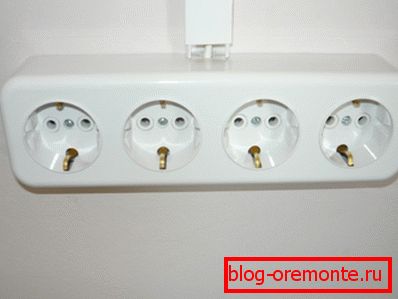
Step by step execution
Installing the outlet in a concrete wall begins with the preparation of all necessary accessories.
Tools and materials
- Perforator. Without it, thinking about creating a quality nest with your own hands makes no sense. Chisel you too long and crookedly carving the desired hole. You can, however, do with a hammer drill for drilling concrete walls, but its mechanical shock is much worse than the pneumatic system of an electric “hammer”.

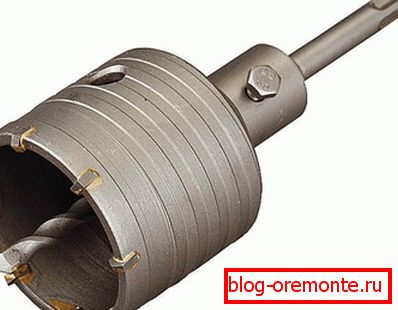
- Drill for sockets on concrete, which has the shape of a crown and is able to create even round holes even in such a strong surface.
- The outlet itself with the required number of outputs.
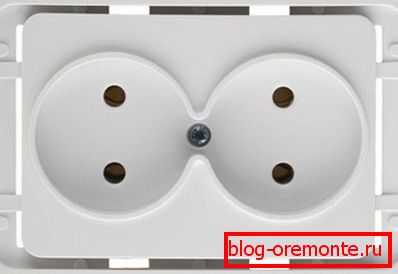
Tip: it is recommended to choose only quality products from well-known manufacturers. Cheap sockets when a large voltage is applied can simply flow, which can lead to a short circuit and a fire. As a result, the low price will be too high.
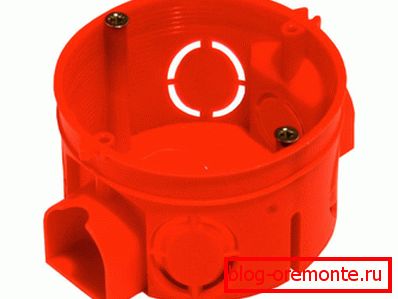
- Sub-caretaker. It is under him that diamond drilling of holes in concrete will be carried out.
- plaster. It is useful for sealing up the gaps around the installed underframe.
- Отвёртка. Mandatory for screwing the case.
Markup

Installation of the outlet in a concrete wall begins with determining its future location. The height above the floor is usually determined in accordance with the European standard and is 30 cm or Soviet - 90 cm. Also pay attention to where the most equipment will be located in order to limit the use of less convenient extension cords in the future.
But for us, the center of the power point is more important for correct work, and we mark it with the help of a circle and a cross, as shown in the figure. If it is intended to use a product with several sockets, then all of them should be noted. To do this, we deviate from the first 71 mm in the right direction, since it is precisely the generally accepted center distance between the bottom.
After marking all sockets, draw the wiring lines for the power supply.
Drilling
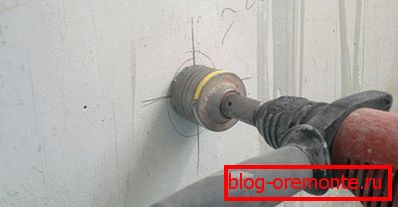
The instruction is small, but the accuracy of its execution and the hardness of the hand are very important:
- Insert the nozzle with the "crown" in the stem of the punch.
- Put the tool strictly perpendicular to the marked position.
- Turn on the machine and plunge all the way into the concrete.
Creating gates and laying wires
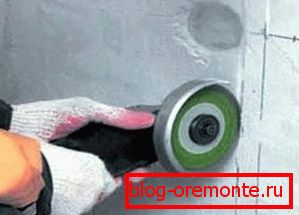
Electricity in the sockets by itself does not appear, the necessary wiring from the electrical distribution panel. To do this, cut the walls in the walls with an angle grinder for concrete or electric wall chaser.
Tip: be sure to take care of personal protective equipment, as this workflow will lift a huge amount of concrete dust into the air.

Then you put and fix the wires in the finished grooves.
Mounting footwells
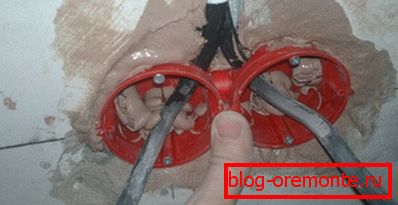
Let us analyze, for example, how to put the socket in a concrete wall having two sockets:
- We connect two single subviews.

- We eliminate the plugs that prevent the cable from getting inside.
- We also cut around the perimeter of the product all the extra components that prevent them from smoothly entering into the prepared holes.
- After all the manipulations we have done, we try on the product and, having only made sure that it becomes correct, we proceed to the next stage.

- Before you fix the socket in a concrete wall, ground the seat. So we will provide a sufficient level of adhesion.
- Stir putty and put it deep into the hole.
- After that, we press there the flush-mounted plates prepared and connected to the wires. It is important to expose them absolutely smoothly with respect to the wall plane.
Wall decoration
After the putty hardens, and the sinkers will acquire a stable position, proceed to the finishing works:
- Apply a primer around the products.
- Then we putty, bringing the same surface with the wall.
- Using sandpaper sanding possible irregularities.
- Glue the wallpaper or other finishing with prepared in it holes in advance.

Outlet connection
There are last but not least touches:
- We connect the wires to the mechanism of the product in special terminals.

- We insert the design into the bottom plate and fix it with self-tapping screws.
- We fasten the front panel.
Conclusion
We considered how to make a wall outlet in a concrete wall. Using special tools and observing accuracy, you can completely cope with this task yourself. The main thing is to follow the recommendations outlined.

The video in this article will provide you with additional information. Be careful in handling electricity.