How is concrete painting done: surface preparation, priming,
Despite its durability, concrete is subject to adverse weather conditions. Therefore, its surface necessarily needs protection. It can be provided by coloring this material.
Our article will tell you about the correct conduct of this process.
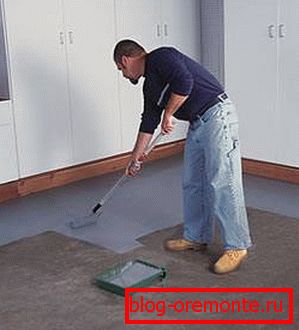
Paint selection for concrete
Concrete walls are most often painted using two types of paints. The below table will tell you about them.
| Paint type | Properties |
| Alkyd | It is well tolerated by various substances and, in addition, has an antistatic effect. The surface it forms is resistant to abrasion and also has good adhesion to the material being processed. This composition is supplied in ready to use form. Its disadvantages are an unpleasant smell and a long drying time. |
| Epoxy | Creates a durable and chemical-resistant surface. In addition, this mixture has a good covering ability and excellent adhesion. There are no solvents in its composition, which means there is no unpleasant smell. The disadvantage of this composition is the need for its preliminary preparation before application. |
There are other, less commonly used types of coatings for concrete. Their price may be different.
In general, choosing the appropriate composition, you should consider the following key factors:
- The volume of the load on the surface - if it is high, then in this case you will need a coating of high reliability. To create it, wear-resistant polyurethane paints are needed, as well as varnishes. If the planned loads are small, then alkyd enamels will be enough;
- Type of room - for residential facilities it is better to use water-based formulations. These can be special acrylic paints or water-epoxy enamels. For rooms with high humidity suitable 1-component polyurethane dyes. Epoxy enamels should be used in garages and other outbuildings.
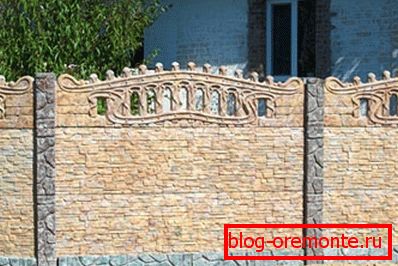
Tip! If you do not know how to treat decorative concrete elements, then you can try to cover them with a composition that has the color "under the stone." This will give the material a nobility and make it more attractive.
Concrete dyeing process
We will study the order of coloring of this material on the example of concrete floors. Consider this process in stages.
Stage One - Surface Preparation
Instructions for painting concrete floors begins with the preparatory work. Consider that the quality and durability of the resulting layer depends on their proper implementation.
Surface preparation is as follows:
- Dirt, dust, and stains from combustive-lubricating and other materials are removed from the coating.;
Tip! For high-quality stain removal, use detergents. They need to handle the surface until then, until the water on it stops gathering in drops.
- All irregularities of the floor are eliminated - if there are significant defects, then to eliminate them, you will need to cut the concrete with diamond circles. Diamond drilling of holes in concrete will help you to get rid of small potholes. After it, the resulting recess is treated with a primer and filled with a special repair mixture;
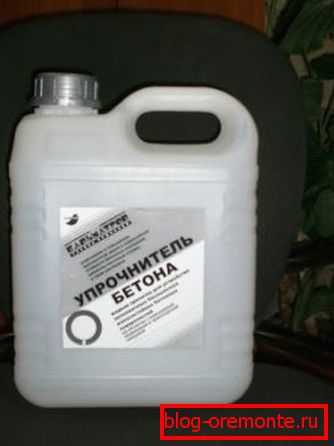
- Surface dedusting - the dust on the coating is removed from it with a vacuum cleaner or an ordinary mop. In order to prevent future formation of dust, the floor is treated with a special impregnation, which has a strengthening effect on it.
Stage Two - Priming Concrete
To ensure a more durable paint compound with a concrete base, it is primed. Most often, this is done using acrylic primers, which are easy to apply and significantly improve the adhesion of the material. In addition, due to the use of soil significantly reduces paint consumption.

These compositions are applied using a foam roller. It allows you to evenly distribute the mixture over the entire surface to be coated. Before applying the solution is thoroughly mixed and diluted if necessary.
Tip! To avoid the slippery floor effect, quartz sand should be added to the primer. Its volume should be 10% of the total weight of the mixture.
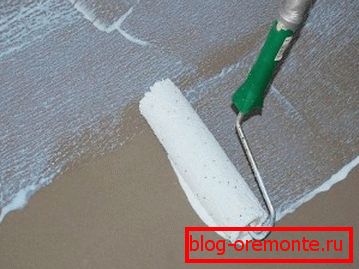
If desired, a brush or spray can be used instead of a roller. The primer is applied on a dry, cleaned surface in 1-2 layers. Note that during the processing of the material, the air temperature should not be below + 5 °.
Stage Three - Painting the Surface
After the pre-treatment of the floor or the preparation of concrete walls for painting can be completed, you can proceed to direct painting the surface. It is best to do this with a spray bottle.
Its use allows to significantly reduce the time required for painting concrete. In addition, the consumption of the material used will be more economical.

But there is one drawback. It lies in the fact that the spray can not handle hard to reach places, as well as the corners. They will have to paint with a brush.
If you purchased a thick paint, for example, acrylic enamel, then for its application suitable rollers with a short nap are suitable. For convenience, long handles should be attached to them. As in the previous case, you need a brush to handle the corners.
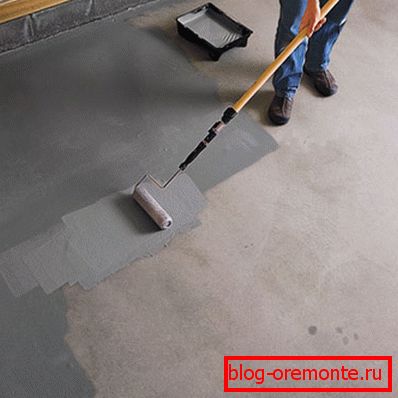
You can start working at a temperature not lower than + 5 °. If the work is carried out on the street, then the weather should be dry and windless. As for the recently filled surface, its processing can be started no earlier than 5 days from the moment of pouring.
When using a roller, smears are first applied in different directions, after which, in order to obtain a thin coating, the coloring composition is ground on the surface. If one layer is not enough, then the surface is re-treated.
In this case, note that the second layer can be applied not earlier than 24 hours after the first. This time is required for complete drying of the applied material.
Stage Four - Coating Drying
Before moving to the painted coating should be dried. This will take at least 3 days, provided that the air temperature does not fall below + 18 °. At lower temperatures, the drying time increases significantly.
It also increases when the coloring composition is applied to the newly poured concrete surface. In this case, the drying period of the coating will be at least 7 days.
Conclusion
For high-quality paint concrete with their hands in the first place requires preparatory work. They consist in cleaning its surface and removing defects from it. Then priming is performed, after which you can proceed to the direct staining of the material.
For this purpose, alkyd or epoxy paints are usually used, which are applied using a spray gun or an ordinary roller. For more information on all this, you can find out from the video in this article.