Filling and hardening of concrete on the example of the
It is no secret that any element of the building over time begins to fall into disrepair. Gradually the walls lose their strength, the roof flows more and more, etc. Concrete floors are no exception - they also lose their original quality.
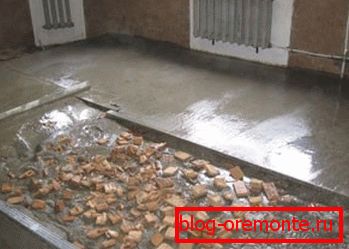
Most often, the "loss" consists of several points.
| Defect Type
| Than this is fraught with in practice |
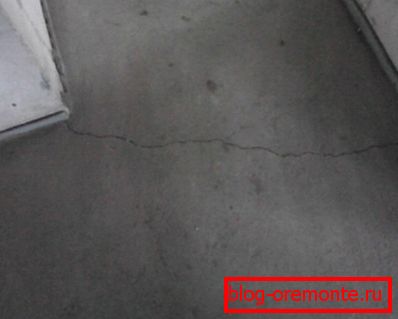
| The appearance of large and small cracks in the structure of the concrete layer. | This is actually a very serious defect, because of which the thermal insulation characteristics of the floor can deteriorate, and the finishing covering is also likely to suffer. For example, the same parquet or laminate flooring can simply simply “break up”. |
| The appearance on the plane of the floor of the pits, depressions. | As a rule, such a nuisance happens due to the fact that the preparatory layer was incorrectly made - the so-called “footing”. The consequences of such an error are very standard - damage to the material from which the finishing floors are made. |
| Rapid abrasion of the surface. | That is, if you have a room with a high level of terrain and not reinforced concrete floors, then get ready for the fact that very soon the top layer of the floor begins to peel off, which in the first place is simply ugly. In addition, this separation of the surface significantly adds dust and debris to the room. |
It turns out that it is not so easy to do concrete floors with your own hands. Because you need to understand how to do everything with the maximum margin of safety.
Please note that for self-installation of a truly high-quality concrete floor, no super-expensive tools and materials are required. The work is quite realistic to perform "perfectly well" even with a fairly modest budget.
In this article, we will examine in detail how to pour industrial concrete floors with a hardened top layer, what to do and in what sequence.
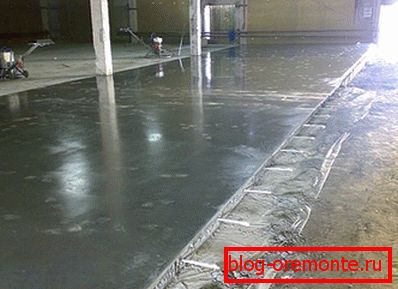
The device is a strong concrete floor
The first thing to do is, of course, stock up with everything necessary for work. Tools and materials do not need much.
| Necessary inventory | |
| Instruments:
| · Shovels; · A large trough for the solution; · Two-meter rule with level; · Shear rule; · Water level; · Brushes and rollers; · Trombovo sluč; · Bulgarian and puncher. |
| Materials:
| · Cement, sand and water; · A filler for concrete (crushed stone or expanded clay); · Fittings for a frame; · Beacons of steel; · Roofing material or film; · Impregnation for dust removal of concrete. |
As you can see, there is nothing super-expensive in the list.
And even the same power tool to buy is not necessary - it is quite possible to rent it at the nearest construction market.

In principle, with all of the above set, you can get to work.
Proper preparation for pouring
Since we have to build concrete reinforced floors, which will last for many years and will not bring any problems, then the preparatory stage should be taken very responsibly.
In fact, you need to do everything so that the main layer of concrete "lay down" better and dry out more evenly. To do this, we make a footing with a waterproofing layer and a flat plane - with its presence, moisture from the concrete will not go into the ground or into the cellar. Yes, and on a flat surface, it is easier to mount the frame of reinforcement and install beacons.
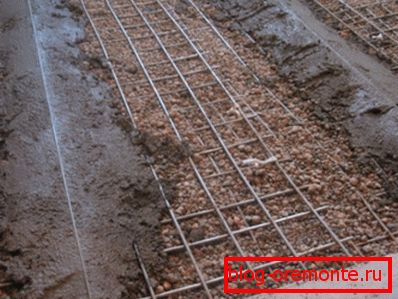
Everything is done like this:
- If the draft base consists of soil, then it should be leveled as much as possible.. This layout is quite feasible with the help of ordinary shovels.
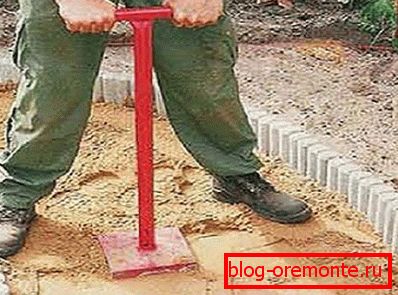
- Next on top of the ground is a sand pillow.. It is like a cushioning layer, that is, it helps to distribute the future load evenly over the entire area. Sand is poured and rammed.
- A film or ruberoid is spread over the sand.. This will be a waterproofing layer, which will protect the concrete for a longer time and allow it to harden normally due to the fact that the moisture from the mixture does not leak out.
- A mesh of fine reinforcement is laid on the surface, which is poured with concrete on top..
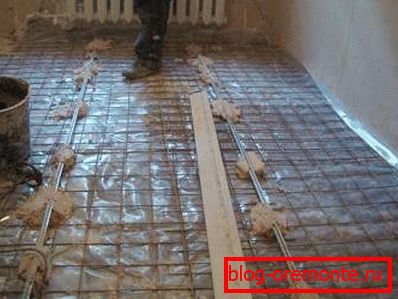
In principle, on this the device of the preparatory layer is completed - now local subsidence and depressions are unlikely in the future.
Please note that this is a variant of the simplest footing, which is inexpensive and “copes” with minimal functions.
We proceed to the next stage of the device of solid concrete floors.
Installation of a framework from fittings and installation of beacons
If you want to make a really high-quality floor that will not crack and perfectly withstand the load, then you can’t do without a reinforcing metal mesh.
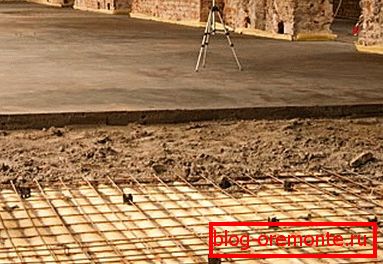
It is made from not too thin reinforcement approximately in the following sequence:
- Measured the width and length of the room.
- Based on the numbers obtained, the required number of rods is cut to create a “grid” with a minimum cell size of 50 by 50 cm.
- It marks how exactly the rods will be laid and holes are made at the points of their contact with the wall with a perforator.
Tip: if your walls are made of a very strong monolith and the punch power is not enough, then try to pay attention to such a service as diamond drilling holes in concrete.
- Pieces of reinforcement are hammered into the holes. At the same time, the depth of entry of metal into the wall should be centimeters 10. At the same distance, the rods should protrude into the interior of the room.
- The main fittings are laid and in places of intersection of the bars are connected with steel wire. In addition, the ends of the reinforcement must be connected with rods that stick out of the wall.
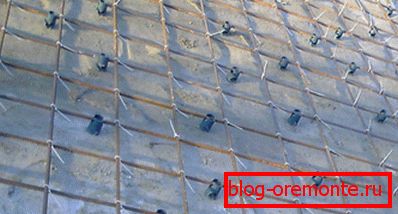
It turns out that the grid is ready. Now you can set the guide beacons, the position of which we will navigate when pouring and leveling the mixture.
Lighthouses are mounted like this:
- On the wall, at the height of the desired level you put a mark.
- A thick cement-sand mortar is kneaded and a “hill” is made from it, which in height approximately coincides with the position of the previously set mark.
- A beacon is placed on the hill. Under the second edge of this guide rail, exactly the same bitch from the solution is enclosed. The correctness of the position of the beacon relative to the base point is governed by the rule with the level.
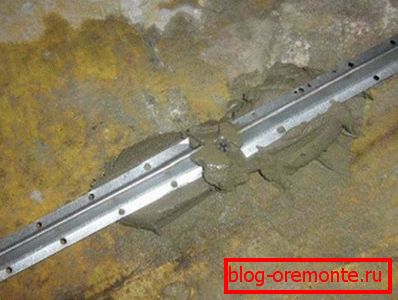
- After the first beacon is installed and the solution froze under it, the rest of the slats are mounted. They should be parallel to each other. In this case, the distance between them should not exceed the length of the shear rule.
If everything is done, then it turns out that the prerequisites for high-quality casting and drying of concrete are created - you can proceed to the final stage.
Filling the floor and ways to harden its surface
- We mix in a trough rather thick concrete solution.
Tip: if you do not understand what to choose for pouring the floor - expanded clay concrete or a standard mixture based on crushed stone, then everything is actually quite simple. Crushed stone with high inertness and it is better to apply where the concrete will be constantly affected by moisture. Concrete made of expanded clay (its price, by the way, is higher than the cost of crushed stone) is an excellent solution for those projects where the floor is required to obtain the maximum level of thermal insulation.

- We choose a wall in the room, from which we will move, and begin to carry mortar in buckets and pour it onto the footing.
- When a sufficient amount of concrete mass has accumulated, we take the shear rule and pull the instrument towards ourselves at the beacons. It turns out that with this operation, the rule seems to cut off the excess solution by directing it into the depths of the room. Fill the desired amount of the mixture so that it turns out about 3-5 cm below the level of the beacons.
- Similarly, we process the entire area of the room and leave the concrete to freeze.
- If the solution is frozen (it usually dries for 2-3 days) and you can walk on it, then we prepare a regular cement-sand mixture and pour it on top of the concrete. At the same time, the level of the tie must match the level of the beacons.
But after the screed has dried, the actual hardening of the top layer of concrete begins.
The essence of this work is to maximize the surface of the floor and how to cement all the dust and weak areas of the plane.
Make it easy.
| Method name
| The essence and features of the method |
| "Iron concrete". | In this case, the cement dust is taken, or granotose, which are rubbed on top of the still liquid concrete. It turns out firmly in principle, but on a dry screed it cannot be done this way. Plus, the appearance of the floor does not improve. |
| Chemical treatment of the floor. | This option is expensive and its meaning is that the surface of the (dried) screed is treated with special impregnations that protect the floor from abrasion and destruction. The advantage is that this protection lasts a long time and the plane eventually becomes more beautiful. |
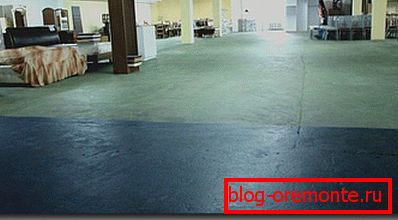
Tip: if in your room cutting of reinforced concrete with diamond circles or other similar work, due to which dust is formed, then it is better to strengthen the finishing layer last.
That's all! Here is such an instruction on the implementation of a set of measures for obtaining a truly solid concrete base.
Let's summarize.
Conclusion
Мы с вами подробно и последовательно разобрались в том, как делаются упрочненные бетонные полы и на что тут важно обращать внимание. Надеемся, что вся эта информация вам пригодится в деле (см.также статью «Алмазная чашка по бетону – ее виды и особенности»).
Well, if you want to know even more, then by all means check out the additional video in this article.