Expanded clay floor: screed technology
Expanded clay - a material widely used in the construction industry, both in the industrial sector and in the private sector. In many cases, for the installation of floors in residential and non-residential premises use expanded clay concrete screed.
In our article, we will analyze in detail how to make a floor consisting of expanded clay concrete screeds and designed for a warm water floor correctly and with our own hands. As an example, consider the kitchen boardwalk in a private house.
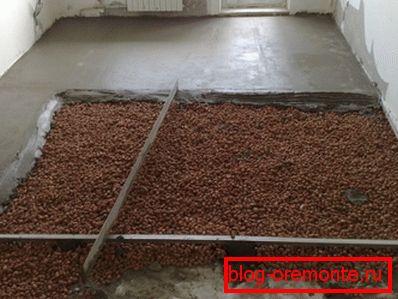
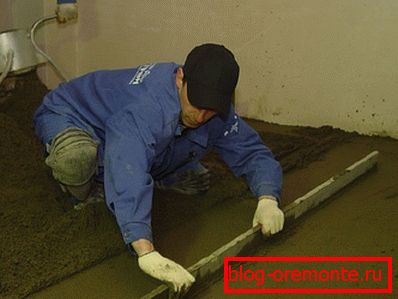
The device floor roughing ceramsite
We dismantle the old floor, prepare the foundation
Remove the old plank flooring along with the lags, for this we use the tools at hand hammer, electric saw, nail puller.
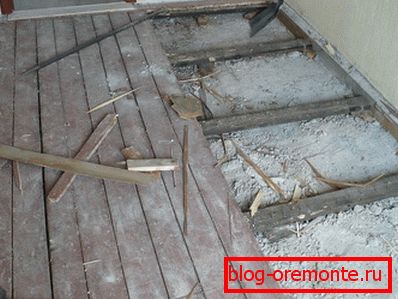
For this particular case, a device of a warm water floor will include:
- Coupler with water heating pipe;
- Multifalge;
- Draft floor with expanded clay;
- Leveling sand bedding.
In the first part we will analyze how to make a sand bed correctly and make a rough claydite-concrete floor.
- After installing the floorboards, it is necessary to make logs.
- After that, we get a floor of compacted soil. It is necessary to accurately calculate the level at which the corresponding layers will be located. All remnants of broken bricks and mortar remain in place, backfilling will be performed directly on them.
- A special laser level is used to determine the floor level..
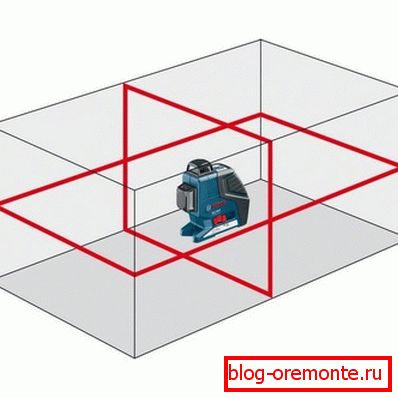
- Two marks are made on the wall, one for a screed for a warm floor of at least 6 cm, and the second for a heater of expanded clay 5–10 cm.
- After that, you need to walk around the room and put marks on the level of the clean floor. The marks will be needed for additional checking when lighthouse profiles will be installed.
- After marking proceed to the filling of the floor with sand, which will be the base. When filling sand, the reference point will be the lower mark.
- Evenly distribute sand over the entire floor area and tamp it down, as it should be with the help of a hand-made home-made rammer.
- After that, the floor is waterproofed. For this purpose, you can use the usual high-density polyethylene film. The edges of the film should go on the side walls of at least 30 cm. In some cases, special waterproofing materials are used for this purpose.
Installation of beacons
For the installation of metal beacons as a base can serve as diced foam blocks.
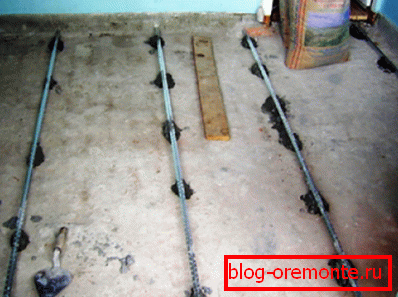
The initial cubes are set apart from each other at a distance of at least 1 m. Based on the width of the room and the length of the rule, three or more lines of the light sections will be required.
A metal beacon with a height of 1 cm is installed on the cube. A cube is also installed at the junctions of the lighthouses. Trimming lighthouses is necessary for docking.
For proper docking, the lighthouse profiles overlap each other in the direction of the future movement of the rule. Now let's start leveling the lighthouses by level, for this we use the long level, we direct it to the mark, which means the beginning of the concrete floor screed with pipes.
To accurately set the level of the lighthouses we will use small plywood linings. It is worth noting that it is convenient to use long levels in order to align three beacons at once. But if the width of the room is narrow, then you can align each pair of beacons in sequence.
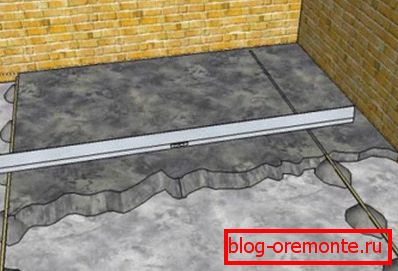
If you need to slightly lower the beacon, then you need to move a little and bury the stand until the required level is obtained. When the beginning of all three lighthouses are exposed to the level, we can proceed to their fixture.
Fastening is performed by conventional screws. In places where the wooden lining was used, we also twist the screw.
Now we can proceed to the longitudinal alignment of the first line of lighthouses. According to the design of the water heated floor we need to perform a draft floor with a slight slope.
The drop should be up to 5 mm per 1m length. Next, we perform leveling, as before using special linings and slightly drowning the cubes in the sand if necessary.
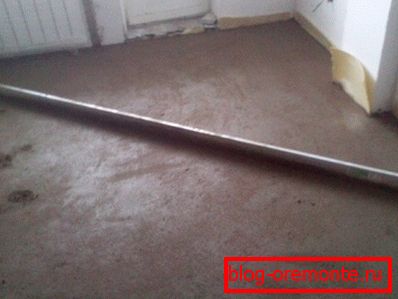
We consistently perform these operations with three lines of lighthouses. Note that the qualitative alignment will take no more than 1 hour.
This proposed method of installing beacons is well suited for the device of expanded clay floor. At the end of the alignment in the gap between the main cubes install additional.
To the note: The cutting of reinforced concrete with diamond circles is carried out with the help of a special powerful machine with nozzles made of hard alloys.
It is time to prepare claydite. We will use the wet method of laying a rough floor of expanded clay. For this, expanded clay granules are mixed with a small amount of cement-sand mortar.

This method allows us to obtain a more uniform and stronger floor, which is more suitable for our purposes. After all, we have to pour over the concrete slab with pipes of water heating.
The composition of the claydite for the floor includes concrete and the actual clay itself. The proportions of claydite for the floor are as follows: 1 bag of sand, 2 kg of cement and 2-3 liters of water are mixed into a bag of expanded clay.

The use of a concrete mixer allows you to mix the clay with a solution. The prepared solution with claydite reminds casinaks and after drying it will be difficult to push.
Claydite filling
We spread the prepared solution with expanded clay on the base and smoothed, starting from the corners. We fall asleep with expanded clay and smooth the strip up to 1 m wide.
We would like to draw your attention to the fact that about 1.5 cm of space is left up to the top level of the lighthouses, this space must be filled with a prepared cement-sand mortar. Put it on top of expanded clay.
For these purposes, you can use dry ready-made mixtures or make a solution yourself. Distribute the solution with a trowel over the entire surface.
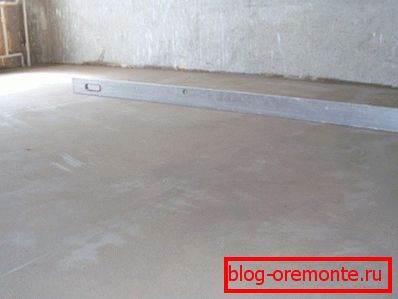
Now we will use the rule and carefully stretch the tie along the beacons. At this stage, it is important to prevent irregularities, for example, protruding tubercles.
Note that at this stage we do not need perfect evenness, the floor should be just flat, that is, correspond to the height of the beacons.
So, the screed on expanded clay is made.
On a note! Diamond drilling of holes in concrete is carried out with the help of metal crowns of different diameters consisting of hard metal.
Please note that the line of beacons is cleared of mortar, this is necessary in order to easily remove the beacons from the screed.
As mentioned earlier, the plan was to ensure that the floor slopes slightly away from the battery towards the return pipe. After a couple of days, when the screed has dried, you can proceed to the dismantling of the beacons, for this it is enough to unscrew the screws to which they were attached.
Note that along with the lighthouses it is also necessary to remove the wooden lining. Next, the gap that remained after the dismantling of the lighthouses should be cleaned with a brush and sealed with a cement-sand mortar.
The operation to seal the cracks is reduced to a thorough smoothing of the solution. This method allows you to maintain uniformity of the screed and reuse metal beacons.
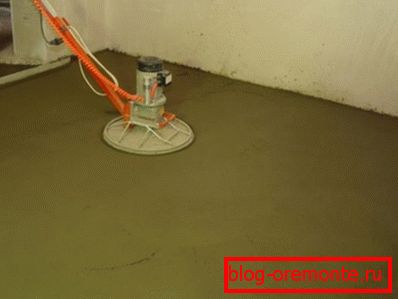
When the cracks in the rough concrete screed are smeared, let it dry out, it will take at least a week. Draft claydite floor is ready, as you can see, it was quite easy to do with your own hands.
We hope our step-by-step article-instruction will be useful to you. As a visual example, you can watch the video in this article, just describing all the steps for the device of the sex in question.