Concreting the floor in the garage. sand and gravel filling.
One of the most important moments in the creation of a reliable car-home, which a car enthusiast will trust his iron horse, is the concreting of the floor in the garage. Some motorists mistakenly believe that the arrangement of the floor in the garage should not be given much attention, giving their efforts to the process of building walls.

But this opinion is fundamentally wrong.
The floor in the garage must meet a number of the following requirements:
- It must be resistant to abrasion processes;
- To withstand severe mechanical stress;
- Be hygienic;
- Provide minimal sound conductivity;
- Be eco-friendly, etc.
That is why the truly caring owners of cars prefer to do the screed garage floor with their own hands. But before you take up this case, you should familiarize yourself with all the features of its device.
Advantages and disadvantages of concrete floors
Concrete today is one of the most popular and widely used building materials.
He has a lot of advantages:
- Resistance to corrosion processes;
- High level of strength;
- Durable;
- UV resistance;
- Resistance to chemical reactions;
- Resistant to the destructive properties of moisture.
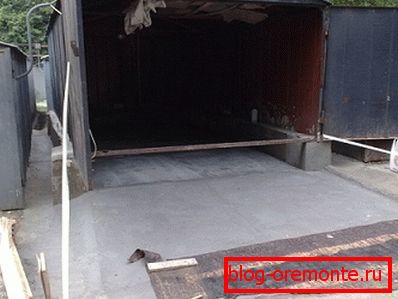
The main indicator that determines the popularity and relevance of this material is the tensile strength of concrete in compression.
But besides the advantages, this material also has disadvantages:
- Low bending strength;
- Long term freeze;
- The need to use moisture in the process of mixing the solution.
All these shortcomings make it necessary to observe certain rules when working with concrete.
First of all, we should not forget about the need to reinforce the solution with metal rods or polymer grids. You should also not forget that such a solution acquires most of the density within a week after application and completely solidifies only after a month.
What you need to know before starting work
There are three reasons that will make the question of how to concrete the floor in the garage inappropriate:
- The likelihood that the garage will be flooded;
- High level of groundwater;
- Strong slope of the building plot.
Council In such situations, the best option may be the overlap of the garage with a basement at the level of the basement.
If the conditions for the use of concrete are favorable, it is necessary to clear the floor in the structure and free it from the layer of loose soil. It is necessary for the construction of pillows of sand and gravel.
The required level of rigidity to surfaces of this kind provides multi-layer, because the floor in the garage consists of the following layers:
- Gravel;
- Sand;
- Rough floor, представляющий собой армированный бетон;
- Waterproofing material, covered with insulation and film;
- Reinforced finish screed.

Arrangement of the garage floor
Now that the basic theoretical knowledge has been obtained, it’s time to answer the question of how to properly concrete the floor in the garage?
The instructions for concreting the floor cover the following stages of work:
- Sand and gravel flooring;
- Waterproofing;
- Reinforcement and surface casting;
- Thermal insulation;
- Finishing screed.
Sand and gravel filling
First, the surface must be leveled and carefully tamped. To ensure the waterproofing pit smeared with a liquid solution of clay.
Preparation for the start of work also includes marking and stretching the threads in accordance with the level of certain surface layers.
Next, proceed to the filling of the first layer of gravel with a fraction size of up to 0.8 mm. Before starting the filling in the floor I drive in pegs indicating the height of the filling.
Note! Each layer of the concrete floor is carefully rammed. The gravel is pressed, after which the largest and sharpest stones are removed from the surface.
A layer of sand 10 cm thick is poured onto the gravel from above. This layer should create the most even surface.
Waterproofing surface
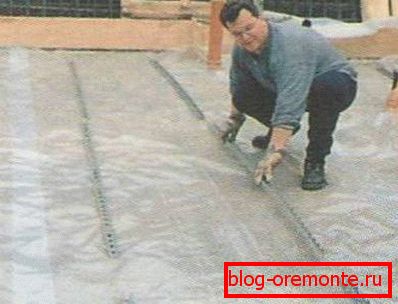
Before you create a layer called a subfloor, you should think about waterproofing. Polyethylene film may be used as a layer of this purpose. This very film is necessary to cover the entire surface of the future floor.
Polyethylene strips must be laid with an overlap of not less than 15 cm or glue the sheets together with a PVC tape. The film on the surface is smoothed and neatly folded in the corners. It should be ensured that the edges of the material go to the walls.
Council Instead of a film, special membranes can be used.
Rough floor
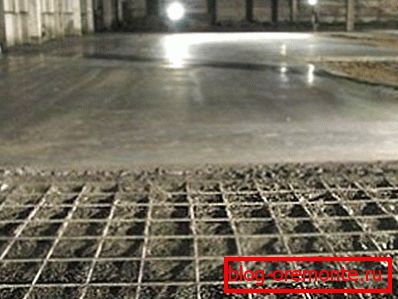
In this case, metal mesh of 10/10 cm with a rod diameter of 0.5 cm is most often used as reinforcement.
After all the slats of the construction are installed, the floor is filled with strips. Usually, M-300 solution is used for this. After the end of pouring, the solution must be compacted.
Note! Under no circumstances should floor reinforcement be bonded to the building box. Such bonding will cause shrinkage and damage to the entire structure. There should be gaps along the walls in which the insulation material is laid.
After the filling of the subfloor was completed, the construction should be allowed to rest for a month. During this rest, the surface must be moistened daily.
Thermal insulation
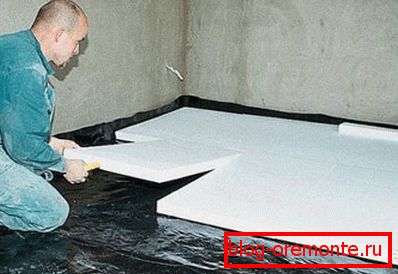
Before you do the finishing screed surface must be warmed. The best option for insulating material for this process is polystyrene foam with a thickness of 1 cm, intended for the device flooring.
To speed up the process of warming, you can use rolled materials that will save you not only time, but also energy.
After finishing the concrete weatherization, it should be covered with a film.
Final screed
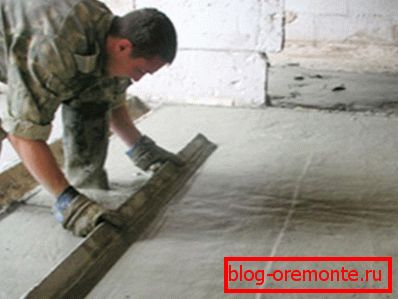
Now the floor is almost ready, it remains to proceed to the last final stage of work:
- Throw a reinforcing mesh on the surface;
- By level we place the lighthouses;
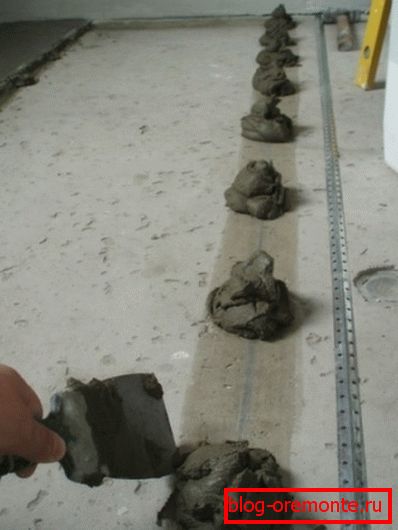
- Fill the surface with concrete at the lighthouses;
- Level the solution with the help of the rule, removing surpluses and tamping up the solution;
- We make smoothing with a trowel.
In the event that it was decided not to warm the structure, a solution of a plasticizer, water and cement, referred to as cement milk, should act as an element fastening the roughing and finishing screed.
Note! The thickness of the garage floor should not exceed 13-15 cm. Also during the construction of such a surface one should not forget about the need for a slight slope to ensure the flow of water to the exit from the building.
Some features of work with concrete

The answer to the question of how to concrete the floor in the garage should take into account not only the main stages of the work, but also some features:
- Laying of concrete solution is possible both on the prepared soil and reinforced concrete slabs. The strength and performance of such a screed will depend only on the quality of the fill. And if you need to trim such a surface, you can safely use a method such as cutting reinforced concrete with diamond circles;
- If the floor is poured on a concrete base, height differences should not exceed 10% of the thickness of the slab itself;
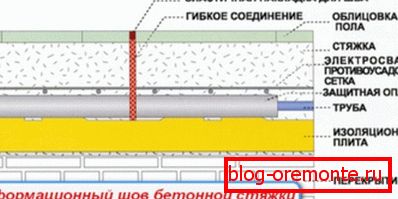
- To avoid cracking the flooring, areas that experience different loads should be separated by sediment-type seams.. To do this, in areas where the garage floor is adjacent to the walls, a layer of insulation and waterproofing material is installed;
- If it is necessary to drill a hole in the surface for the installation of any equipment, diamond drilling of holes in concrete should be used;
- Material for reinforcement is selected depending on the level of load on the surface..
Finally
With filling the floor in the garage, every car owner can easily cope on their own. The main thing in this business is to strictly observe the technology and not save on building materials, the price of which is not so high. If these conditions are met, the floor you have created will be able to seamlessly serve you for more than a decade without needing major repairs (find out here how to paint the concrete floor in the garage).
And to learn more about the nuances and intricacies of the procedure of filling the floor in your own garage, you will allow the video in this article.