Concrete table top: design, formwork production, casting
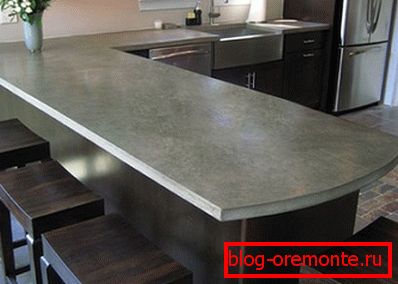
The price of a high-quality stone countertop remains too high for most consumers, so many enthusiasts prefer to make this part on their own. We will tell you how to make a concrete countertop with your own hands at home.
Preparatory stage
Design
Any production begins with the design. The drawing will help to present the process better, provide for a number of difficulties and nuances and prepare more thoroughly for work.
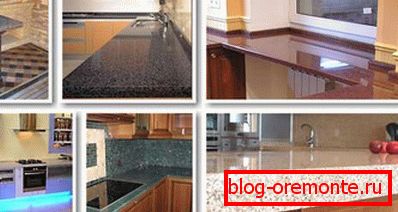
The first thing to do is to determine exactly which part you want to see in the kitchen unit. To do this, you should consider the existing range of similar products and select the appropriate option for you.
Then you should determine the exact dimensions of the future product. To do this, measure the length and width of free space, taking into account the neighboring pieces of furniture, as well as measure the angle between the walls, if the tabletop is adjacent to the corner, because it may not be completely straight.
The thickness of the concrete slab must be at least 50 mm for normal operation in accordance with GOST and SNiP for reinforced concrete products. As a rule, thicker parts do not, as their weight will be too large.

Now not less important point - the position of the shell and its shape. It is better to buy a sink in advance, so it will be easier to make an exact hole for it. Another important point is the position of the crane and the hole for it.
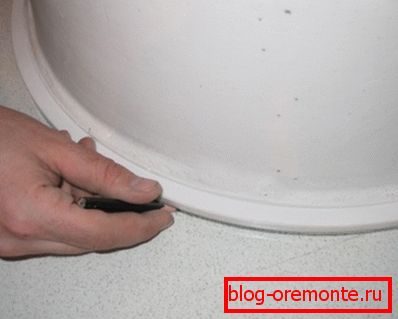
If the sink is built in and enters the tabletop completely, without overlaps, then it should be turned over and cut around with a pencil. So we get a template for the hole. If the shell is applied, then its inner part should be measured at the place where it is adjacent to the superimposed part.
If the inner part is not rectangular, but has roundings, then you should make a rectangular pattern according to the maximum dimensions of the inner part, that is, our task is to make such an opening into which our washstand will go in any case. If the hole is a little bigger, it's not scary.
Now all the data obtained should be issued in the form of a drawing in natural size. To do this, take a sheet of chipboard, moisture-resistant plywood or plastic, and draw our template on it. We transfer the dimensions of the canvas and draw a hole for the sink; we make all measurements and lines as accurately as possible using a ruler, a protractor and a well-ground simple pencil.

We go further. Now you need to design a formwork. It will consist of 50x30 mm boards, 50x50 mm bars will also be needed. Boards are placed on the drawing along the outer edges of the canvas, the method of docking is not fundamental.
It is also necessary to draw formwork boards for the hole, which should be located along its internal borders. If the sink is built-in, the dimensions of the hole and the accuracy of formwork assembly for it should be taken especially carefully.
Now you need to draw a hole for mounting the crane. As a rule, it is standard - 35 mm. Sometimes recessed sinks require a chamfer in the hole, that is, a small step, on which the washstand will rest.
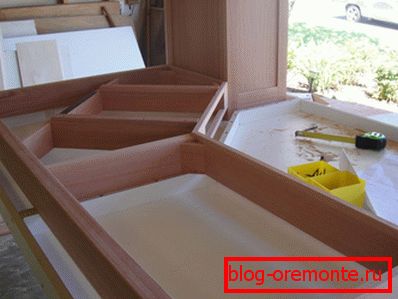
To do this, along the perimeter of the inner formwork, the rail should be fixed with a square section of 5x5 mm (or the size that will fit the selected sink model) so that its upper face coincides with the top face of the formwork board.
Note! The bore holes of the recessed sink should correspond exactly to its dimensions, both larger and with regard to chamfer. Therefore, we advise inexperienced and novice craftsmen to choose overhead shells of simple shapes.
Formwork
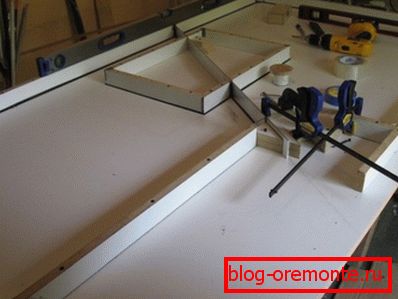
Now according to the project we are buying materials. We will need 50x30 mm boards, a 50x50 mm block, a piece of plastic pipe with a diameter of 35 mm, screws on wood, silicone sealant and glue for wood. You should also purchase a square piece of plastic film with a side that is one and a half times longer than the long side of the fabric. In addition, we need a steel wire with a diameter of 2 - 3 mm and knitting wire.
To simplify the assembly, we have compiled an instruction:
- Cut out boards of the required length for the borders of the canvas and arrange them from the outside along the lines on a piece of plywood. We fix it with screws to plywood, and from the outside each board is supported with pieces of a bar 100 mm long, one at each corner, and the long side is also supported in the middle;
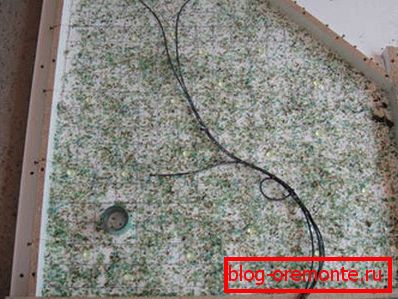
- Cut the boards for the borders of the hole under the washstand and expose them inside along the border of the hole in the drawing. Fix the screws and props bars from the inside. At the corners we attract the boards with screws through the bar;

- Cut off a piece of pipe 50 mm long and glue it to the plywood in the design position;

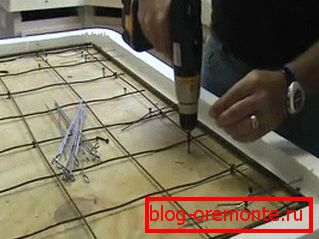
- Cut steel wire segments for reinforcing bars. They should be shorter than the canvas and not reach the formwork by 25 mm from all sides. The mesh size of the grid is 25x25 mm, each intersection of the bars is tied with wire to form a monolithic lattice, which we install in the concrete formwork at a distance of 25 mm from the bottom;
- All the gaps at the joints of the boards are covered with sealant and rubbed flush with the plane of the board. If it is necessary to make roundings at the corners, we apply a glass or a pipe section from the inside to the corner and fill the space between the top of the corner and the wall of the cylinder with sealant;

- Bottom we covered with a film with inversion on the sides. The film should lie as evenly as possible and without folds.
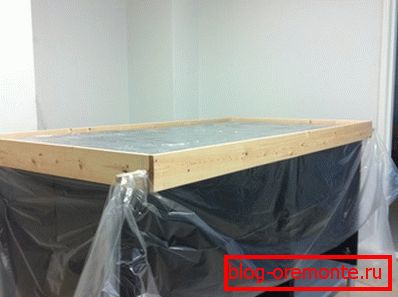
Note! To avoid confusion, pay attention - the film should be covered up before installation of the reinforcement.
Concreting

Now you need to perform laying concrete. To do this, mix in a bucket cement M500-D0 with two parts of pure river sand and three parts of marble chips. Then add some water with liquid soap and mix the mixture with a mixer until the consistency of mashed potatoes.
Pour the mixture into the formwork and smooth it with a rule on the upper face of the boards. We try as best as possible to lay the solution so that it fills the form as tightly as possible.
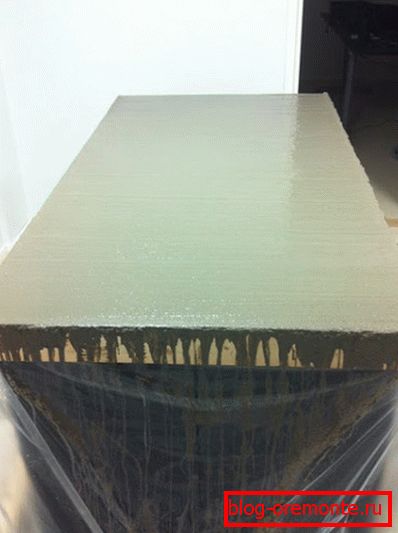
When the solution begins to set, cover the form with plastic wrap and leave it for 48 hours in a heated room. After two days, carefully disassemble the formwork and remove the slab.
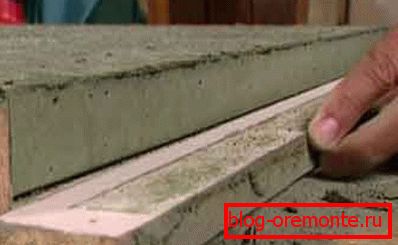
If a discrepancy in size is noticed, cutting of reinforced concrete with diamond circles and diamond drilling of holes in concrete will help you. It is impossible to use perforators.
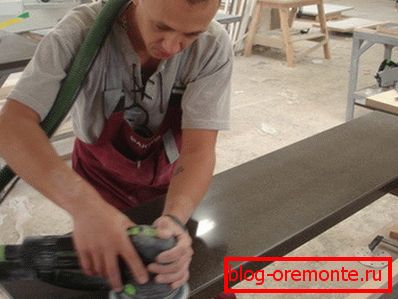
Using a grinder, we perform the grinding of a concrete web with an emery wheel with an average grain, then we proceed to polishing with a circle with a fine grain. We achieve a glossy surface, in the end you can go with a felt circle with GOI paste.
Conclusion
Tabletop concrete can be made independently at home, which significantly reduces the cost of this item headset. The video in this article and our instructions will help you cope with this task and succeed.