Concrete paths: installation technology, decoration and
Trampled paths in the garden may even please someone because of their harmony with the natural landscape. But practicality in this case is out of the question. Dustiness in dry weather and mud flows in rainy conditions make movement on them very difficult.
Therefore, such places should be equipped with a coating of any suitable building material that makes the walk comfortable at any time. In this article we will analyze how to make the paths in the garden of concrete with their own hands.
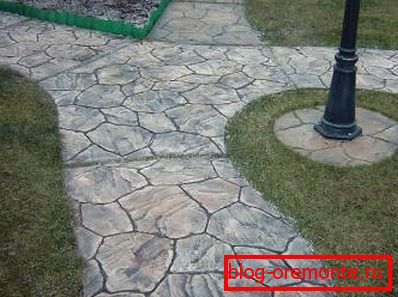
General provisions
Why concreting? Let's look at the advantages of this solution.
Virtues
- Very high resistance to mechanical stress and wear. One of the most important qualities of street coverage. In this case, it is worth remembering that the concrete surface can only be treated with a diamond-coated tool.

- Water resistance. Does not absorb moisture, does not suffer from the processes of rotting and corrosion, calmly tolerates the loss of any amount of precipitation. It is allowed to wash with water pressure.
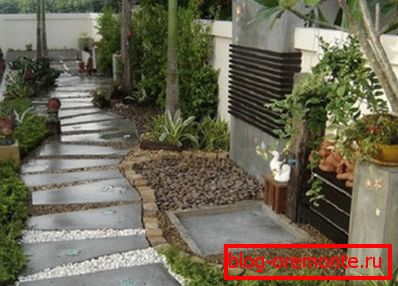
- Simple installation instructions. You will be able to cope on your own without attracting highly paid specialists to this task.
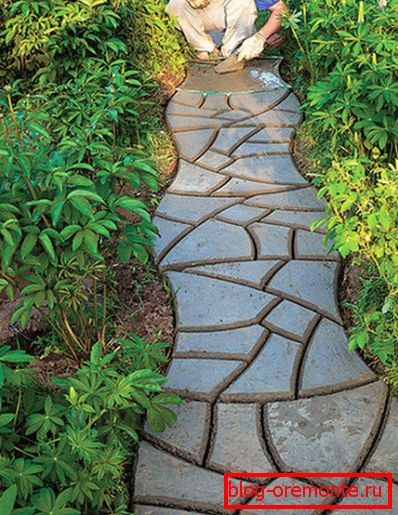
- Reasonable selling price. Concreting will be much cheaper than laying natural stone or paving slabs.
- Attractive appearance. At first glance it may seem that the concrete can not surprise you with anything, except the dull gray surface, but the use of some techniques will allow you to achieve incredible aesthetics and diversity.
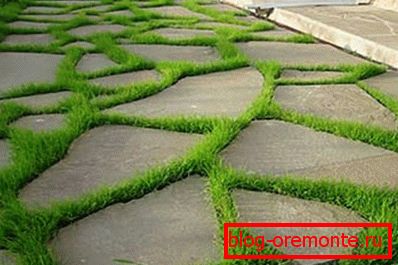
- Durability. Paths of reinforced concrete will last you more than a dozen years.
Installation technology
Now consider how to properly fill the track with concrete.
Preparatory stage
- Make the markup of the future design. At the same time, you can choose both a straight shape and a winding shape to your taste.
- Remove the top layer of turf from the grass in the selected area with a depth of 15-20 cm. If you do it carefully, you can continue to use it for other landscape works.

- We half-fill the trench with sand, wet it and carefully ram it. So we have a great pillow and drainage system in one.
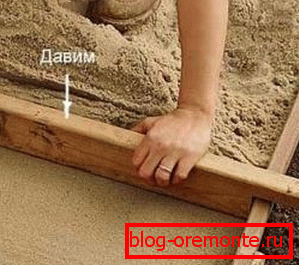
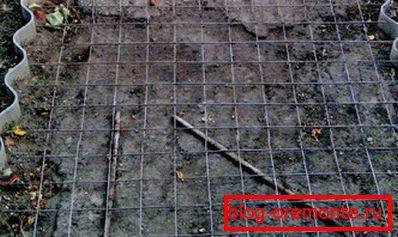
- At the edges we construct the formwork, and at the bottom we lay the reinforced grid to increase the strength properties of the concrete of the future path.
Tip: if you are using winding outlines, then thin sheets of tin, which can be bent into the desired shape, or pieces of wavy slate, are well suited for this purpose.
Mixing solution
For the implementation of the batch will require:
- Trough or other spacious tank.
- Spade for mixing components.

Tip: for large volumes it is recommended to use a concrete mixer. It will facilitate and speed up the workflow.

- Brand cement is not lower than M300.
- River sand.
- Water in any quantity.
Having at hand everything you need, proceed:
- We pour cement and sand into the tank in the ratio of one to two.
- Mix the shovel and gradually add water, following the consistency.

- Continue until the mixture takes a homogeneous homogeneous substance.
Advice: at this moment you can add the dye that you like and which corresponds to the interior of your garden. So you will achieve greater attractiveness, abandoning the classic dullness.

Pouring concrete
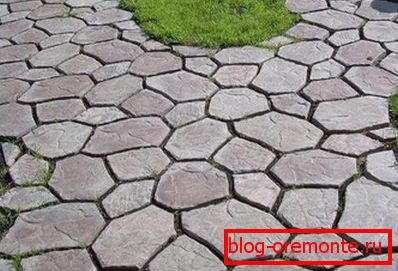
In the process of pouring, you can use special stencils to create imitations of natural stones. But we will now consider the option in which we will deal with decorating after concreting.

- Lay the solution in a prepared and equipped trench with a spade or trowel, depending on the situation.
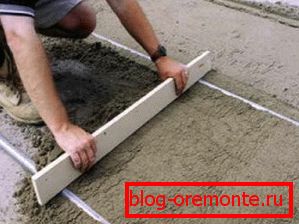
- Level it with the help of the rule, observing a slight rise in the middle of the track, descending to its edges. This will prevent the formation of puddles in the future, since all the rainwater will drain into the ground located on the sides.
Dressing and final works
A few days later, when the concrete begins to set, you can begin to give the track a more attractive look.
It is not necessary to wait for the concrete path to completely solidify, since in this case it will only be possible to cut the concrete with diamond circles, which cannot create the desired effect.
- Remove the formwork, it is no longer needed.
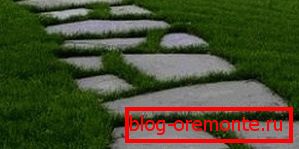
- In random order using a trowel or another suitable tool we make on the cement surface of a hollow of different thickness, trying to create the illusion that there are products of natural stone on the ground.
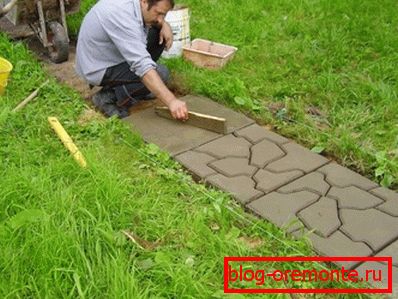
- The resulting streaks are filled with a solution of a different shade. Alternatively, you can fill them with a deferred at the beginning of the installation work turf with grass.
- Cover the construction with plastic film and pour water until it solidifies.
- After about four weeks, when the concrete has reached its strength, we grind the edges of the resulting “stone”. This will prevent chipping and shedding, as well as complete the aging process.
Conclusion
Concrete paths in your garden will allow you to comfortably move on it in any weather. Make them easy on their own. And by showing some imagination and ingenuity, you can achieve amazingly attractive results.
The video in this article will introduce you to additional information.