Concrete floor screed do it yourself - concreting
Home repair sooner or later applies to floors. And then you can safely dismantle the old coating, and then pour the remaining foundation with concrete. Why it is worth doing so, and most importantly, how to do it correctly, we will look at this article
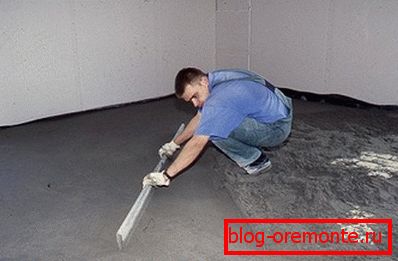
General provisions
To create the base of the floor construction, two methods are commonly used: wooden logs or cement screed. Surely everyone faced the creaking of the boards, and many could even watch their decay. Let us, on the basis of such memories, make a small comparative table:
| Description of the problem | Lies | Strainer |
| Squeaks and deflections | Common phenomenon | Absent |
| The rotting and spread of fungi | High probability | maybe появление плесени, но только в весьма запущенном случае и без фатальных последствий |
| Pest attack | maybe | Excluded |
| Mechanical damage | When dropping heavy objects or hitting the surface | Only if diamond holes are drilled in concrete |
| Heat loss | Slow, wood copes well with heat insulation | Fast due to high thermal conductivity |
We see that in four rounds out of five it is concrete concrete that wins, giving the hosts much less problems.
Now, in addition to the disadvantages, let's consider the advantages provided:
- High resistance to mechanical shocks, temperature extremes, ultraviolet radiation, abrasion, high humidity, pressure and alkalis. All that allows you to serve the finished design for a long time and efficiently.
- Acceptable price. Components of concrete are cheaper than natural wood.
- Smooth surface. A well-executed screed has a coating that is ideal for even the most capricious finishing materials.
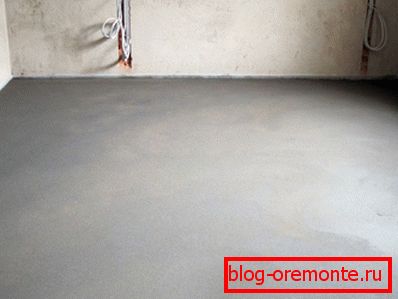
- Available installation instructions. Desire, attentiveness and compliance with some rules are all that is needed for successful concreting.
Technology concreting
Before you make a concrete screed floor, you should prepare the base.
Preparatory work
Here a lot depends on what you plan to pour the cement mortar.
- Priming.
In that case, if you are building a house from scratch or doing repairs in the garage, it is worth:
- Remove the soil layer with a thickness of 10-20 cm.
- Fill the vacated space with sand mixed with gravel.
- Tamper carefully.
Tip: for tamping is recommended to use a vibrating plate. It will significantly reduce your work and improve the result.
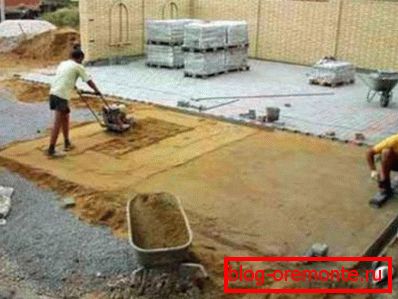
- Pour a thin layer of liquid cement mortar.
- Boards. Before you make a concrete screed on a wooden floor, you should sort it out in search of deformed lags and floorboards, replace them, if any, and seal up all the existing cracks. Or remove the entire wood structure to the floor slab or ground.

- Old screed or floor slab. Here, it may be necessary to cut the reinforced concrete with diamond circles in order to remove all the protruding parts and flows. Before filling, try to level the surface to be treated with the available tools.
After you put the base in order, we create a waterproofing layer on it:
- Cover the sheet of plastic film with overlap on each other and on the wall. It must be at least ten centimeters long.
Tip: do not save on protection from moisture and it is recommended to purchase for this purpose a film 2 mm thick or a special water-repellent membrane. Products of lower quality may not withstand the mechanical load.
- Glue all joints with mounting tape.
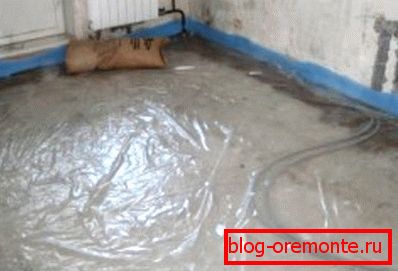
Sometimes for the same purpose, a thin floor screed is made on a concrete base.
Warming
If you plan to further install the wooden floor on the concrete screed, the insulation can be placed under its surface. In the opposite case, care should be taken to reduce the thermal conductivity of the concrete before it is cast. This will help you the following materials:
| Heater | Virtues | disadvantages |
| Mineral wool | Low thermal conductivity, ease of operation, environmental friendliness | Lack of rigidity, high moisture absorption |
| Styrofoam | High thermal insulation, low cost, resistance to mechanical pressure | Fragility during installation |
| Керемзит | Good insulating properties, resistance to excessive humidity and temperature, the possibility of mixing with cement mortar | Sensible rise in floor level |
| Floor heating system | High-quality heating not only of the floor itself, but of the whole room, with the possibility of temperature control | The high cost of implementation, the complexity of installation work, the need for maintenance |
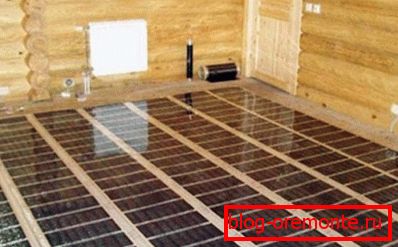
Moving on:
- We put sheets, fill up the filler or install heating elements depending on your choice.
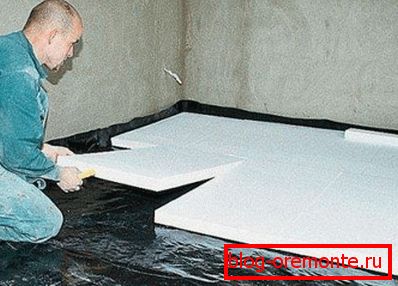
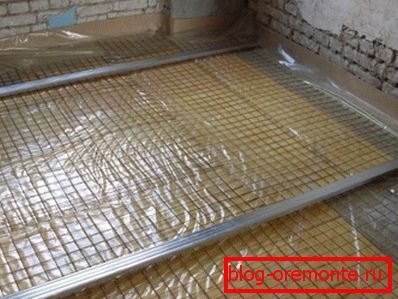
- From above we cover with polyethylene film, which we connect to the protruding edges of the bottom waterproofing with the help of construction tape. Maximum sealing insulation.
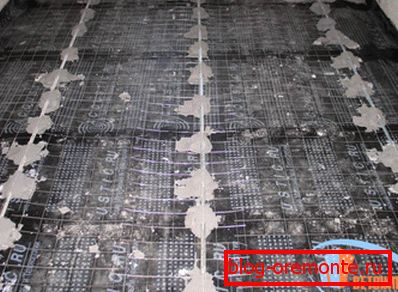
- We install a metal grid for the implementation of the function of reinforcement. So we will strengthen the future screed and give the insulating material the necessary rigidity.
Installation of beacons
Even an experienced specialist will find it difficult to pull out a flat surface without special guide profiles.
But their presence will allow you to achieve a quality result.
- We find the highest point of the floor and project it onto the nearest wall.
- From the resulting mark, we indent upward by 4-6 cm, depending on how thick you plan to make the screed.
- At this level, using a level, we draw a straight line along the entire perimeter of the room.
- We retreat from the wall 20-30 cm and mount the aluminum profile so that its upper part is flush with the drawn line. We fix the lighthouse with asbestos cakes.
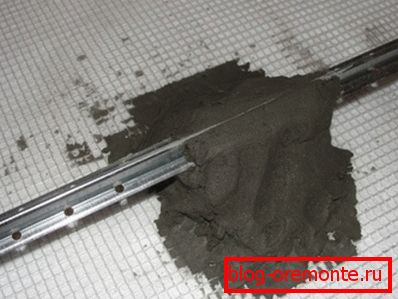
- We carry out the same work every 80 cm.
Kneading and pouring
The cost of a concrete floor screed largely depends on which solution you are going to use:
- Handwritten cooking. Cheap.
- Factory cement-sand mixture. Expensive.
- Self-leveling floors. Expensive.
The most rational use of DSP. In this case, you will spend a little more, but you will get a ready-made qualitative composition, in which only water will be enough.
The very same fill on the prepared base is easy:
- Pour the solution in portions, starting from the corner farthest from the door.
Advice: it is recommended to glue a damper tape around the perimeter of the room before pouring. It will compensate for the thermal expansion of concrete.

- Immediately level the surface with the help of the rule, moving it along the established beacons.
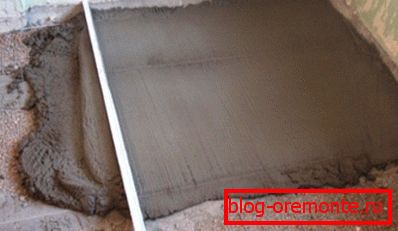
- Fill the entire floor with concrete.
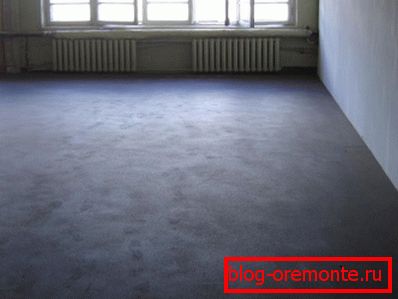
- Then we cover everything with plastic film and pour as much time as the concrete floor screed dries. Usually the period of complete solidification of the concrete screed lasts about four weeks.
Conclusion
Concrete screed allows you to level any surface and make it durable. The whole process is very laborious, but quite feasible on its own. The main thing is to follow the rules and recommendations described above.
The video in this article will introduce you to additional information.
Good luck to you concreting!