Concrete floor in the garage: moisture insulation,
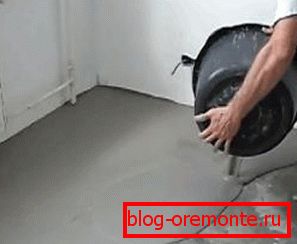
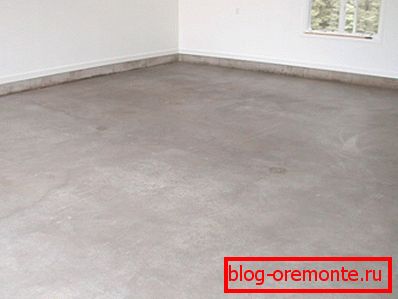
If in the house you can still think about what is better as a floor construction: cement screed or wooden logs, then for the garage the answer is obvious. It is worthy to withstand the mechanical loads exerted by your car, only concrete can. In this article we will examine in detail how to make a concrete floor in the garage with your own hands.
General provisions
Why is it concrete?
To discard any doubts about this, let's look at the basic requirements for the garage floor:
- High strength. Due to the need to withstand the pressure of the weight of the car, accidental fall of tools and other possible mechanical effects.
- Wear resistance. The constant impact of the tires is similar to the loads received by the floor in grocery stores, cafes and other public places.
- Resistance to excessive moisture and chemical attack. The condensate settling in conjunction with the leakage of various liquids from the machine is a serious test for any hydrophobic material.
As you can see, the boards in such conditions will crack, shed and rot before the time you expect. But properly cast concrete will adequately bear all the hardships, remaining a reliable basis for many years.
Creating a concrete floor
The entire amount of work required can be divided into several stages:
Training
If you perform only the repair of the concrete floor in the garage, then you need:
- Investigate the cement surface for cracks and delaminations.
- Weak points tap with a hammer and remove the breakaway pieces.
- Clear the area of debris.
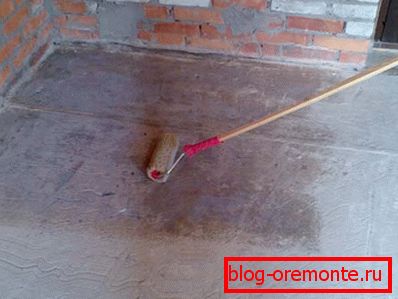
- Prime the base to increase the adhesive properties, after which it will be possible to proceed directly to the pouring of concrete.
If you create concrete for the floor in the garage from scratch, then you have to perform a more complex process:
- Remove the soil layer with a thickness of about fifteen centimeters.

- We fill the vacated space with sand, which can also be mixed with gravel to increase the volume and density, and carefully rammed.
Tip: for tamping is recommended to use a vibrating plate. This will allow to achieve the best quality results.

- Fill the resulting pillow with a thin layer of liquid cement mortar, after solidification of which we proceed to the next step.
Moisture insulating
Waterproofing of the concrete floor in the garage can be done using the following materials:
- polyethylene film;
Tip: you should not in this case save and purchase material less than two millimeters thick. This may result in damage and leakage.
- ruberoid
- hydrostextrolizal.

Instructions for the protection of humidity looks like this:
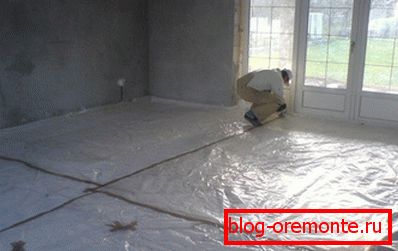
- The bed of the selected material overlaps each other and on the walls.
- Glue all the joints with mounting tape.
Warming
Next, the waterproof coating is laid insulation that can be selected from the following table:
| Title | pros | Minuses |
| Mineral wool | Environmental friendliness | Lack of rigidity, hygroscopicity |
| Styrofoam | Low price, moisture resistance | Fragility |
| Керемзит | The ability to add to the solution | Big rise of floor level |
| Extruded polystyrene foam | High compressive strength, moisture resistance | There are no significant drawbacks. |
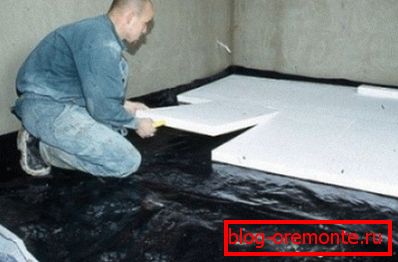
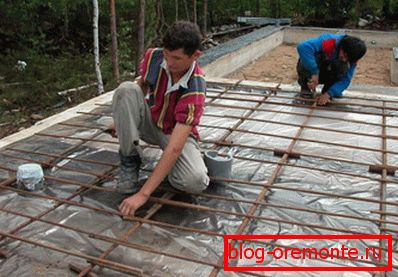
The selected material is placed or poured over the entire treated area, after which the waterproofing creeps up again, which should be connected with construction tape to the lower layer. So we will protect the insulation not only from the dampness of the earth, but also from moisture, which will be released from the cement mortar.
From above we install a reinforced grille to increase the strength of the screed and prevent it from sinking into the warming layer.
Lighthouses
How to make a flat surface?
For this you need special lighthouses:
- We find on the basis of the highest point.
- We project it on the nearest wall.
- Retreat 5 cm up - it will be the thickness of the concrete floor in the garage.
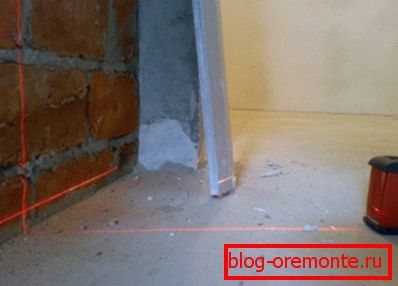
- We draw from the resulting mark with the help of a spirit level smooth lines parallel to the floor around the perimeter of the room.
Tip: It is recommended to use a laser level for marking. It will significantly speed up and simplify the task.
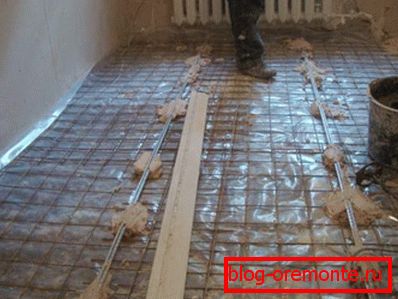
- We retreat from one of the walls of 20 cm and put asbestos cakes in steps of 20-40 cm.
- We put on them aluminum or wooden slats. The main condition is that they are absolutely even.
- We align their position in accordance with the line drawn on the wall.
- After 80 cm, we repeat the operation, as a result of which we receive guide beacons located all over the base.
Fill
- Knead the solution of cement and sand. It should be borne in mind that the class and proportions of concrete for the floor in the garage depend primarily on the brand of cement used:
| Brand of cement used | The required ratio of cement to sand | The resulting brand of concrete for the floor in the garage |
| 600 | 1:3 | 300 |
| 600 | 1:4 | 200 |
| 500 | 1:2 | 300 |
| 500 | 1:3 | 200 |
| 400 | 1:1 | 300 |
| 400 | 1:2 | 200 |
| 400 | 1:3 | 150 |
| 300 | 1:1 | 200 |
| 300 | 1:2 | 150 |
| 300 | 1:3 | 100 |
Also in the creation of concrete and water is involved, the amount of which must be two times less than the already loaded dry mix.
Tip: It is recommended to use a low-speed construction mixer for mixing with a special broom nozzle. He will achieve the desired uniformity and facilitate your work.

- Fill the area farthest from the door and level its surface with the rule according to the established beacons. Excess mixture at this point pulls on more free space.
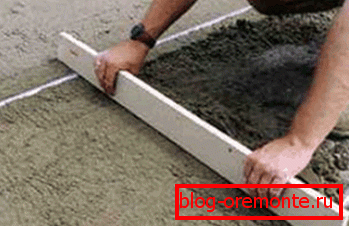
- Next we fill the whole garage in the same way, after which we cover the concrete with plastic wrap and pour it in the process of solidification, which usually lasts about four weeks.
Calculation of concrete on the floor in the garage is easy to produce. To do this, it is only necessary to multiply its area by 5 cm, which we laid in the thickness of the floor during marking.
How to treat the screed after drying? For the garage is an optional process, but you can grind the surface, bringing it to a perfect condition.
Conclusion
The best choice for the garage floor is definitely concrete. Only he can guarantee sufficient strength properties and durability.
The process of concreting itself is completely subject to its own execution. The main thing is to follow the above rules and recommendations.
Видео в этой статье предоставит вашему вниманию дополнительную информацию, касающуюся изложенных материалов. Теперь вы знаете, как сделать бетонный пол в гараже (см.также статью «Выбираем лучший бетон для стяжки: практические советы и рекомендации»).