Choosing a bar for a bath correctly
For the construction of the bath, you can use a large amount of building materials, but separately it is necessary to allocate such materials from wood as logs and timber.
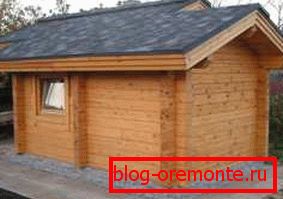
The wooden bath from a bar is dream of any builder. Who among us does not want to have such a building on your site? Inexpensive sauna from a bar has not only an excellent appearance, but also allows you to enjoy all the delights of a steam room without the use of special materials and high costs.

Benefits
Any building material has its pros and cons. What timber is better for a bath to decide you, based on the requirements and material capabilities.
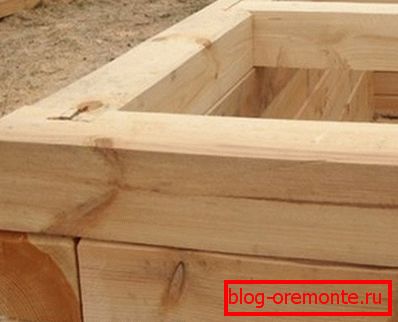
This building material has the following advantages:
- retains heat well;
- has little shrinkage;
- working with him is easy, thanks to his form. The size of the bar for the bath does not significantly affect its processing. You can work with him, having only the initial construction skills;
- possesses high environmental friendliness;
- has a good appearance.
Choice of timber
From the right choice of wood will ultimately depend on the result of construction and in particular the performance of the steam room.
Next, consider what you should pay special attention when purchasing products:
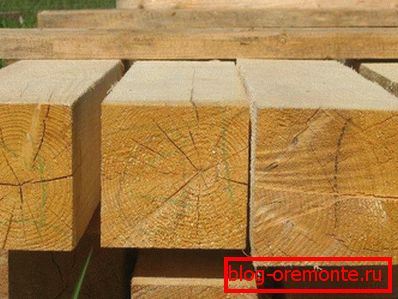
- need to carefully inspect all surfaces. Do not purchase a timber with cracks, since such material can quickly deteriorate and rot;
- Do not buy a timber with dark spots that appear on the surface during internal rotting;
- You should not buy a bar with traces of bark beetles and wormholes, the low price of such material is another indicator of poor quality.
The use of high-quality timber will not only lay out the walls correctly and beautifully, but also significantly speed up the whole process. The optimal size of the bath from the timber should be determined based on the specific conditions of the site and the appropriate project.
Correct material calculation
The correct calculation of a bar for a bath depends on many conditions and the chosen design variant. Everyone knows that it is almost impossible to calculate the exact amount of any building material. There is always a chance to get poor-quality material or to spoil several bars in the process of work.
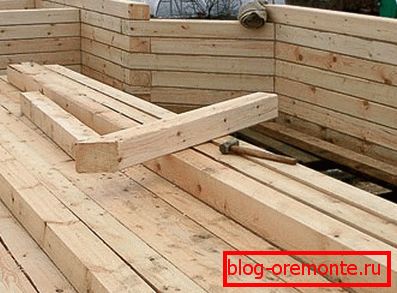
At the initial stage of construction, you need to consult with experts who will help determine what thickness of the bar for the bath is necessary and help calculate all the material. This will allow you to learn about the possible costs and determine the timing of construction. It is advisable to purchase a little more material in order not to overpay for re-delivery and not to look for the missing parts during the construction process.
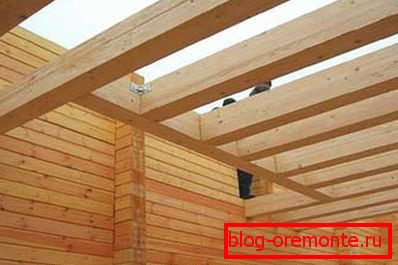
Order of construction
As the instruction says, when building a bath, you need to perform several steps:
- construction of the base for a bar-shaped bath with the hands;
- walling;
- installation of the roof;
- installation of window and door openings;
- interior trim.
Foundation
As the basis for a bath use such types of the base as:
- columnar;
- tape
We make a column foundation
For this foundation you need:
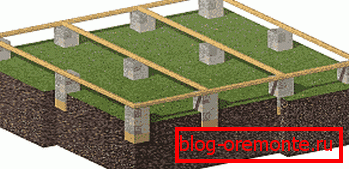
- dig holes in the corners and around the perimeter of the bath;
- make concrete cushions for installing pillars of brick;
- lay out supporting columns in the corners and along the perimeter, at a distance of not more than 1.5 m.
Making a strip foundation
For this foundation you need:
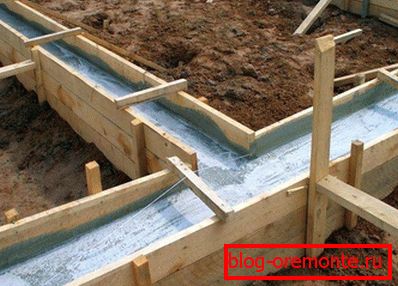
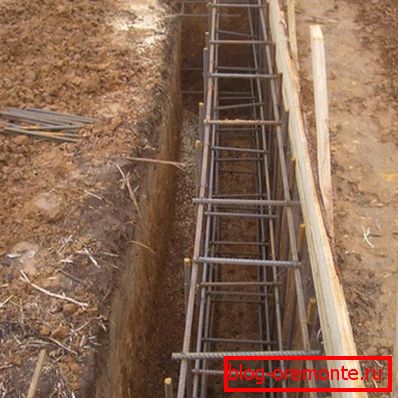
- dig recesses around the perimeter, to the depth of freezing or 50-70 cm;
- build a formwork to a height of at least 50 cm from the ground level, which will save the bottom rows of wood from rotting;
- to fill the inner perimeter with sand or rubble;
- pour concrete formwork;
- after complete drying of the concrete, you can start laying the walls.
Any type of foundation must be reinforced by laying reinforcement.
It is necessary to perform waterproofing:
- apply bitumen on the foundation surface;
- cover the bitumen layer with a ruberoid layer;
- repeat the procedure.
Walls
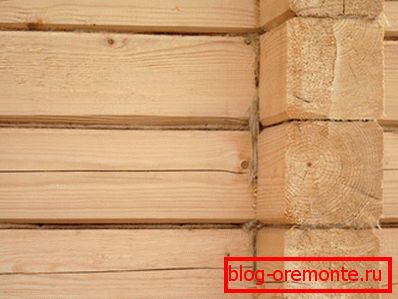
When starting the installation of walls, it must be remembered that woodwork should not be adjusted too tightly. The tree tends to shrink in thickness while maintaining its length. Free space needs to be filled with a sealant.
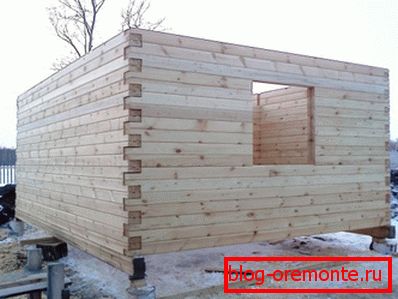
Note! Do not use foam as a seal. It is poorly resistant to moisture and sunlight. It is better to use a special material - jute, which fully meets all the requirements for wooden buildings.
There are several ways to fasten the walls between each other. Here are some of them.
Method 1
The order of work is as follows:
- we adjust bars by laying to the place of installation;
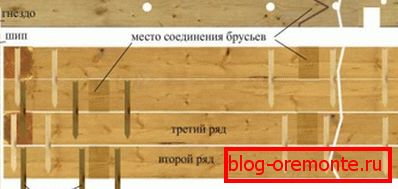
- every 125-150 cm we drill holes, passing through the top, and the bottom half thickness;
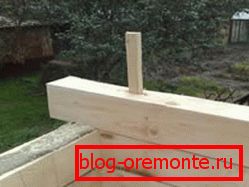
- remove the upper timber and drive into the lower dowel with a length of 2 heights;
- we put the seal along the entire length;
- we lay the top timber, combining the holes and pins, we finish it to a full fit;
- Repeat the operation, raising the ranks above.
Method 2
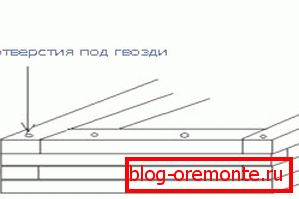
In this method, the bars are connected with nails, only the caps are bitten off or cut off. Such nails do not spoil the wood and are less susceptible to the formation of rust.
Method 3
This method involves the use of square fasteners - dowels. The timber is drilled through and driven into the dowels in a checkerboard pattern.
Method 4
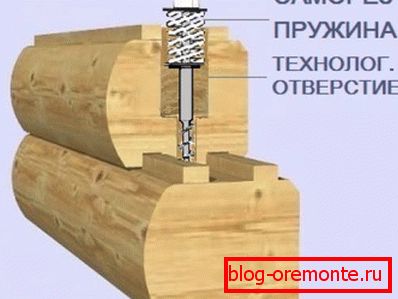
In this case, use special spring-loaded clips. The use of such a system eliminates the formation of any gaps. The high cost of the system is justified by the high reliability of the connection.
Note! Laying the rows of timber above the door or window frame, it is necessary to leave a margin of about 60 mm for the shrinkage of the structure. If the shrinkage is more, you should expand upwards.
Natural shrinkage
This process is an integral part of the construction of a bath of wood. They should not be neglected.
The bath also needs to be properly prepared for this process:
- after the completion of wall construction, boards with a thickness of 40-50 mm are placed on the upper rows;
- perform roof slate or roofing felt;
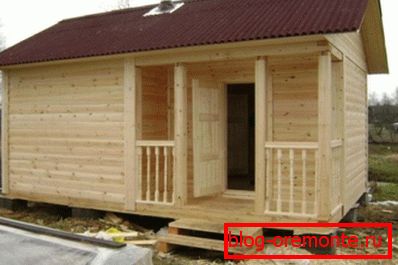
- leave the building in this state for 3-6 months, for complete shrinkage.
Note! Proceed to the interior should be only after complete shrinkage of the structure. This will protect materials from deformation.
Conclusion
It is very easy to build a sauna from a bar with your own hands. The main thing is to choose quality material and have the initial skills of working with wood. The video in this article is ready to share with you no less interesting information on the topic.