Aerated concrete walls: technical characteristics and
One of the most important tasks in the construction of a residential house is the correct choice of building material for the construction of its walls. Aerated concrete copes with this task. In this article we will consider its technical characteristics and subtleties of installation.
General provisions
Cellular concrete came into use in the second half of the last century. But then such GOSTs were used, which gave preference to strength characteristics, and aerated concrete was counted among the insulation materials. At our time, after the increase in the cost of energy and the emergence of the possibility of autoclaving, the situation has changed dramatically.
Production
Instructions for the manufacture of gas blocks looks like this:
- Water, lime, quartz sand and cement are immersed in the mixing equipment.
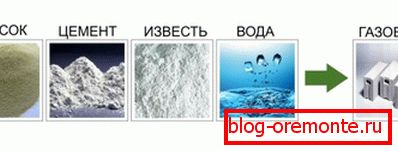
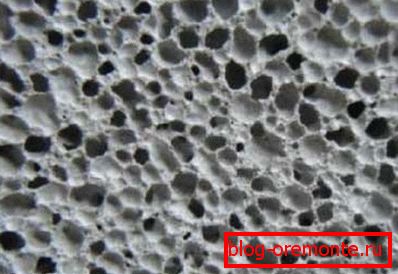
- After five minutes of operation of the mixer, an aqueous suspension of aluminum powder, which reacts with lime, is added to it. The resulting hydrogen permeates the entire substance, creating a set of bubbles, the sizes of which vary from 0.5 to 2 millimeters.
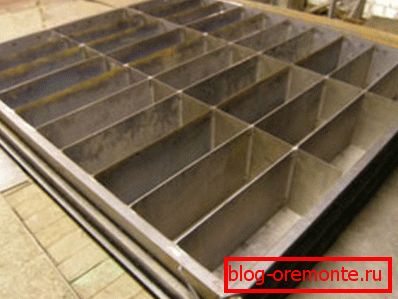
- At the time of the beginning of the process of formation of bubbles, the entire mixture is distributed into special containers, where it goes through the swelling period.
Tip: if you plan to produce gas blocks at home, it is recommended during the freezing period to provide the solution with vibration loads. This will speed up and improve the process of its setting.
- After cellular concrete acquires its original density, all irregularities are cut off from it with wire strings, and the array is cut into more compact blocks.
- The final stage is an autoclave heat treatment. This is an optional step that requires additional costs, but take a look at how it improves the technical performance of the finished products:
| Gas block type by degree of processing | Heat conductivity coefficient, W / (m · ° С) | Shrinkage rate, mm / m | Strength, kgf / m? |
| Autoclave | 0,14 | 0,3-0,5 | 28-40 |
| Non-autoclaved | 0,17 | 3-5 | 10-12 |

Benefits
The above production method, including the presence of bubbles in the structure and autoclave treatment, provides a lot of advantages, which we now consider:
- Low thermal conductivitywhich is only 0.1 W / m3that, for example, is two times less than that of dry pine. The gas-block for 85% consists of air, it also provides it amazing amazing heat-insulating qualities. The wall of aerated concrete blocks does not require the use of additional insulation materials.
- Little weight. Again, the cause of the unique lightness are air bubbles that fill most of the product. Due to this, there is no point in a strong foundation and in the process of installation work you can do without lifting equipment. Savings in everything.

- High compressive strength. When autoclaved, under the influence of heat and pressure, calcium hydrosilicate crystals are formed. This makes it possible to use gazoblokov even when building multi-storey buildings as the main material. It should also be borne in mind that the density of aerated concrete for load-bearing walls is also very important, since it has a direct impact on the strength properties. In accordance with this, there are three groups of blocks:
| Group name | Density, kg / m3 | Strength class |
| Constructional | 1000-1200 | B7,5-B15 |
| Constructional and thermal insulation | 400-900 | B2-B10 |
| Thermal insulation | 300-400 | B0,5-B2 |

Tip: if you plan to use the material in question for the construction of a private house in combination, for example, with a brick, then it is recommended to buy or manufacture independently non-autoclave samples of the heat-insulating group. After all, high durability is of no use to you, but then you can save a lot.
- Wonderful insulationmaking up a wall 30 cm thick 60 dB. You can be calm during the night rest that you will not be disturbed by random street sounds.
- Low price. The relatively uncomplicated manufacturing process and the availability of raw materials make the cost of finished products much lower than that of most other building materials.
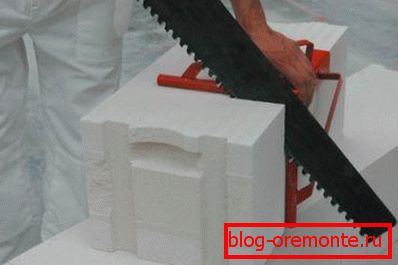
- Ease of processing. A large number of pores in the structure allows you to abandon such time-consuming processes as cutting reinforced concrete with diamond circles. It will be enough to have an ordinary hand saw in order to give the block the necessary shape.
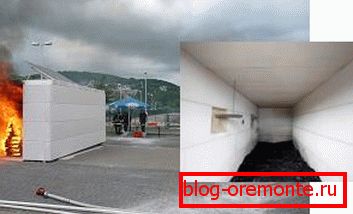
- Огнеупорность. It withstands an open flame with a temperature of 900 degrees Celsius for four hours, which is superior to conventional concrete and brick.
- Lack of tendency to processes of rotting and corrosion.
- Having the ability to "breathe". High porosity allows such walls to maintain the most favorable microclimate in the house.
- High frost resistance. Withstand 75 cycles of freezing and thawing, which is two times more than that of the same brick.
- Ecological purity. The use of only natural elements eliminates any level of toxicity.
- Resistance to pest attack. Neither rodents, nor insects will not use aerated concrete in food or use it as a shelter.
- Correct geometry. The accuracy of the proportions allows the use of special glue instead of cement, thanks to which the width of the joints can be minimized. And this, in turn, further reduces heat loss and improves the appearance of the masonry.
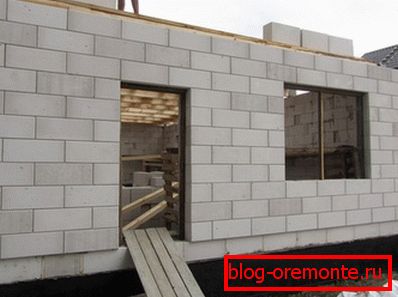
- Long operational lifemeasured in dozens of years.
Mounting technology
The construction of walls of aerated concrete is much easier brick laying, but also requires compliance with certain rules and recommendations. In this case, you should start with the preparation of the necessary tools.
Instruments
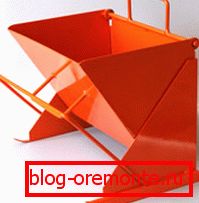
- Trowel and spatula to apply cement mortar or glue. Also for this purpose it is very convenient to use a special "carriage" that allows you to evenly distribute the mixture over the surface of the blocks.
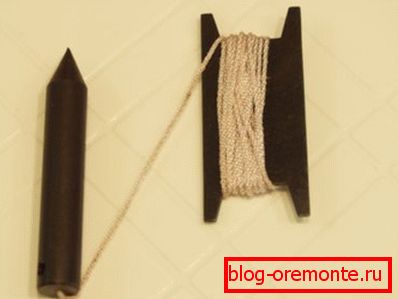
- Plumb for measuring vertical walls.
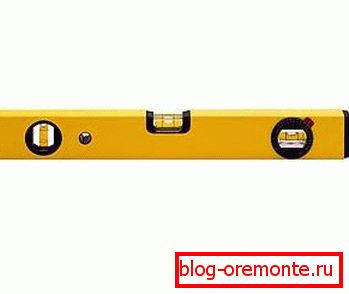
- Water level to control horizontal masonry.
- Mixing tank and construction mixer, it is also possible to use a concrete mixer.

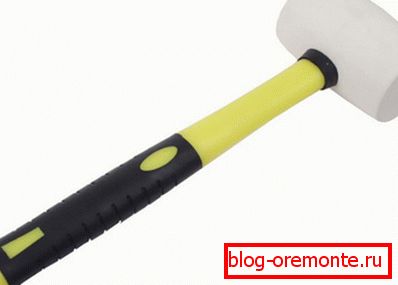
- Rubber or wooden hammer to align the position of the blocks.
- Hacksaw for cutting products.

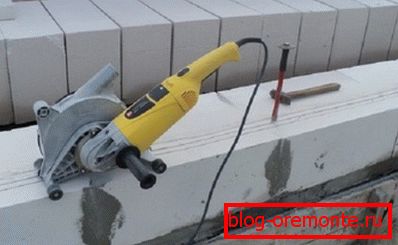
- Conventional hammer and chisel for making recesses for reinforcement.
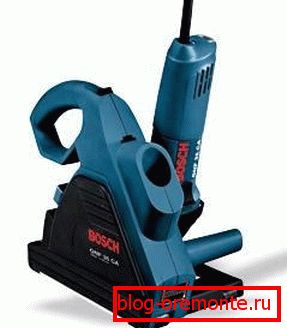
Tip: it is recommended to use an electric wall chaser or "grinder" for this purpose. This will greatly facilitate the task.
Progress of work
- We will need the fixing mixture from the very beginning, so we will analyze the ways of its preparation:
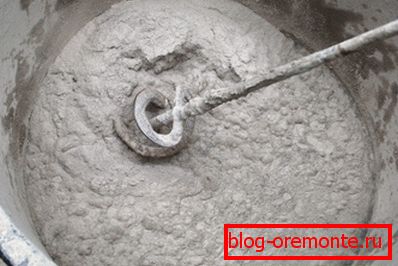
- Combine cement with sand in a ratio of one to three, add water and knead everything until a creamy substance is formed.
- You can use ready-made factory cement-sand mixture, which has the best performance and avoids the need to respect exact proportions. Although it will be a little more expensive.
- Special glue will avoid wide seams and ensure perfect fixation. It is also much easier to use it, but the cost, respectively, is higher.
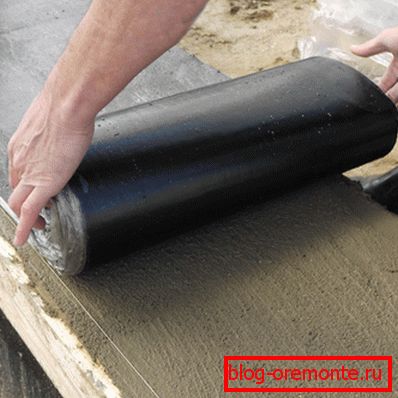
- We create a waterproofing layer between the foundation and the future masonry. For this, roofing material laid on a thin layer of the prepared solution is quite suitable. But it should be borne in mind that today manufacturers offer many improved and, at the same time, more expensive moisture-proof materials. Be guided in this question on the allocated budget.
- We install steel rods or other convenient landmarks in the corners, which we align with a plumb line and join them with a paint cord. Thanks to this marking, the outer walls will be even with respect to the vertical axis.
- Next, cover the cement mixture with a waterproofing layer and begin laying the first row. We also impose the solution on the docking end of each already installed product.
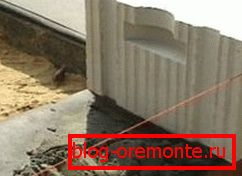
- The position of each gas block is checked using a spirit level and, if necessary, we align it with a rubber hammer or with the addition of a fixing mixture. If we assume the curvature of the horizontal, then in the future cracks form in the concrete walls.

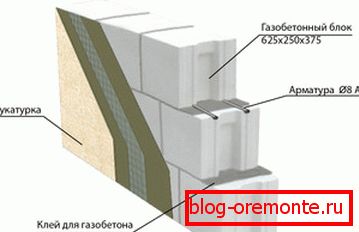
- Every four rows should be reinforced with reinforcement. To do this, we analyze how to reinforce aerated concrete:
- Shtraborez or chisel make two grooves along the entire masonry, departing from its edge at least five centimeters.
- Fill the strokes with the solution.
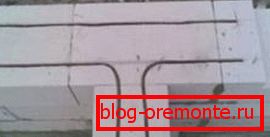
- We put metal rods in them. At the same time, the corners should not be joints, but smooth bends.
- Then the layer of cement mix follows again and the next row is laid out, each block of which must be installed with a displacement of one third or one second. This is required for greater stability of the masonry.
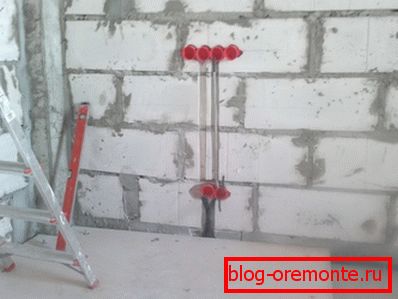
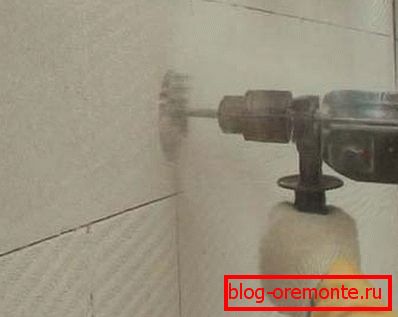
- Similarly, we build the entire wall, after which we carry out the wiring of all necessary communications. It is noteworthy that diamond drilling of holes in the concrete will not be necessary; it will be enough to use ordinary trimmings.
Conclusion
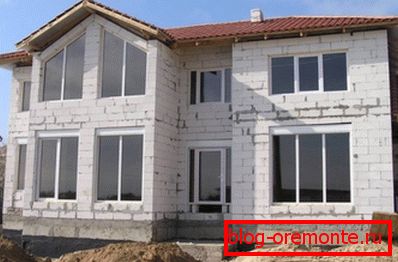
Aerated concrete blocks - an excellent building material. Their heat-insulating qualities are better than some wood species, and their strength allows building multi-storey buildings. And all this at an affordable price.
The video in this article will provide your attention on learning more information.
Do I need to reinforce the walls of aerated concrete, which solution to use for fixing the blocks, what tools are needed? Now you know the answers to these questions and can cope with all the necessary installation work.